Imagine driving 600 kilometres into the red heart of the Pilbara only to discover your bargain find has a cracked mounting rail. We all love a great deal, but the harsh Australian sun can turn a seemingly perfect tent into a brittle safety hazard in just three seasons. It’s a common worry for Adventurerz looking to shop sustainably without compromising on gear integrity. That’s why mastering a used roof top tent inspection checklist is your most important skill before hitting the second-hand market this year.
We agree that nobody wants to invest their savings in gear only to find hidden mold or structural fatigue hiding under the mattress. Our 2026 framework provides you with a clear pass or fail system designed specifically for our unique local conditions. We’ll walk you through 15 critical inspection points, including hardware stress tests and canvas UV checks. This guide ensures you have the confidence to negotiate a fair price and guarantee your gear is ready for the most remote tracks in the country.
Key Takeaways
- Embrace sustainable exploration by learning how a seller’s storage habits can reveal the true condition of a second-hand tent before you even begin the physical check.
- Utilize our professional used roof top tent inspection checklist to identify hidden structural “spiderweb” cracks and base plate rot that could ruin your next off-the-grid adventure.
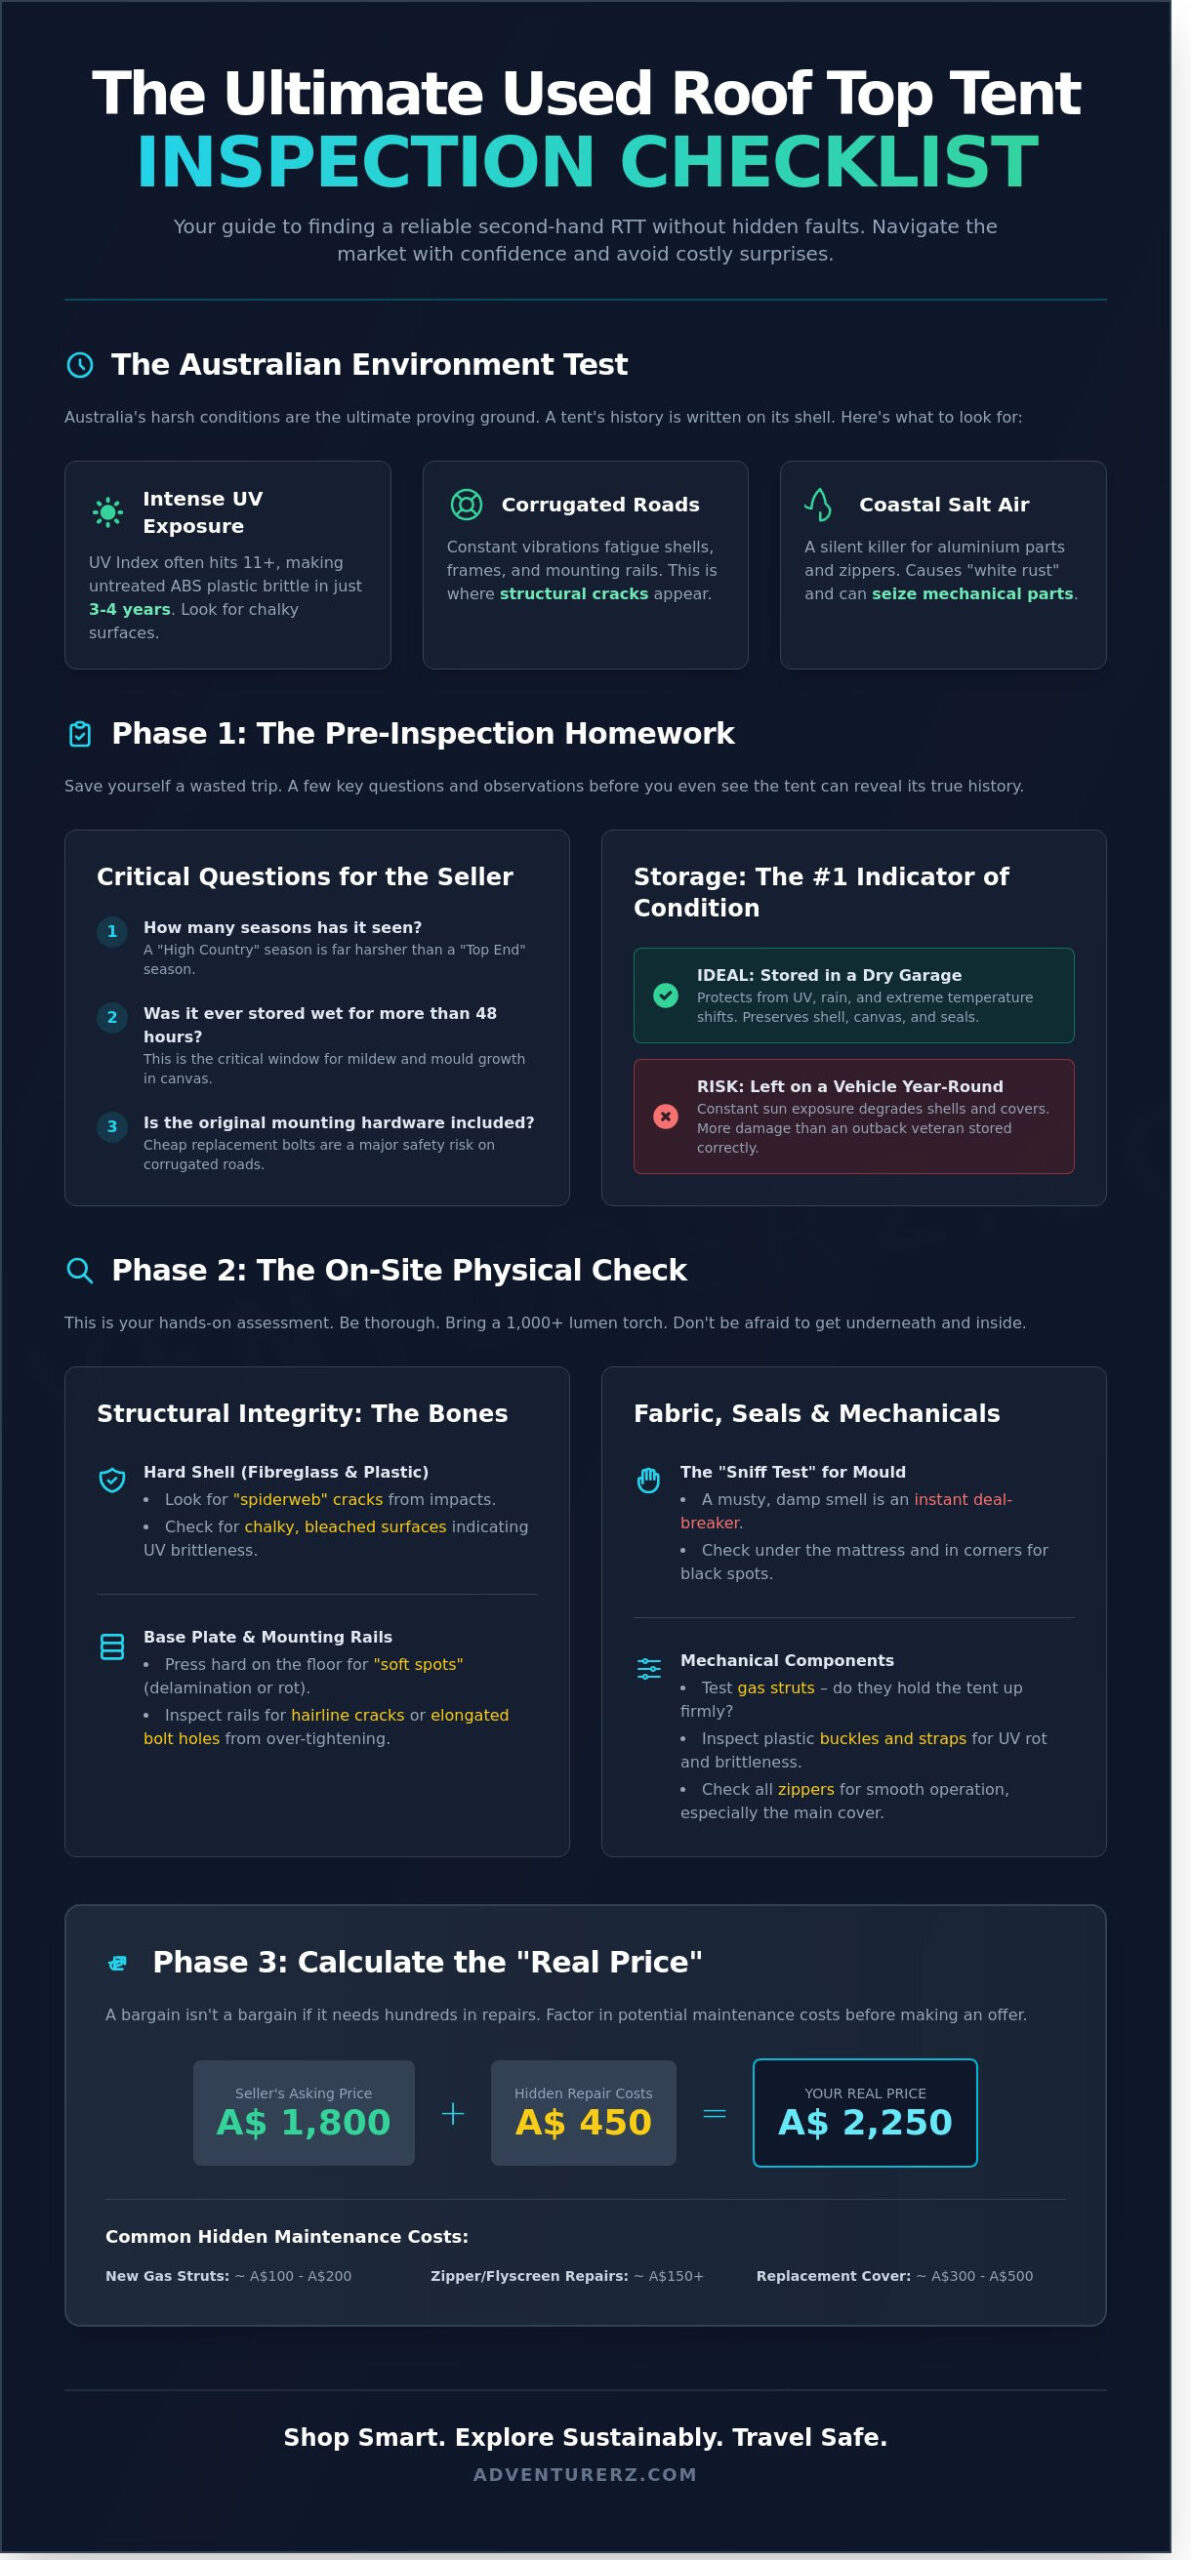
- Master the “Sniff Test” to instantly detect deal-breaking mold issues and learn which common zipper or flyscreen repairs will cost you the most at the local repair shop.
- Protect your rig and your safety by testing mechanical components like gas struts and inspecting buckles for the UV-rot often caused by our intense Australian sun.
- Calculate the “Real Price” in A$ by factoring in hidden maintenance costs, giving you the confidence to negotiate a fair, community-driven deal for your new setup.
The Pre-Inspection: Setting the Stage for a Successful Find
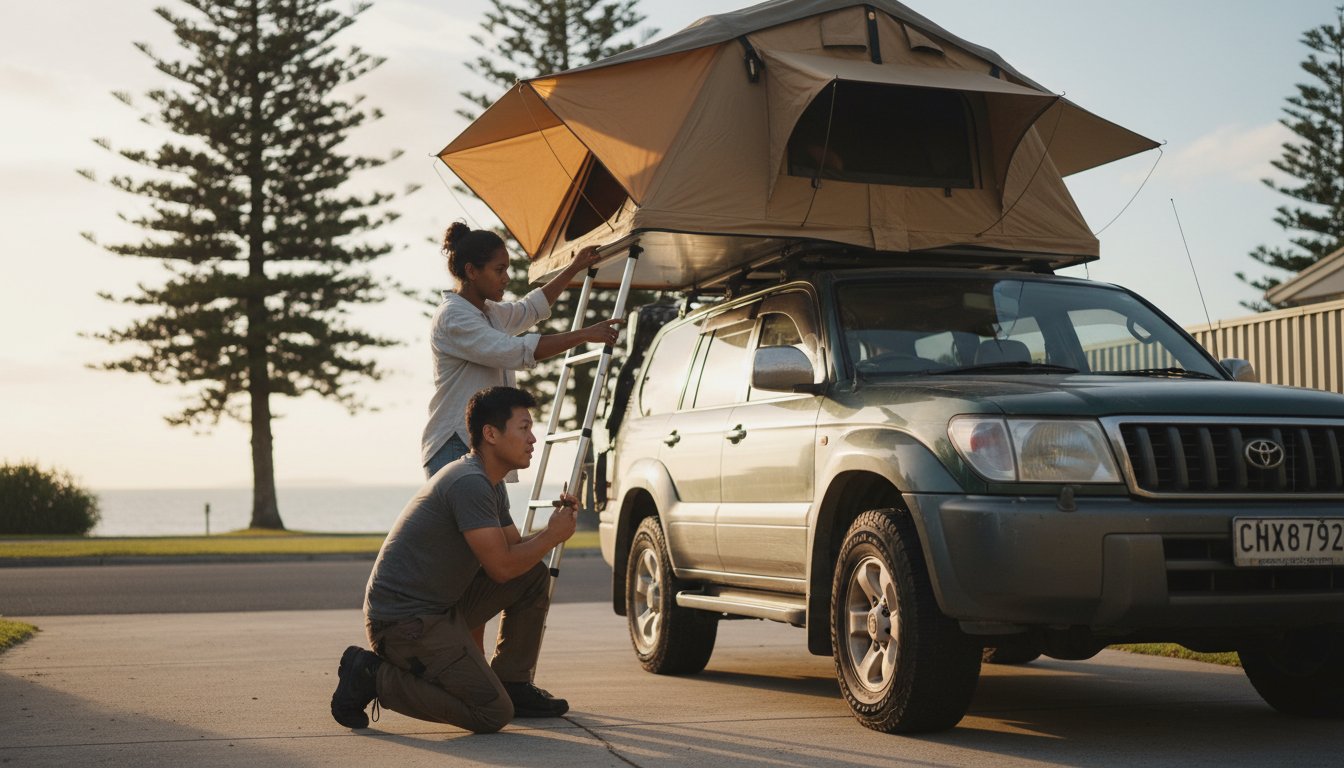
Choosing a pre-loved setup is the ultimate sustainable choice for our Adventurerz community. Every tent we keep out of a landfill reduces the carbon footprint of our collective travels while saving you upwards of A$1,500 compared to a brand-new premium model. Before you head out to inspect a potential buy, your used roof top tent inspection checklist starts at home. You need to research the specific model for 2024 or 2025 recalls. Some early batches of budget hardshells had gas strut failures or hinge snapping issues that you should identify before arriving. Pack a high-lumen torch, at least 1,000 lumens, and your vehicle’s specific roof rack measurements. If you’re still deciding on the style that fits your rig, a Roof tent can come in various configurations like hardshell or softshell, and each has its own unique maintenance history.
The first impression test begins the moment you pull into the seller’s driveway. Is the tent currently mounted on a vehicle, or is it sitting on a damp garage floor? A tent stored on its side against a brick wall can suffer from internal frame warping or crushed seals. We always recommend checking our guide on roof top tents to understand the baseline features of a quality unit before you judge a used one. If the seller has a tidy 4WD setup and keeps their gear clean, it’s a strong indicator that the tent has been respected during its life in the bush.
Understanding the Life of an Australian RTT
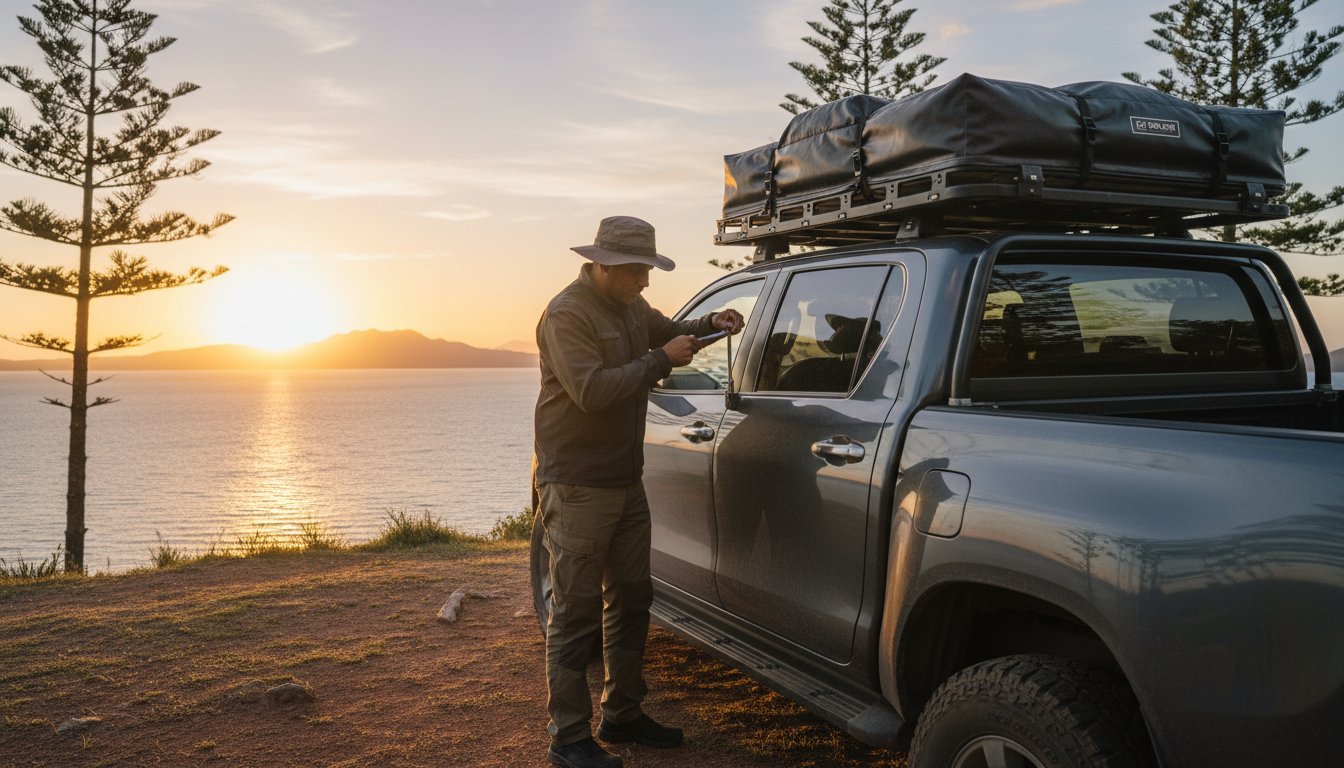
Australia’s harsh environment is the ultimate testing ground for outdoor gear. The UV index in states like Queensland often hits 11+, which can make ABS plastic shells brittle within 48 months. Fibreglass shells generally last 30% longer in direct sun but can still suffer from oxidation. Check if the seller lives within 5km of the coast. Salt air is a silent killer for aluminium extrusions and zippers, often causing “white rust” or seizing. A “driveway queen” that sat on a car for three years without use often has more sun damage than an outback veteran that was stored in a dark garage between trips.
Asking the Right Questions Before You Drive
Save yourself a wasted trip by asking these targeted questions during the initial phone call or message:
- How many seasons has it seen? A “season” in the High Country is different from a “season” in the Top End.
- Was it ever stored wet for more than 48 hours? This is the critical window for mildew and mould growth in canvas.
- Is the original mounting hardware included? We’ve seen sellers swap high-tensile bolts for cheap Grade 4 hardware store alternatives, which is a major safety risk on corrugated roads.
- Where was it stored? A garage-stored tent is almost always a safer bet than one left on a roof rack year-round.
Structural Integrity: The Hard Shell and Frame Checklist
We’ve all seen that perfect-looking tent on Marketplace, but beauty is often only skin deep. When you’re standing in a driveway with your used roof top tent inspection checklist, the first thing to scrutinize is the outer shell. For fiberglass models, look closely for “spiderweb” cracks. These fine, radial fractures suggest a heavy impact or structural fatigue from corrugated roads. If you’re looking at a plastic shell, check for chalky, bleached surfaces. Australia’s UV index regularly hits 11 plus in summer, and 5 years of intense sun exposure can make cheap plastics as brittle as a dry biscuit.
Next, crawl underneath. The base plate is the spine of your setup. We recommend checking for bowing or “soft spots” in the floor. On composite or honeycomb floors, a soft spot usually means the internal core has delaminated or rotted due to water ingress. This isn’t just a comfort issue; it’s a major safety hazard. While you’re down there, examine the mounting rails. Look for elongated bolt holes or hairline cracks around the tracks. Over-tightening is a common mistake, and a cracked rail can lead to the tent shifting during transit. For a broader perspective on securing loads safely, it is helpful to reference a vehicle safety inspection checklist to ensure your entire rig remains stable on the tracks.
Hard Shell vs. Soft Shell Structural Concerns
Soft shell owners need to be extra vigilant with PVC travel covers. A cover that feels stiff or “crispy” will likely fail during your first 100km/h stint on the highway. Check the zipper tracks for missing teeth or salt corrosion. If you’re inspecting a clamshell, open and close it 3 or 4 times. Listen for grinding in the hinges and feel for side-to-side play. We’ve seen 2-year-old tents with warped frames that refuse to seal perfectly, leaving a 10mm gap that lets in red dust and rain while you drive.
The Ladder and Internal Ribs
The ladder is your only way into bed, so don’t overlook it. Test every stage of the telescopic ladder to ensure the locking pins click home with a solid “thunk.” Inspect the internal hoops or ribs of the tent. Bends in these aluminium poles are often caused by heavy snow or 60km/h wind loads during high-country trips. Finally, look at the rivets. If you see white, powdery “aluminium rot” around the joints, the structural integrity is compromised. Tight rivets are a sign of a well-maintained home on wheels.
Fabric, Seals, and the ‘Sniff Test’: Detecting Hidden Issues
We Adventurerz know that the heart of any great setup is the canvas that keeps us dry during a midnight downpour in the High Country. When you’re running through your used roof top tent inspection checklist, your nose is actually your most valuable tool. The ‘Sniff Test’ is non-negotiable. If you unzip the door and get hit with a heavy, musty, or damp earthy odor, it’s an immediate deal-breaker. That scent indicates active mold or mildew spores that have likely penetrated deep into the fibers. Even if the tent looks clean, that smell suggests the previous owner packed it away wet, which can lead to structural rot in the fabric over time.
Beyond the smell, we need to focus on the mechanical components that fail most often. Zippers and flyscreens are the most common repair costs for second-hand gear. Replacing a heavy-duty YKK zipper at a professional Australian canvas trimmer typically costs between A$130 and A$280 per door. Test every single slider twice. If they snag or show signs of “teeth jumping,” you’re looking at an expensive trip to the repair shop before your first trip.
Look closely at the fabric’s waterproofing integrity. We recommend bringing a high-lumen torch to check for ‘windowing.’ This happens when the internal coating wears thin, allowing pinpricks of light to shine through the canvas. Check the seam tape too. If it’s white, flaky, or peeling away, the tent has likely been exposed to excessive heat or is nearing the end of its 5 to 7 year lifespan. Don’t forget to check for red dust ingress. Fine Australian bull dust acts like an abrasive sandpaper inside the weave. If the internal seams are stained deep orange, the fabric has likely suffered significant friction damage from thousands of kilometers on corrugated tracks.
Mold and Mildew Deep-Dive
We always check the ‘dead zones’ where airflow dies. Lift the mattress and inspect the baseboard corners; this is where condensation settles and turns into black spot mold. You need to distinguish between ‘trail dirt’ and ‘active spores.’ Dirt wipes off with a dry cloth, while spores leave a circular, stained shadow. Professional cleaning for a roof top tent can exceed A$250, and even then, the risk of permanent fabric degradation remains high. If more than 10% of the inner canopy shows spotting, the structural integrity is compromised.
Mesh and Seal Integrity
Check the midge-proof mesh for tiny tears or ‘runs.’ These are notoriously difficult to patch neatly without creating a pucker that prevents the tent from folding correctly. On hard-shell models, inspect the rubber bulb seals. These should be supple and bounce back when pressed. If they’ve flattened or show 3mm cracks from UV exposure, they’ll fail during a coastal storm. Ensure all rainfly attachment points are reinforced; if the stitching is pulling away, the fly will likely fail in winds exceeding 40km/h.
Mechanical Components and Mounting Hardware
We’ve seen plenty of Adventurerz get caught out by a tent that looks mint but fails the moment the wind picks up. Your used roof top tent inspection checklist must prioritize the moving parts that keep the structure stable. Mechanical failure in the bush isn’t just annoying; it’s a safety risk when you’re 200 kilometres from the nearest town.
- Step 1: Test the gas struts. Open the tent and give the shell a firm downward nudge. It should resist and return to position. If the struts can’t hold the weight against a 15km/h breeze, they’ve lost their pressure. Replacing a pair of 300N to 500N struts typically costs between A$70 and A$130.
- Step 2: Inspect every buckle and strap. The Australian sun is brutal. Tug on the transit straps and internal cinches. If the fabric feels “crunchy” or leaves a dusty residue on your hands, UV-rot has set in. These straps keep your tent closed at 110km/h on the M1, so don’t compromise here.
- Step 3: Check the electronics. Plug a device into the USB ports and flick the LED switches. Look for “green death” or copper oxidation on the wiring. Salt air from coastal camping can corrode internal circuits in as little as 18 months.
- Step 4: Examine the mattress. Zip open the cover. You’re looking for the original 75mm high-density foam. If you find a thin, 40mm “egg-carton” foam instead, the seller has likely kept the premium mattress and swapped it for a cheap replacement.
The Safety of the Mounting System
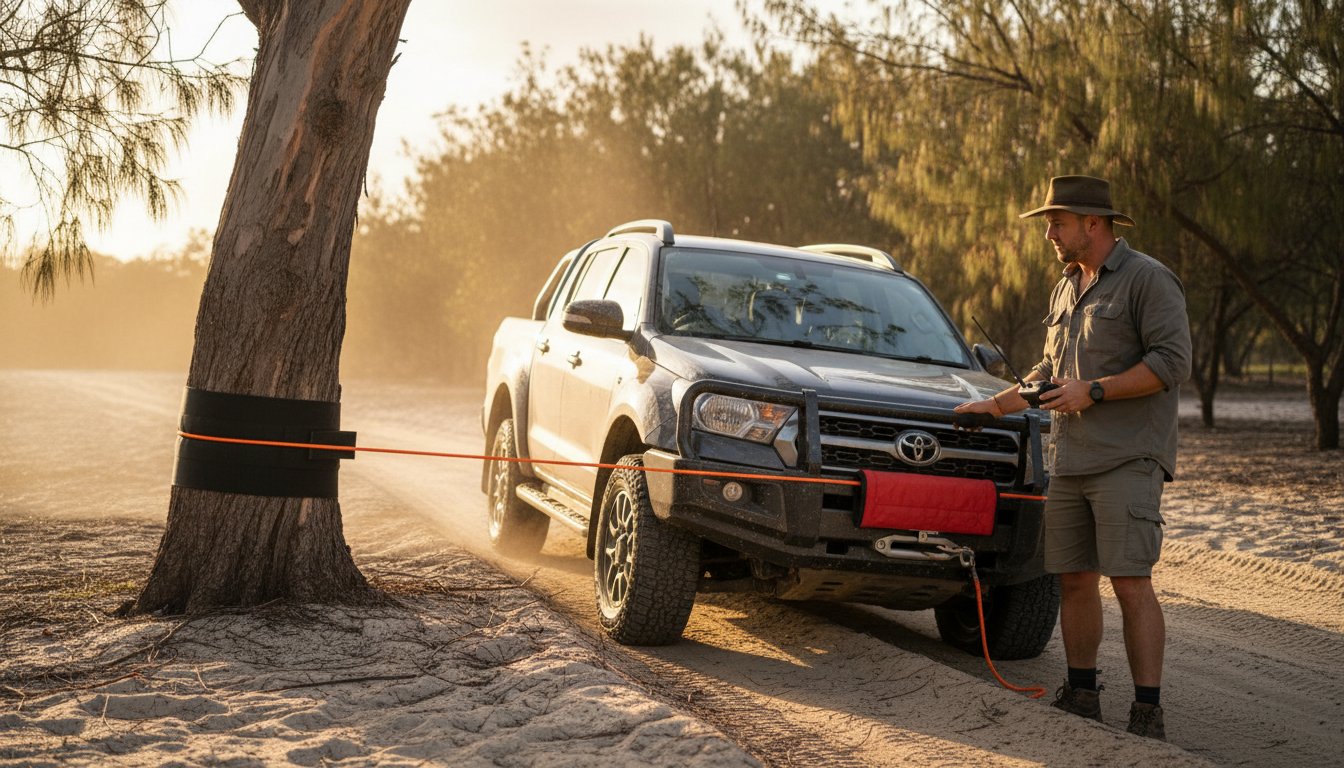
Never reuse old, rusted bolts. For the sake of a A$20 trip to the hardware store for new M8 or M10 stainless steel hardware, it’s not worth the risk. We always check for galvanic corrosion. This happens when stainless steel bolts react with aluminium mounting rails, creating a white, powdery residue that weakens the metal. Inspect the brackets for any bends. A slight curve often indicates a “low-clearance” mishap in a car park, which can stress the entire base floor of the roof top tent.
Gas Struts and Internal Hardware
Run a clean finger along the strut shafts. Any oily residue indicates a blown seal. According to 2024 industry repair data, 38% of hard-shell tent issues stem from strut failure after three years of heavy use. Check the locking mechanisms or safety poles that hold the tent open. These must engage with a solid click. Finally, inspect the internal storage lofts. If the mesh is sagging or the stitching is pulling away from the roof lining, it’s a sign the tent has been overloaded during travel.
The Closing Deal: Value vs. Repair Costs
We’ve reached the final stretch of your gear-hunting journey. Before you hand over your hard-earned A$, we need to calculate the “Real Price” of your find. A used tent listed for A$1,200 might seem like an absolute steal, but the hidden costs can stack up quickly. If the mattress is compressed or smells like a damp weekend in the Otways, you’re looking at an extra A$250 for a quality high-density foam replacement. Use your used roof top tent inspection checklist to tally up every minor flaw you’ve discovered. If those heavy-duty zippers are sticking or the teeth are bent, a local canvas specialist will likely charge A$100 or more for a professional repair.
Negotiation isn’t about being aggressive; it’s about being fair and informed. Use these concrete repair figures to justify a lower offer. Most sellers in our community respect a buyer who truly knows their gear and has done the research. Once you settle on a price, insist on a full “handover” demonstration. Watch the seller pack the tent down from start to finish. This ensures no hidden quirks exist in the folding mechanism or the internal bungee system. After the sale is finalized, you can finally start mapping out your first remote escape using the ultimate adventure travel planner to ensure your new setup is 2026-ready.
When to Walk Away
Some “bargains” are just expensive lessons in disguise. If you spot structural cracks in the mounting tracks or the baseplate, walk away immediately. A compromised frame is a massive safety liability when you’re hitting 100km/h on the corrugated tracks of the Kimberley. Widespread black mold is another deal-breaker. Spores are nearly impossible to fully eradicate from heavy-duty canvas once they take hold. If a seller is evasive about the tent’s history or lacks the proprietary mounting hardware, it’s time to move on. We’ve seen too many Adventurerz spend A$500 fixing a “cheap” tent that should have been retired years ago. Trust your gut; if the deal feels off, there’s always another tent on the horizon.
Post-Purchase Maintenance
Your new-to-you tent needs some love before its maiden voyage. Start with a deep clean using a pH-neutral soap and apply a fresh UV-rated waterproofing treatment. This simple step can add years to the life of the fabric and keep you dry during those sudden tropical downpours. You might also consider rounding out your campsite by checking out the best 4wd awnings to create a protected living area right next to your ladder. Once your rig is dialed in, share your find with the Adventurerz community for setup tips and trip ideas. We love seeing how you’ve given a second life to quality gear. It’s the most sustainable way to explore our incredible backyard while keeping your footprint small and your horizons wide.
Hit the Tracks with Confidence
Choosing a pre-loved setup is a smart move for every eco-conscious traveler looking to reduce their footprint while exploring the Australian wilderness. By sticking to this used roof top tent inspection checklist, you’ve learned how to identify structural stress and detect hidden moisture issues before they ruin a trip. It’s about more than just finding a bargain; it’s about ensuring your home on wheels can handle the 2026 season’s most demanding tracks. We’ve found that taking 20 minutes to test every zip and seal prevents the frustration of a mid-storm failure in the remote Outback. Our team of Adventurerz relies on community-tested gear guides and expert reviews to stay safe and self-sufficient. Every piece of equipment we recommend is vetted for durability and ethical manufacturing standards. Your next off-the-grid journey starts with gear you can trust.
Ready to kit out your rig? Check out our expert recommendations for the best Roof Top Tents in 2026!
The wild is waiting for you. Get your kit sorted, grab your maps, and we’ll see you out there under the stars!
Frequently Asked Questions
Is it worth buying a used roof top tent?
Yes, buying second-hand can save you between 30% and 60% off the retail price of a brand-new unit. For many Adventurerz, this is a sustainable way to upgrade their 4WD setup while keeping high-quality gear in circulation. You can often find premium tents for A$900 to A$2,200 that still have years of life left for off-the-grid expeditions.
How can I tell if a roof top tent has mold?
You can identify mold by looking for small black, green, or white speckled spots on the internal canvas and smelling for a distinct, musty odor. Check the corners of the mattress and the area under the floor plate where condensation often builds up. Using a used roof top tent inspection checklist helps you spot these issues before you commit to a purchase that might require a deep, professional clean.
What is the average lifespan of a roof top tent in Australia?
A well-maintained roof top tent typically lasts between 10 and 15 years in Australian conditions. Cheaper models might show significant wear after 3 or 4 years of intense UV exposure, but premium brands using 280GSM poly-cotton ripstop canvas endure much longer. We recommend checking the condition of the waterproof seals and the integrity of the fly to gauge how much life is left in a second-hand unit.
Can I replace the gas struts on a second-hand roof top tent?
Yes, replacing gas struts is a straightforward DIY task that costs approximately A$50 to A$120 for a pair. Most hard shell tents use standard sizing, so you can find replacements at local 4WD shops or specialized strut retailers across Australia. If the tent takes more than 5 seconds of effort to stay open, the struts are likely losing their pressure and need a quick swap.
How do I check if my roof racks can handle a used RTT?
Check your vehicle’s owner manual for the dynamic roof load limit, which is usually 75kg or 100kg for most modern 4WDs. You must ensure the weight of the tent and your racks combined stays under this limit while you’re driving on the highway. Static loads, which is the weight the racks can support when you’re parked and sleeping, are typically 3 to 4 times higher than the dynamic rating.
What are the red flags when buying a used hard shell tent?
Major red flags include hairline cracks longer than 5cm in the fiberglass shell, rusted mounting hardware, and seized zippers. If you see “bubbling” on the exterior finish, it often indicates delamination, which can lead to structural failure during a storm. We always suggest opening and closing the tent 3 times to ensure the internal mechanism hasn’t been bent or forced by a previous owner.
Does a used roof top tent still have a warranty?
Manufacturer warranties are almost always non-transferable and only cover the original owner. However, some Australian brands provide ongoing support and spare parts for models up to 10 years old. Ask the seller for the original 2024 or 2025 purchase receipt so you can verify the tent’s age and contact the manufacturer for specific replacement components if needed.
How do I clean a used roof top tent before my first trip?
Start by vacuuming every corner and then scrub the canvas with a soft brush and a mixture of mild soap and warm water. Avoid using high-pressure hoses or harsh chemicals that can damage the A$400 waterproof coating. Following your used roof top tent inspection checklist and finishing with a 5-hour session of air-drying in the sun ensures your new home is fresh and ready for the bush.