Fraser Island doesn’t forgive the unprepared. One wrong tyre pressure decision on a soft sand beach crossing and you’re watching the tide creep toward your bogged rig, wondering where it all went wrong. It’s a scenario that’s played out for plenty of first-timers on K’gari, and honestly, it doesn’t have to be yours.
We get it. The permit maze, the fear of salt air destroying your gear, the nagging uncertainty about which campsites are actually worth the effort to reach; these are real concerns that can turn excitement into overwhelm before you’ve even loaded the roof top tent. You’re not alone in feeling that way, and that’s exactly why we put this Fraser Island camping guide together.
Inside, you’ll find everything you need to navigate the island with confidence: from 4WD techniques that keep you moving on soft sand, to the remote campsites that reward the effort, to the sustainable practices that protect this extraordinary place for the Adventurerz who come after us. This is self-reliant adventure done right. Let’s get into it.
Key Takeaways
- This Fraser Island camping guide covers everything from securing National Park permits to nailing your tyre pressure on soft sand, so you arrive prepared rather than stranded.
- Choosing the right campsite matters enormously on K’gari; the North, South, and Western beach zones each offer a completely different experience, and knowing which suits your setup can make or break your trip.
- A roof top tent is one of the smartest gear decisions you can make for Fraser Island, keeping you elevated above the sand, the moisture, and the wildlife that comes with beachfront camping.
- Adventures like snorkelling the Tangalooma Wrecks and sand tobogganing at the Desert are far more rewarding when you know the best timing, safety considerations, and how to do them with minimal environmental impact.
- The logistics of getting to and around Fraser Island, including MICAT ferry bookings and vehicle permits, have specific lead times and peak season pressures that catch first-timers off guard every year.
Discovering Fraser Island (K’gari): An Adventure Overview
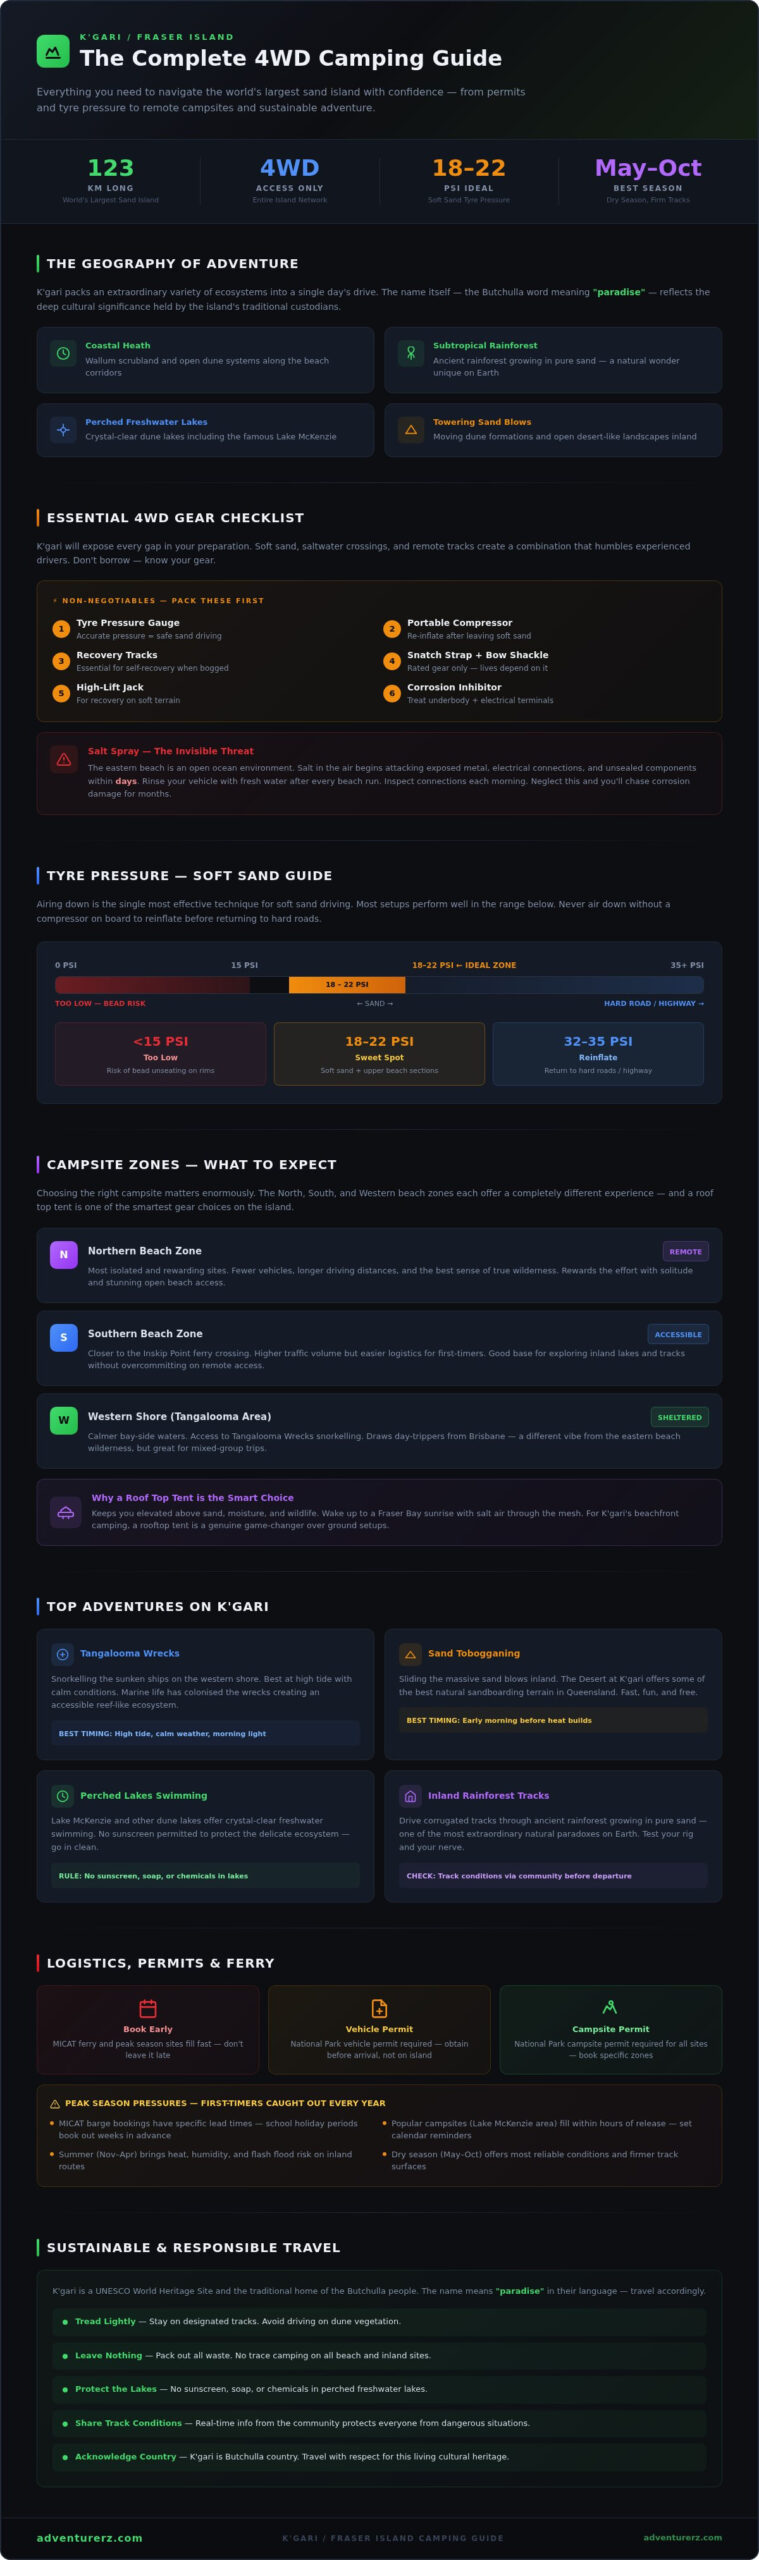
Fraser Island (K’gari) holds a title that still stops people in their tracks: the world’s largest sand island, stretching roughly 123 kilometres along Queensland’s southeast coast. But a title doesn’t capture what it actually feels like to drive a corrugated inland track through ancient rainforest, crest a dune, and suddenly find yourself staring at an open ocean horizon. That feeling is the reason this Fraser Island camping guide exists.
Understanding the island means understanding its dual identity. Tangalooma Resort sits on the western shore and draws day-trippers from Brisbane for dolphin feeding and wrecks snorkelling. It’s a legitimate experience, but it’s a different island entirely from the one Adventurerz come here for. The remote eastern beaches, the perched freshwater lakes, the inland tracks that test your rig and your nerve; that’s K’gari. That’s the real thing.
The name K’gari matters. It’s the Butchulla word meaning “paradise,” and the Butchulla people have a living connection to this land that predates any resort booking system by thousands of years. Using the name isn’t a formality. It’s an acknowledgment that we’re visitors in a place with deep cultural significance, and that shapes how we travel here. Tread lightly. Leave nothing. Respect the land as the Butchulla people have always asked us to.
The Geography of Adventure
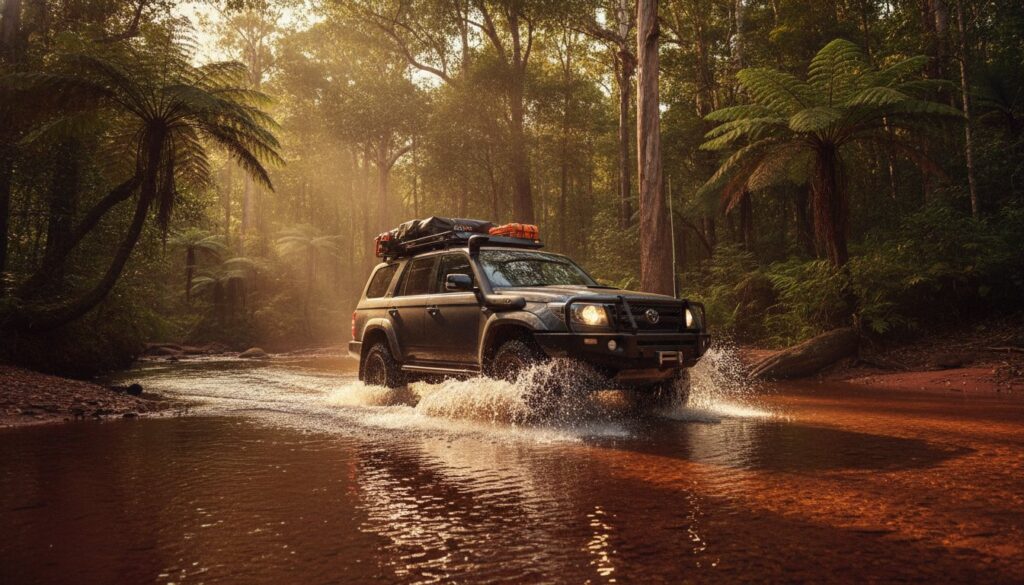
K’gari’s ecosystems are genuinely remarkable in their variety. You’ll move through coastal heath, wallum scrubland, subtropical rainforest, and towering sand blows within a single day’s drive. Almost the entire island is 4WD-access only, not as a bureaucratic hurdle but as a geographical reality; conventional vehicles simply can’t handle the soft sand tracks and beach driving conditions. Seasonally, the Queensland dry season (roughly May through October) offers the most reliable conditions, with lower rainfall and firmer track surfaces. Summer brings heat, humidity, and the risk of flash flooding on inland routes.
The Adventurerz Community Perspective
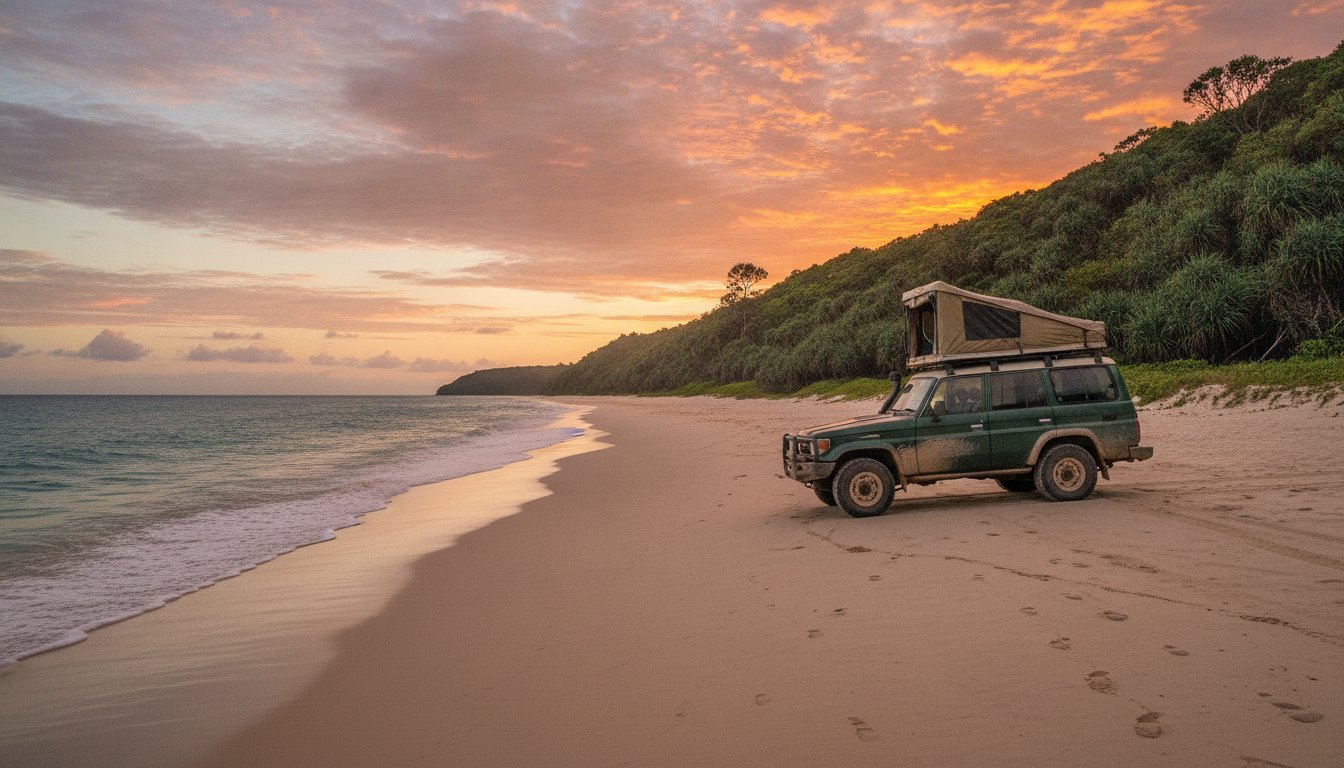
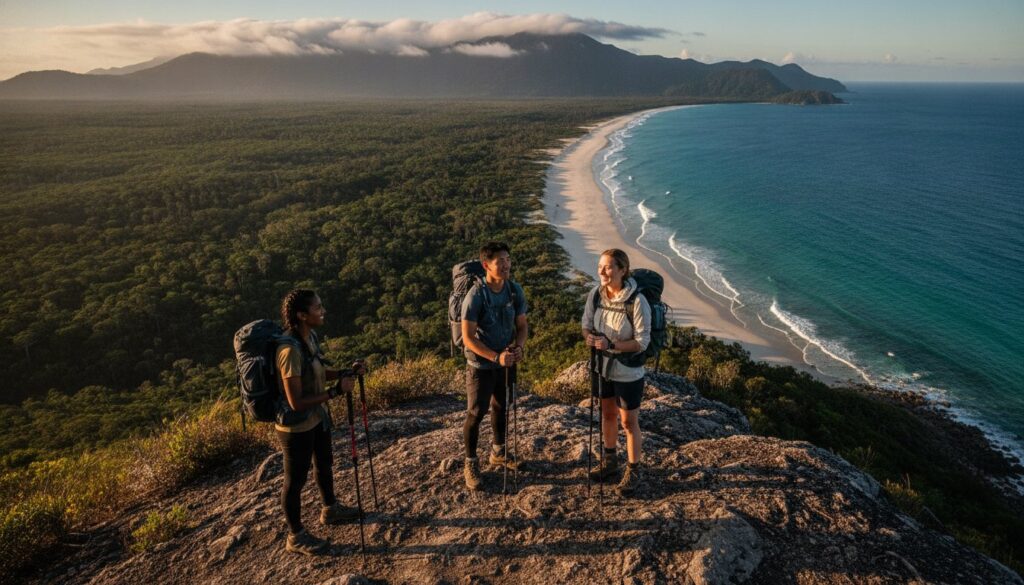
What draws our community back to K’gari isn’t the resort. It’s the self-reliance the island demands and rewards. There’s a particular satisfaction in sharing real-time track conditions with fellow Adventurerz, knowing that information might save someone from a bogged vehicle on an incoming tide. And nothing resets your perspective quite like waking up in a roof top tent to a Fraser Bay sunrise, salt air through the mesh, not another soul in sight. That’s the version of K’gari worth planning for. And 2026, with growing awareness of sustainable travel practices and increasing community-driven trip planning, is the year to make it happen.
Essential 4WD Gear and Sand Driving Prep
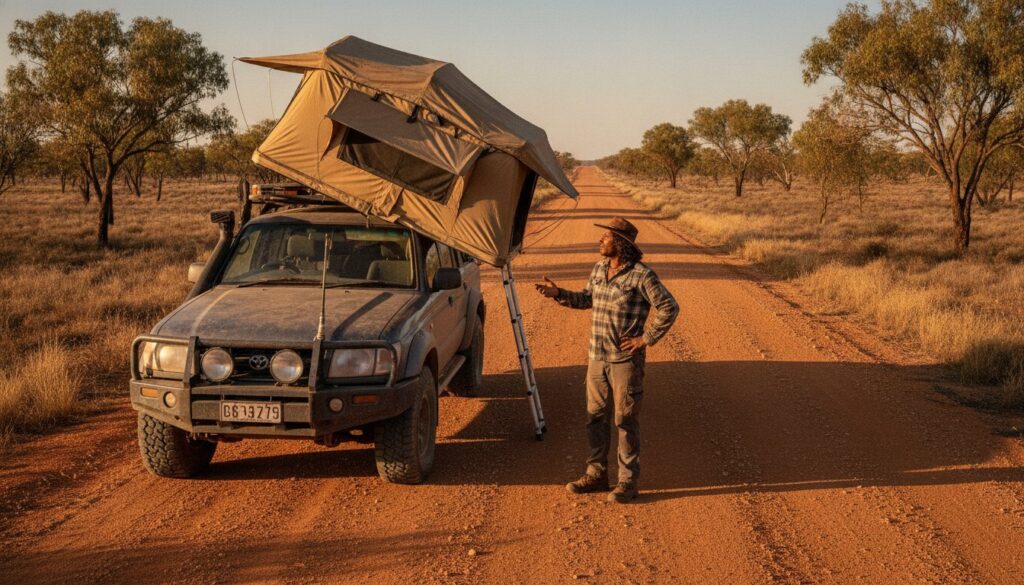
K’gari will expose every gap in your preparation. The island’s soft sand, saltwater crossings, and remote tracks create a combination that humbles experienced drivers and destroys under-prepared rigs. Getting your 4WD setup right before you board the barge isn’t optional in this Fraser Island camping guide; it’s the difference between a trip you’ll talk about for years and one you’d rather forget.
Start with the non-negotiables. A quality tyre pressure gauge and a reliable portable compressor are the two pieces of equipment that will do more work than almost anything else in your kit. Airing down is the single most effective technique for soft sand driving, and you simply can’t do it accurately without both. Recovery tracks, a snatch strap, a rated bow shackle, and a high-lift jack round out the core recovery kit. These aren’t items to borrow from a mate at the last minute; they need to be yours, familiar, and packed where you can reach them fast.
Salt spray is a slow, invisible threat. The eastern beach is an open ocean environment, and the air itself carries enough corrosive salt to start attacking exposed metal, electrical connections, and unsealed components within days. Before you leave home, apply a quality corrosion inhibitor to your underbody, electrical terminals, and any exposed recovery gear. Rinse your vehicle thoroughly after every beach run if you have access to fresh water on-island, and inspect your connections each morning. Neglect this and you’ll be chasing corrosion damage for months after you get home.
Mastering the Soft Sand
Tyre pressure is where most beach driving mistakes begin. For K’gari’s softest sections, particularly the upper beach and inland sandy tracks, most setups perform well in the range of 18 to 22 PSI, though your ideal pressure depends on your vehicle’s weight and tyre size. Lighter rigs can go lower; heavily loaded touring setups need to balance flotation against the risk of debeading. Always re-inflate before returning to hard surfaces.
Reading the tide is non-negotiable. The eastern beach is a working highway with a hard deadline; incoming tides move fast and leave no room for slow recoveries. Download a tide chart app before you lose mobile signal, and plan your beach transits to run with the tide going out, not coming in. If you get bogged, act quickly:
- Stop digging with your wheels. Spinning tyres in sand makes the hole deeper, not smaller.
- Air down further if you haven’t already reached your minimum safe pressure.
- Deploy recovery tracks under the driven wheels before anything else.
- Use a snatch strap with a second vehicle only after track recovery has failed, and always with a dampener on the strap.
Optimising Your 4WD Setup
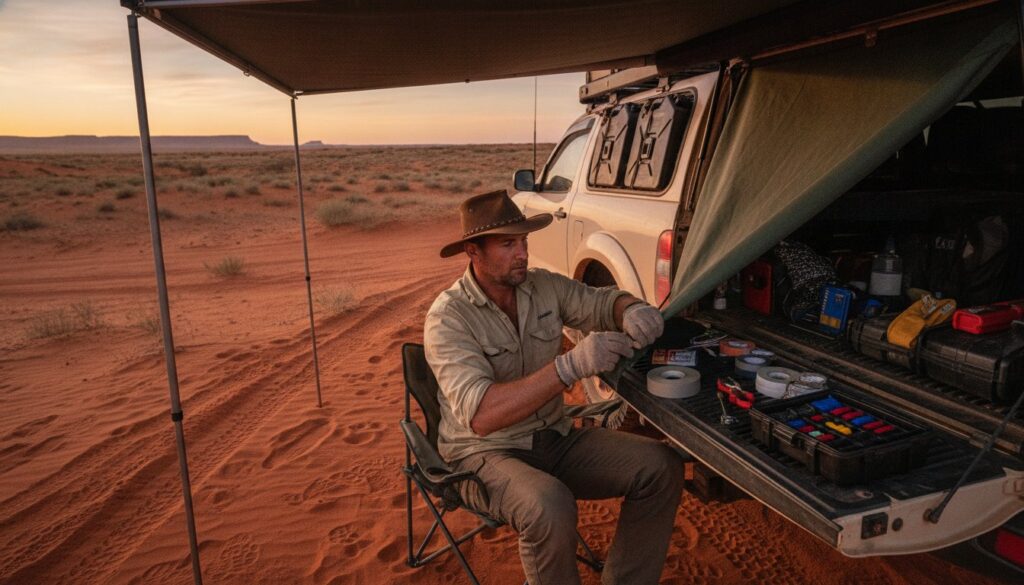
Shade on K’gari’s eastern beach is essentially non-existent. Midday temperatures during the shoulder season can push past 30°C with direct sun and reflected heat off the sand. A well-chosen 4WD awning transforms your vehicle into a proper base camp, giving you a shaded space to rest, eat, and plan your next move without retreating to the cab. If you’re still weighing up your options, the Adventurerz guide to the best 4WD awnings breaks down what actually works in coastal Queensland conditions.
Weight distribution matters more on sand than on any other surface. Keep your heaviest gear low and centred; roof-loaded weight raises your centre of gravity and increases the risk of getting stuck on angled beach sections. Pack your recovery kit last so it comes out first, because when you need it, you need it immediately, not after unpacking half your camp.
Remote Camping: Rooftop Tents and Beachfront Sites
Most camping advice for K’gari begins and ends with Tangalooma. This Fraser Island camping guide takes a different approach entirely, because the island’s real character lives in its National Park camping zones, not its resort car park. The North, South, and Western beach zones each deliver a fundamentally different experience, and choosing the right one for your setup changes everything about your trip.
The southern zones around Dilli Village and Hook Point suit Adventurerz arriving via the Inskip Point barge, offering easier access and a gentler introduction to island camping. They’re established sites with basic facilities, which makes them a solid base for first-timers getting their bearings before pushing further north. The northern zones around Orchid Beach and beyond are a different proposition entirely: fewer neighbours, rawer conditions, and a sense of genuine remoteness that the southern end simply can’t match. The western shore camping areas trade ocean drama for sheltered conditions and some of the island’s best sunset fishing, particularly around Wathumba Creek.
Choosing Your Campsite
The Blue Lagoon area near Lake McKenzie offers something rare on K’gari: reliable freshwater access and natural windbreaks from surrounding vegetation. It’s worth the inland track to reach it, especially if you’re planning a multi-day stay and want to rinse salt spray off your gear. The North-West camping zone near Wathumba is the pick for sunset chasers and anglers, with protected water views and far less beach traffic than the eastern corridor. Remote sites beyond Orchid Beach require genuine self-sufficiency; carry all your water, pack out every scrap of waste, and expect zero phone signal. The reward is a coastline that feels entirely yours.
Elevated Living: The Rooftop Tent Advantage
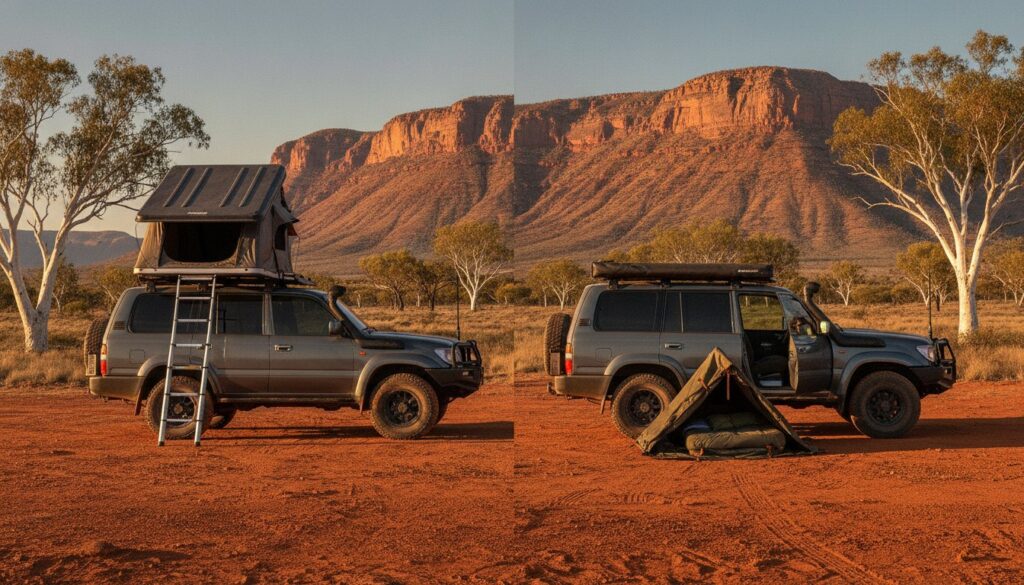
Sand is relentless. It gets into sleeping bags, into food, into every zip and seam you own. A roof top tent solves this problem at the source by getting you off the ground completely. You’re sleeping on your vehicle, above the sand, above the moisture that wicks up through beach soil overnight, and above the curious wildlife that investigates ground-level camps after dark.
The practical advantages stack up fast on K’gari specifically:
- Setup and pack-down takes minutes, which matters when you’re moving between sites daily and want to maximise driving time before the tide shifts.
- Elevated airflow keeps you cooler on still, humid nights when ground tents trap heat.
- No tent pegs in sand means no fumbling with anchors that pull out the moment the sea breeze picks up.
- Your sleeping position stays consistent regardless of how uneven or soft the ground beneath your vehicle is.
For beach conditions specifically, look for a roof top tent with a robust, corrosion-resistant mounting system and mesh panels that handle salt-laden coastal airflow. Position your vehicle with the tent opening facing away from the prevailing onshore wind; on the eastern beach, that typically means orienting your rig with the nose pointing north. A quality awning rigged off the vehicle’s side creates a sheltered kitchen and living zone below, turning your setup into a proper camp rather than just a parking spot with a bed on top.
Sand management around camp is an ongoing job. A coarse-bristle brush at the ladder base catches most of what you’d otherwise track into your sleeping space. Keep your kit bags sealed and stored under your awning rather than inside the tent, and shake everything out before it goes back into the cab. Small habits, big difference over a five-day stay.
Top Adventures: Snorkelling, Wrecks, and Sand Dunes
K’gari’s adventure menu goes well beyond driving a beach highway. The island stacks genuine, world-class experiences within a single day’s reach of most campsites, and the best ones don’t require a tour booking or a resort wristband. This is where your Fraser Island camping guide earns its keep: knowing which experiences are worth your time, how to do them safely, and how to leave each spot exactly as you found it.
Exploring the Wrecks Independently
The Tangalooma Wrecks sit in shallow water on the western shore, roughly 15 to 20 metres from the beach at low tide. You don’t need a guided tour to reach them. Wade out at low tide, snorkel fins on, and the wreck structures become visible within minutes. Currents here run parallel to the shore rather than outward, which makes the swim manageable for confident swimmers. The key is timing your entry around slack tide, the brief window between tidal movements when the water settles and visibility peaks. Marine life around the wrecks in 2026 includes resident trevally schools, spotted wobbegong sharks resting on the hull structures, and the occasional loggerhead turtle passing through. Always snorkel with a buddy, and keep a bright surface float visible if there’s any boat traffic nearby.
The Island’s Natural Wonders
Sand tobogganing at the Desert Sandblows near Lake Wabby is exactly what it sounds like: a fast, ridiculous, completely addictive slide down a steep sand face. Hire a toboggan board from a local operator before you lose road access, or improvise with a smooth plastic sheet from your camp kit. The walk across the sandblows to Lake Wabby takes around 45 minutes from the inland carpark, and the lake itself is worth the effort even if you skip the tobogganing entirely. It’s one of the most visually striking spots on the island.
The Champagne Pools at the northern tip near Indian Head are a natural rock formation that traps surging ocean water into calm, protected swimming pools. They’re only accessible at lower tides and require a careful scramble over wet rocks, so solid footwear is non-negotiable. Swim here rather than in the open surf; the eastern beach has persistent rip currents and no lifeguard presence anywhere on the island.
Whale watching runs from June through October, when humpbacks migrate north through the strait. Indian Head provides the best elevated vantage point on the eastern coast, with clear sightlines across open water. The cliff face there is also a reliable spot for spotting reef sharks and manta rays in the water below.
- Champagne Pools: Low tide access only; check tide charts the night before.
- Lake Wabby: Carry all your water; no facilities at the sandblows.
- Indian Head: Stay well back from the cliff edge; the rock surface crumbles at the margins.
- Tangalooma Wrecks: Avoid touching the structures; coral growth is active and fragile.
That last point matters more than it might seem. K’gari’s ecosystems are under real pressure from visitor numbers, and the difference between a reef that thrives and one that degrades often comes down to individual choices made by individual travellers. Every Adventurerz who visits these spots sets an example, whether they mean to or not. Snorkel without touching. Walk on established paths across the sandblows. Pack out everything you carry in. The island rewards that kind of respect with experiences that still feel genuinely wild.
Planning your full activity itinerary around tides, track conditions, and seasonal wildlife windows is the kind of detail that separates a great K’gari trip from a rushed one. For more on building a self-reliant camp setup that keeps you mobile and ready to chase these windows, explore the Adventurerz guide to the best 4WD awnings and build a base camp that moves when you do.
Planning the Logistics: Permits, Ferries, and Ethics
Get the paperwork wrong and you won’t make it past the barge ramp. K’gari’s permit system catches more first-timers off guard than any soft sand crossing, simply because the deadlines and booking windows don’t wait for anyone. Lock this in early, and the rest of your Fraser Island camping guide planning falls into place.
Navigating the Red Tape
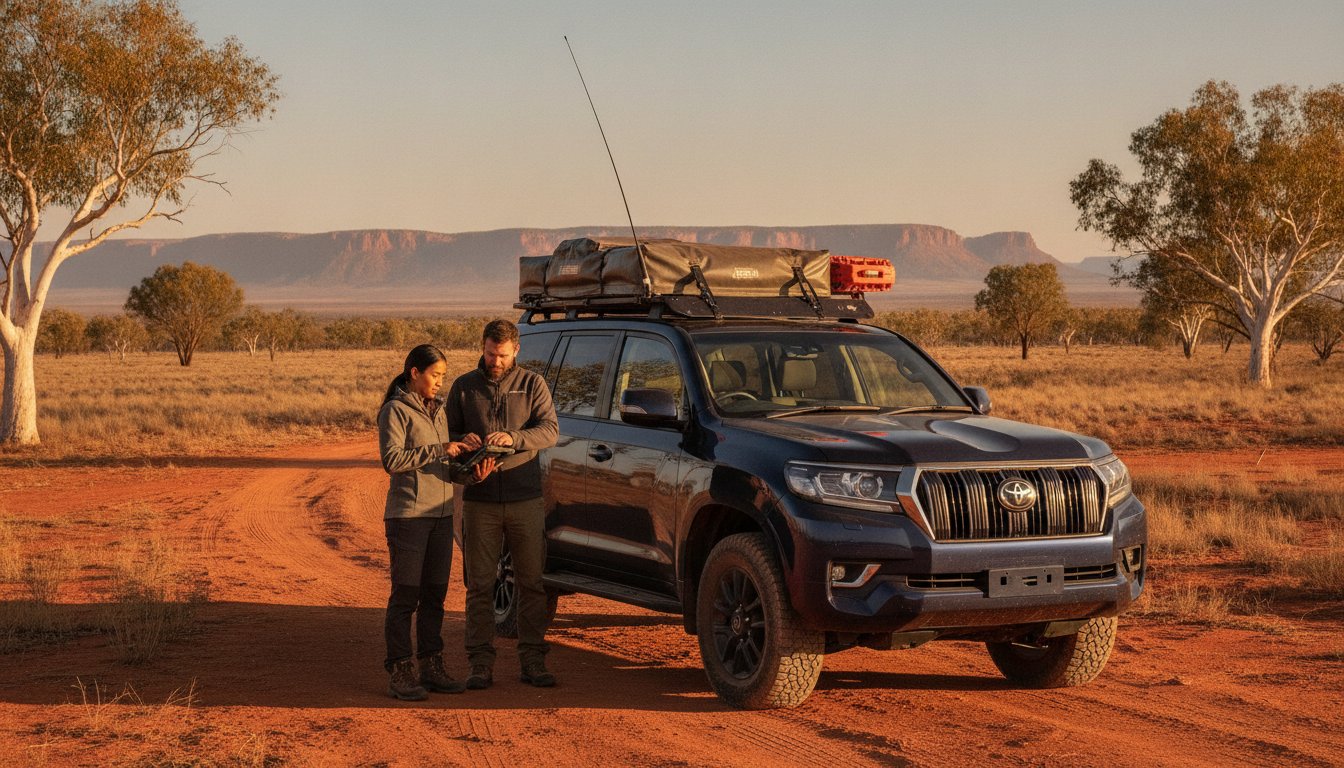
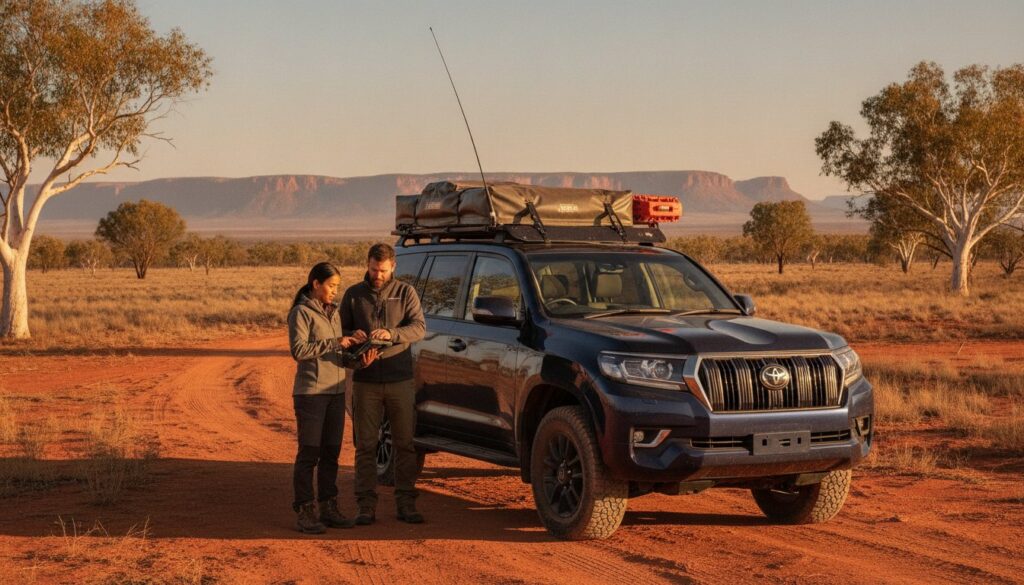
Two separate permits cover most Adventurerz visiting K’gari: a vehicle permit and a camping permit, both issued through the Queensland National Parks online booking system. Apply for both at the same time through the Queensland Government’s online parks booking portal. Don’t assume availability; peak school holiday periods and long weekends in the dry season fill specific campsites weeks out. Check the current fee structure directly on the Queensland Parks website before you book, as fees are reviewed periodically and the figures published on third-party sites are often outdated.
Digital permits are accepted on-island, but don’t rely solely on your phone. Inland tracks and remote northern zones have zero mobile coverage, and rangers do conduct checks. Screenshot your permit confirmation and save it offline, or print a copy before you leave the mainland. Both options work. Having neither doesn’t.
The MICAT Ferry: Book It Before You Think You Need To
The MICAT vehicle ferry runs between River Heads (south of Hervey Bay) and Wanggoolba Creek on K’gari’s western shore. It’s the most direct vehicle access point for the island’s interior tracks. During the Queensland school holidays and the peak dry season window from June through September, MICAT sailings book out well in advance. Aim to secure your crossing at least four to six weeks ahead for peak periods; two weeks out is cutting it fine. Check the official MICAT operator website for current schedules and pricing, as these are updated seasonally.
The Adventurerz Code of Ethics
This is the part most logistics guides skip entirely. It’s also the part that matters most. K’gari’s ecosystems are under sustained pressure from visitor numbers, and the gap between a traveller who leaves the island better than they found it and one who doesn’t often comes down to a handful of specific habits.
- Pack out everything. There are no rubbish collection services at remote campsites. Bring sealed waste bags and carry every piece of rubbish back to the mainland, including food scraps that attract wildlife.
- Fires are restricted. Open fires are prohibited in many zones and subject to seasonal bans. Use a gas stove. Always check current fire restrictions through Queensland Parks before you travel.
- Dingoes are wild animals. Never feed them, never leave food accessible, and never approach them. Dingo incidents on K’gari are almost always linked to human food habituation. Keep your camp clean and your kids close.
- Stay on defined tracks. Driving off-track on the island’s vegetation corridors causes erosion that takes decades to recover. If your GPS suggests a shortcut through scrub, ignore it.
- Grey water management matters. Dispose of washing water at designated grey water points, never directly onto beach sand or into freshwater systems.
Sustainable travel on K’gari isn’t a philosophy reserved for eco-lodges. It’s a practical commitment that every self-reliant traveller can make, and it starts with planning. Use the Ultimate Adventure Travel Planner to map your 2026 remote escape with these ethics built in from the start, not bolted on as an afterthought. The Butchulla people have asked us to treat K’gari as the paradise it is. That’s a standard worth holding ourselves to.
Before you leave the mainland, run through this final checklist:
- Vehicle and camping permits confirmed and saved offline
- MICAT ferry booking confirmed for both directions
- Tide charts downloaded for your travel dates
- Fire restriction status checked via Queensland Parks
- Waste bags, gas stove, and grey water container packed
- Recovery kit accessible, not buried under camp gear
- Compressor and tyre gauge tested and functional
K’gari rewards preparation with experiences that genuinely can’t be replicated anywhere else in Australia. Get the logistics right, carry your ethics with you, and the island delivers on every promise.
Your K’gari Adventure Starts Here
K’gari doesn’t reward hesitation. It rewards Adventurerz who show up prepared: permits locked in, tyres aired down, recovery kit within reach, and a genuine respect for the land they’re travelling through. This Fraser Island camping guide has given you the framework; the soft sand techniques, the campsite choices, the permit process, the adventure windows, and the ethics that make the difference between a visitor and a responsible traveller.
Three things to carry with you: get your MICAT and National Park permits sorted well ahead of your travel dates, invest in a roof top tent setup that keeps you off the sand and ready to move, and treat every site you visit as if the next generation of Adventurerz is counting on you to leave it intact. Because they are.
The Adventurerz community is built on exactly this kind of self-reliant, sustainable exploration, backed by expert gear reviews and a passionate network of 4WD enthusiasts who’ve done the hard yards so you don’t have to. Join the Adventurerz community and start planning your 2026 remote escape. The island is waiting.
Frequently Asked Questions: Fraser Island Camping Guide
Do I need a 4WD to visit Fraser Island?
Yes, a 4WD is essential for visiting K’gari. Conventional two-wheel-drive vehicles simply cannot handle the soft sand beach driving and inland tracks that make up the island’s road network. This isn’t a recommendation; it’s a geographical reality. Even experienced drivers with well-equipped 4WDs get bogged occasionally, so arriving in anything less is genuinely dangerous, particularly on the eastern beach where incoming tides leave no margin for slow recoveries.
If you don’t own a 4WD, hiring one from operators in Hervey Bay or Rainbow Beach before you board the barge is the standard approach. Make sure any hired vehicle comes with a portable compressor and basic recovery gear, and confirm you’re permitted to use recovery equipment under the hire agreement before you sign.
How much are the camping and vehicle permits for Fraser Island in 2026?
Permit fees are set by Queensland National Parks and are reviewed periodically, so the most accurate current figures are always on the Queensland Government’s online parks booking portal. Both a vehicle access permit and a separate camping permit are required for most visits, and fees apply per vehicle and per person per night respectively. Check the portal directly before you book, as third-party sites frequently publish outdated figures that no longer reflect current pricing.
As a practical note, book both permits simultaneously through the one portal session. Campsite availability at popular zones fills weeks ahead during peak dry season periods, particularly from June through September, so locking in your dates early is more important than the specific fee amount.
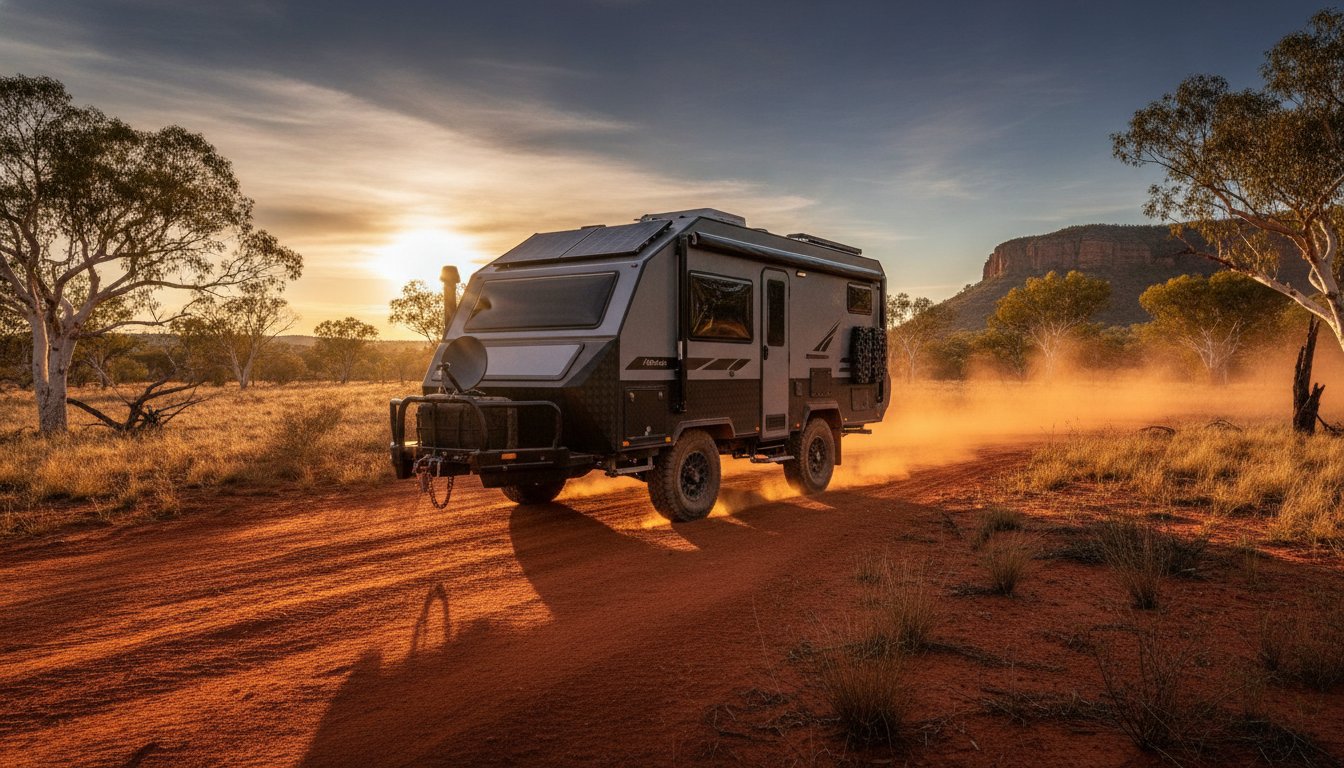
Can I take a camper trailer or caravan to Fraser Island?
Camper trailers are permitted on K’gari, but caravans are not recommended and face serious practical limitations on the island’s tracks. Even purpose-built off-road camper trailers require careful management on soft sand; the added weight and length significantly increase your risk of getting bogged, and recovery with a trailer attached is substantially more complex. If you’re bringing a camper trailer, ensure it’s a genuine off-road build with adequate clearance, and practice unhitching quickly in case you need to recover the tow vehicle separately.
A roof top tent mounted directly to your 4WD remains the most practical camping solution for K’gari’s conditions. It eliminates towing complications entirely, keeps your setup compact for narrow inland tracks, and gets you off the sand without the complexity of trailer management on a tidal beach.
Where can I get fresh water and fuel on the island?
Fresh water is available at several designated points across the island, including Dilli Village, Cathedrals on Fraser, and Eurong. However, supply can be limited during peak periods, and remote northern zones have no water access at all. Carry a minimum of 10 litres of drinking water per person per day beyond what you expect to need, treating any on-island supply as a backup rather than your primary source.
Fuel is available at Eurong, Kingfisher Bay Resort, and Orchid Beach, but prices are significantly higher than mainland rates and stock isn’t guaranteed. Calculate your fuel requirements conservatively before boarding the barge, add a meaningful buffer for soft sand driving (which consumes considerably more fuel than sealed road travel), and carry a jerry can as insurance if your range is tight.
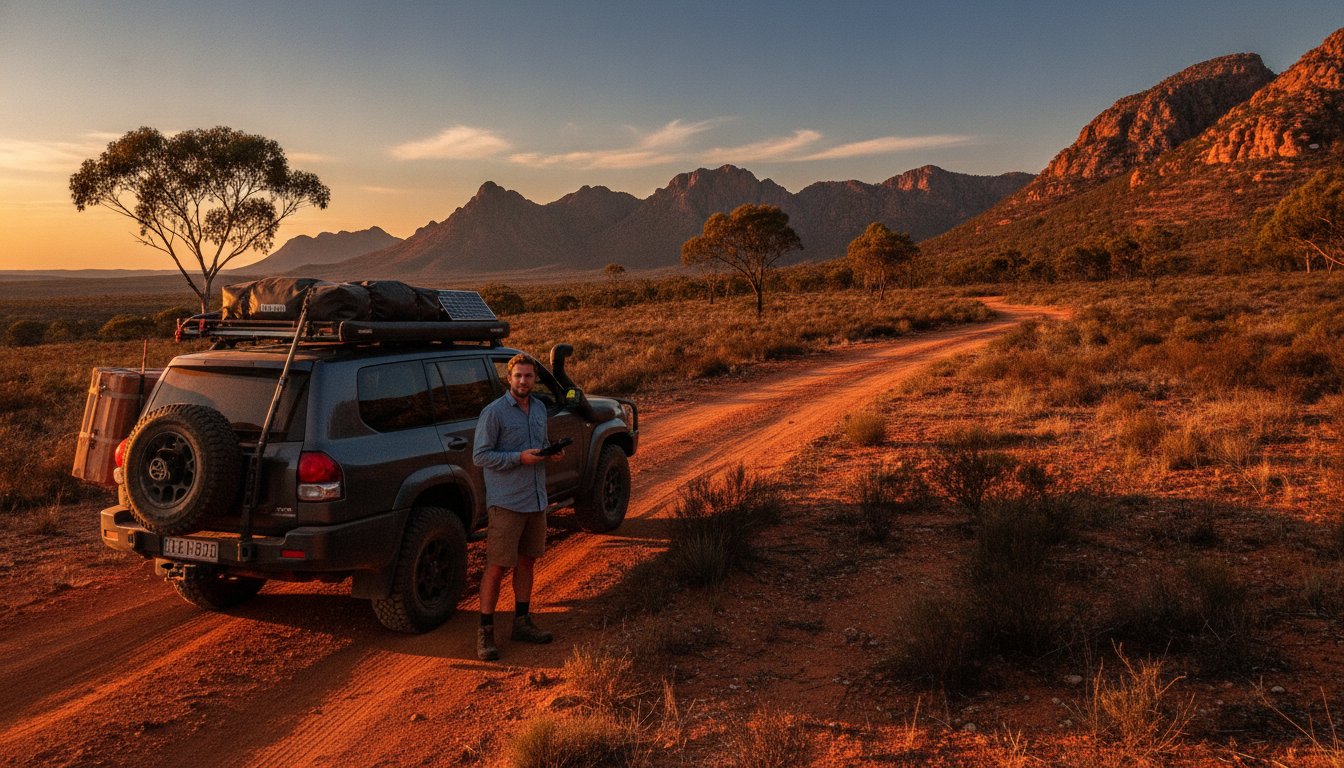
Is there mobile phone reception on Fraser Island?
Mobile coverage on K’gari is patchy at best and non-existent across most of the island’s interior and northern zones. Some signal is available near Eurong and Kingfisher Bay Resort, but you cannot rely on consistent connectivity for navigation, emergency contact, or tide chart access once you leave the southern end. Download your tide charts, permits, and offline maps before you lose signal on the mainland side of the barge crossing.
A personal locator beacon (PLB) is strongly recommended for any Fraser Island camping guide trip that takes you into remote northern zones or inland tracks far from other travellers. PLBs operate independently of mobile networks via satellite, and registering one with the Australian Maritime Safety Authority before you travel costs nothing and could save your life.
What should I do if I get bogged on the beach?
Stop immediately and don’t spin your wheels. Continued wheel spin digs you deeper into the sand and makes recovery significantly harder. Your first action is to air down further if you haven’t already reached your minimum safe tyre pressure, then deploy recovery tracks under the driven wheels before attempting to move. In most cases, this combination resolves a beach bog without needing a second vehicle at all.
If recovery tracks don’t free you, use a snatch strap with a rated recovery vehicle and always attach a dampener to the strap before the pull. Never use a tow rope for dynamic recovery; it’s not rated for the shock load and can snap with serious consequences. Keep a constant eye on the tide throughout your recovery attempt. If the water is rising toward your vehicle and recovery is taking time, prioritise getting your gear to high ground while you still can.
Are dogs allowed on Fraser Island?
Dogs are not permitted anywhere on K’gari, including on the beaches, tracks, and camping areas. This is a firm National Park regulation, not a guideline. The restriction exists primarily to protect the island’s wild dingo population; domestic dogs carry diseases that can affect dingoes, and their presence disrupts dingo behaviour in ways that have long-term consequences for the population. Rangers enforce this rule actively, and fines apply.
If you’re travelling with pets, arrange appropriate care on the mainland before your trip. There are no exceptions or designated pet-friendly zones on the island, so this needs to be factored into your planning well before your departure date.
How far in advance should I book the ferry to Fraser Island?
For travel during Queensland school holidays or the peak dry season window from June through September, aim to book your MICAT ferry crossing at least four to six weeks ahead. Sailings during these periods fill quickly, and leaving your booking until two weeks out during peak times is a genuine risk. The MICAT runs between River Heads and Wanggoolba Creek and is the primary vehicle access route for the island’s interior.
For shoulder season travel in April, May, or October, a two to three week lead time is generally sufficient, though earlier is always safer. Check the official MICAT operator website for current schedules and pricing, as these are updated seasonally. Book both your outbound and return crossings at the same time; return sailings fill just as fast as departures during busy periods.