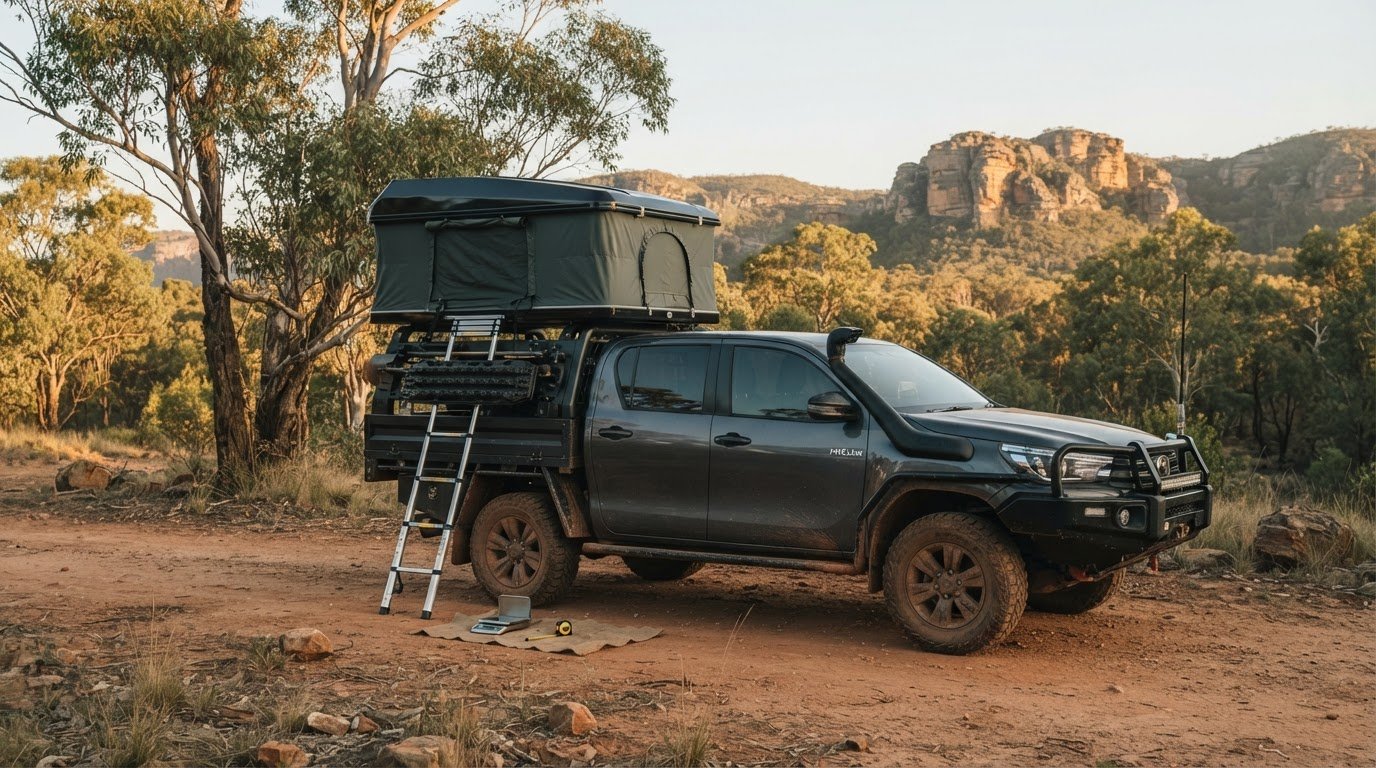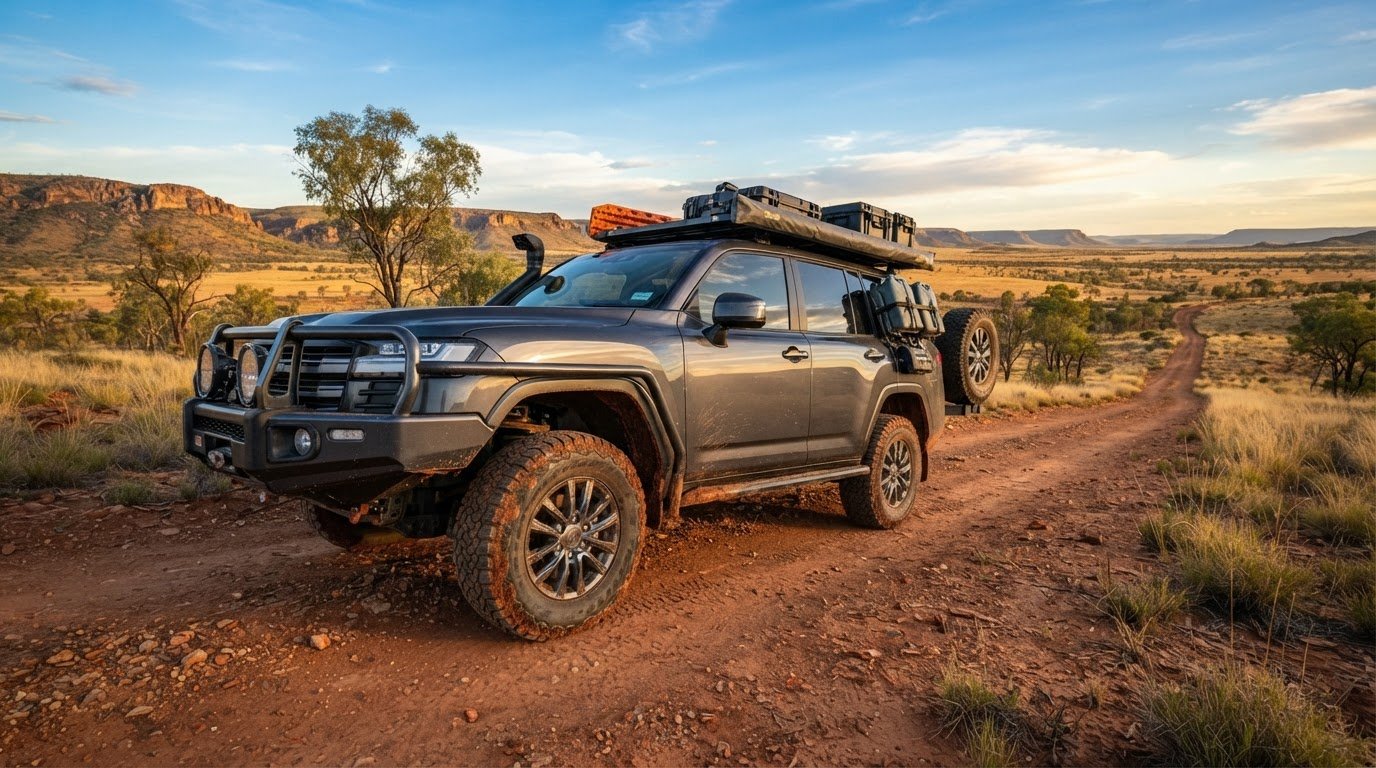
The tent may fit your ute’s rack perfectly and still exceed what the vehicle can safely carry on the road. This roof top tent compatibility guide for popular utes starts with the full load path, from vehicle to rack or canopy to tent. Matching gear is about more than roof space alone.
Choosing a tent can feel uncertain because the right setup depends on your ute’s model year, cab style and mounting system. Compare the vehicle’s dynamic load limit with the combined weight of the tent and rack, then check the rack or canopy rating too. When driving, the lowest applicable rating sets the limit. The parked load is a separate consideration.
This guide helps you narrow down practical options for popular Australian utes, including the Toyota Hilux and Ford Ranger. It covers the fitment details to verify for each vehicle, explains how cab roofs, tub racks, canopies and factory rails affect your choices, and shows what to check before buying. A methodical setup makes it easier to plan responsible trips beyond the bitumen.
Key Takeaways
- Use this roof top tent compatibility guide for popular utes to compare fitment factors across Australian ute models and configurations.
- Check your exact model year, cab style, tub setup and factory rails before narrowing down mounting options.
- Compare the vehicle, rack or canopy, and tent load ratings to understand the limits of the complete setup.
- Weigh up roof, tub-rack and canopy mounting for access, clearance and how you use your ute.
- Match tent size and packed dimensions to your passengers, storage needs and style of travel.
Table of Contents
What makes a rooftop tent compatible with a ute?
A rooftop tent is compatible with a ute when the vehicle, mounting system and tent work together within their specified limits and suit the way you plan to travel. An advertised vehicle fit suggests that a setup may attach. Verified compatibility means the exact vehicle variant, rack or canopy, tent dimensions and load ratings have all been checked together.
That distinction matters for Australian Coupé utility or ‘ute’ setups, where a tent might sit on the cab roof, a tub rack or a canopy. Each option creates a different mounting arrangement. The right match also depends on practical details such as clearance, access and how much gear you carry.
Which specifications decide whether a ute can carry a rooftop tent?
Start with the vehicle’s owner’s manual and find the applicable roof or rack load limit for your exact model year and configuration. Add the mass of the tent, rack and any permanently mounted accessories supported by that system. Then check the rack, canopy and tent specifications. The complete setup must stay within the relevant limits, including the lowest applicable rating.
Pay close attention to how each manufacturer defines its ratings. A limit for a vehicle in motion is not interchangeable with a parked or static rating. The moving-load limit applies while driving; a parked rating may describe a different condition, such as the vehicle stationary with occupants in the tent. Don’t use a static figure to justify carrying more weight on the road. Confirm the intended use and terminology in the vehicle and equipment documentation.
Why does the exact ute variant matter?
The model name alone won’t settle fitment. Cab style can affect available roof mounting points, while factory rails may have their own restrictions. Tub dimensions and mounting locations influence which bed racks fit. A canopy changes the load path and must be rated for the intended setup. Accessories can also affect clearance, attachment points and the total mass being carried.
Compare the exact model year and variant, then check the specific cab, rails, tub, canopy or bed-rack configuration against manufacturer specifications. A fitment example for one version of a ute doesn’t establish compatibility for another. In this roof top tent compatibility guide for popular utes, use a vehicle-specific approach before narrowing your tent choices, and keep the specifications together so every part of the setup is accounted for.
Popular ute models: how to compare rooftop-tent fitment
A model name is a starting point, not a fitment verdict. Use the table as a set of verification prompts for the Toyota Hilux, Ford Ranger, Isuzu D-Max, Mitsubishi Triton, Mazda BT-50 and Nissan Navara. It doesn’t certify a particular setup. The details must match your ute’s model year and configuration, as well as the exact rack, canopy and tent.
| Ute | Model-year checks | Mounting route to assess | Specification to confirm | Unresolved fitment variables |
|---|---|---|---|---|
| Toyota Hilux | Exact year, series and cab variant | Factory rails, aftermarket cab rack or tub rack | Vehicle and rack load limits; tent mass and mounting details | Rails, cab, tub and accessories |
| Ford Ranger | Exact year and variant | Cab roof, tub rack or canopy system | Applicable vehicle limit and rack or canopy rating | Cab, tub, rails, canopy and accessories |
| Isuzu D-Max | Exact year, series and cab variant | Factory rails, aftermarket rack or tub-mounted system | Vehicle, mounting-system and tent specifications | Rail type, cab, tub and canopy configuration |
| Mitsubishi Triton | Exact year and variant | Cab roof or a separately rated tub or canopy setup | Load limits, rack fitment and tent attachment requirements | Cab, tub, rails and installed accessories |
| Mazda BT-50 | Exact year and variant | Factory rails, aftermarket rack, tub rack or canopy | Vehicle and mounting-system ratings for the chosen use | Cab, tub, canopy and rack configuration |
| Nissan Navara | Confirm current model year and exact configuration | Assess the specific roof, tub-rack or canopy arrangement | Use current vehicle and equipment specifications | Variant-level mounting details and accessories |
What should Hilux, Ranger and D-Max owners check first?
Separate factory roof-rail fitment from aftermarket cab racks and tub-rack systems. These are different mounting routes, with their own attachment points and ratings. Record the ute’s model year, cab style and installed accessories before comparing options. For general context on safe rack loading, consult the linked roof rack loading guidelines, then verify the relevant vehicle and rack specifications for your own setup.
How should Triton, BT-50 and Navara owners compare setups?
Apply the same checks rather than assuming similar-looking or related variants share mounting requirements. Confirm the exact year and configuration, then match the vehicle, rack or canopy and tent specifications. For a specific fitment conclusion, use details that match the exact Navara variant and mounting arrangement.
Use these prompts to shortlist possibilities, not to skip verification. Once your mounting route is clear, compare rooftop tent reviews against its requirements and your travel plans.
Roof, tub rack or canopy: which mounting setup suits your ute?
Choosing where a tent sits changes the whole load path. Weight travels from the tent through its mounting hardware and rack, then into the vehicle’s roof, tub or canopy structure. A high roof-load figure alone doesn’t prove that every part of this chain is suitable. The weakest-rated component can constrain the whole system, so the tent, rack and supporting vehicle structure must work together within their stated limits.
A roof-mounted system can leave the tub free for other gear, but its clearance, mounting points and applicable vehicle limit all matter. A tub rack may suit a setup that needs to keep the cab roof clear, while a canopy can provide covered storage and a mounting platform. Neither option is automatically stronger or compatible. Ratings apply to specific products and uses. Include the tent, rack and permanently mounted accessories when checking the load supported by the system.
When does a tub rack make sense for a rooftop tent?
A tub rack can be practical if you want to preserve access to the cab roof or position the tent above the tub. Check how the rack attaches to the ute, whether its mounting points match the tub and vehicle variant, and what load limits the manufacturer states for the intended use. Consider clearance too. Rack height and tent position can affect access to the tub and the space around the cab. Added accessories or vehicle modifications can change the setup, so revisit the specifications after making changes.
What changes with a canopy or factory roof rails?
Canopies vary in construction, mounting provisions and load ratings. Confirm that the particular canopy is designed to support the rack arrangement and tent, and that its fittings suit your vehicle. A factory roof rail is not necessarily a complete rack system. The crossbars, attachment method and ratings still need to match the tent and vehicle. Check how the parts connect as a system rather than treating one component’s rating as approval for the whole setup.
For this roof top tent compatibility guide for popular utes, the useful question isn’t simply “roof, tub or canopy?” It’s whether every connection and supporting structure is specified for your exact configuration. Once you’ve established that, compare tent styles, packed dimensions and practical features in our rooftop tent reviews and recommendations to find options that suit your trips as well as your mounting system.
How to verify rooftop tent compatibility before choosing a setup
Turn a promising setup into a documented decision. This checklist offers a repeatable way to compare a ute, its mounting system and a tent without treating a broad vehicle-fit claim as proof.
- Identify the exact ute. Record the make, model year, variant, cab style, tub or canopy, factory rails and existing roof equipment. Small configuration differences can change attachment points and fitment.
- Consult the owner’s manual. Find the applicable load limit and note how the vehicle manufacturer defines it, including whether it applies while driving or when parked. Don’t substitute one rating for another.
- Inspect the complete mounting system. Identify the rack, crossbars, tub rack or canopy, including its mounting points and intended use. Use manufacturer documentation to establish its vehicle fitment and load rating.
- Record the tent and rack details. Write down each component’s mass, dimensions, attachment requirements and relevant ratings. Include permanently mounted accessories that add load to the same supporting system.
- Check the real-world clearances. Consider tent position and overhang, access to doors or the tub, antenna clearance and garage height. Compare packed dimensions with the space available on your particular ute.
If a rating is unclear or missing, don’t fill the gap with assumptions, forum posts or online anecdotes. Use authoritative documentation from the vehicle and equipment manufacturers. Keep copies of relevant specifications with your notes so you can review them if you change the tent, rack, canopy or accessories.
Which vehicle and equipment details should you record?
Make one setup record with the ute’s exact variant, model year, cab, tub or canopy and existing roof equipment. Add the tent and rack model details, masses, dimensions, attachment method and load ratings, along with the manufacturer documents used. Save relevant manuals and model-specific specifications so future changes are easier to assess.
How can you compare options without overclaiming fit?
Assess each candidate under three separate headings: physical fit, load suitability and practical access. Mark it confirmed only when matching specifications support all three. Use conditional where a detail still needs verification, and unresolved if essential documentation is absent. A tent described as suitable for a broad range of vehicles may still lack evidence for your full ute-and-rack combination.
Use the same careful method as you explore our rooftop tent reviews and recommendations, then compare only options that suit both your documented setup and your planned trips.
Choose a rooftop tent setup that fits your ute and trip style
Once the vehicle and mounting system are a match on paper, choose a tent for the way you camp. A short overnight trip with frequent pack-downs can call for different priorities than a longer journey with more passengers and extra gear. Keep your verified mounting limits in view as you compare tent weight, sleeping capacity and packed dimensions.
Which tent characteristics matter after fitment is established?
Hard-shell and soft-shell tents offer different trade-offs. A hard-shell design may suit campers who value a compact packed profile and a straightforward setup routine. A soft-shell tent may appeal if its packed shape, sleeping space or layout better suits your needs. Neither style is automatically right for every ute. Compare each tent’s mass and dimensions with your mounting system, available clearance and storage plans.
Think through how often you’ll set up and pack down, who needs to sleep inside, and how the tent’s position affects access to the cab, tub or canopy. Check that packed dimensions work with the other equipment you carry, and consider whether the setup suits the length and pace of your trips. Use our rooftop tent reviews and recommendations to compare tent styles and features alongside your fitment notes.
Good trip planning looks beyond the gear. Follow site access rules, camp in established areas where required, and take care to minimise your impact on local environments. A well-matched setup helps you travel prepared, while responsible choices help keep the places you explore in good condition for the next crew.
What is the next step for a confident setup?
Use your checklist to compare options against the exact ute configuration, and keep verified specifications separate from details that still need model-specific confirmation. Don’t let a convenient tent feature or broad vehicle-fit statement stand in for evidence about the complete setup.
Decision summary: verify the vehicle, confirm the rack or canopy, then compare tents for fit, weight, space and trip needs. That’s the practical route from a shortlist to a setup you can assess with confidence.
Get your ute ready for the next trip
A confident rooftop tent setup starts with the exact vehicle configuration, not just the ute’s model name. Check the applicable vehicle limit, confirm the rack or canopy and its fitment, then compare tents by weight, dimensions, sleeping needs and travel style. The full load path matters: a tent that appears to fit still needs matching specifications across the vehicle and mounting system.
Use this roof top tent compatibility guide for popular utes as a practical starting point, and keep manufacturer documentation close as you compare options. Adventurerz publishes rooftop-tent reviews and recommendations for Australian adventure and responsible exploration.
Explore our rooftop tent reviews and recommendations to compare options against your verified setup. With the right checks in place, you can head out better prepared and tread thoughtfully along the way.
Frequently Asked Questions
Will a rooftop tent fit any ute?
No, a rooftop tent won’t automatically fit every ute or every configuration of the same model. Compatibility depends on the vehicle’s model year and cab, the available mounting points, the rack or canopy, and the tent’s dimensions and attachment method. Check that each part suits the others and that their relevant load limits allow the intended use. A broad vehicle-fit claim alone doesn’t verify a complete setup.
Can you put a rooftop tent on a ute tub rack?
Yes, a rooftop tent can be mounted on a tub rack if the rack is designed for that vehicle and tent arrangement. Check how it attaches to the tub, its stated load limits and the tent’s mounting requirements. Also consider clearance around the cab and access to the tub. Changes to the rack, accessories or vehicle configuration can affect fitment, so reassess the specifications after modifications.
How do I know if my ute’s roof can support a rooftop tent?
Check the owner’s manual for the applicable roof or rack load limit for your exact model year and variant. Confirm how the manufacturer defines that rating, especially whether it applies while driving or when parked. Compare the relevant limit with the combined mass supported by the system, including the tent, rack and permanently mounted accessories. Verify rack and tent ratings in their manufacturer documentation too.
Are rooftop tents compatible with a canopy?
Some rooftop tent setups can use a canopy, but compatibility depends on the specific canopy, vehicle, rack and tent. Canopy construction and mounting provisions vary, so confirm that the canopy is intended to support the chosen mounting system and its load. Check how the rack attaches and whether its requirements match the canopy and ute. Don’t assume a canopy’s appearance or a broad fit claim proves suitability.
Which popular utes can carry a rooftop tent?
Toyota Hilux, Ford Ranger, Isuzu D-Max, Mitsubishi Triton, Mazda BT-50 and Nissan Navara owners can assess rooftop tent setups, but no model name guarantees fitment. The exact model year, cab style, rails, tub or canopy and mounting system all matter. Use this roof top tent compatibility guide for popular utes to identify what to verify, then compare vehicle and equipment specifications for your configuration.
Does a rooftop tent need a special roof rack?
A rooftop tent needs a suitable mounting system, such as compatible roof-rack crossbars, a tub rack or a canopy-mounted rack. The tent’s attachment requirements must match the rack, and the rack must suit the vehicle and intended load. Factory rails alone may not provide a complete mounting system. Check the ratings and fitting instructions for the vehicle, rack and tent rather than relying on appearance or assumptions.
What should I check before buying a rooftop tent for my ute?
Record your ute’s make, model year, variant, cab style, tub or canopy and existing roof equipment. Check the owner’s manual and rack or canopy documentation, then compare the tent’s mass, dimensions and mounting requirements with the system’s relevant ratings. Finally, consider door and tub access, antenna and garage clearance, sleeping capacity and storage. If a rating is unclear, rely on manufacturer documentation, not online anecdotes.