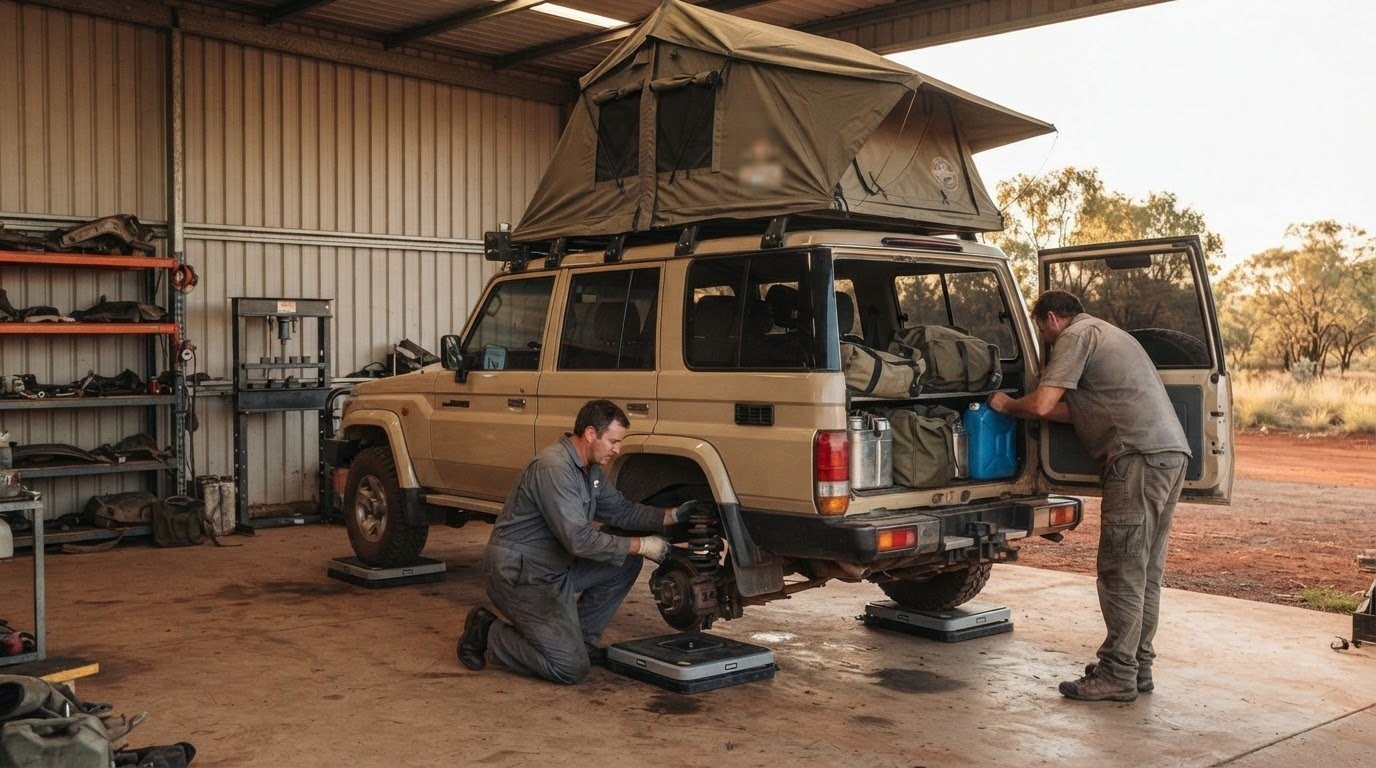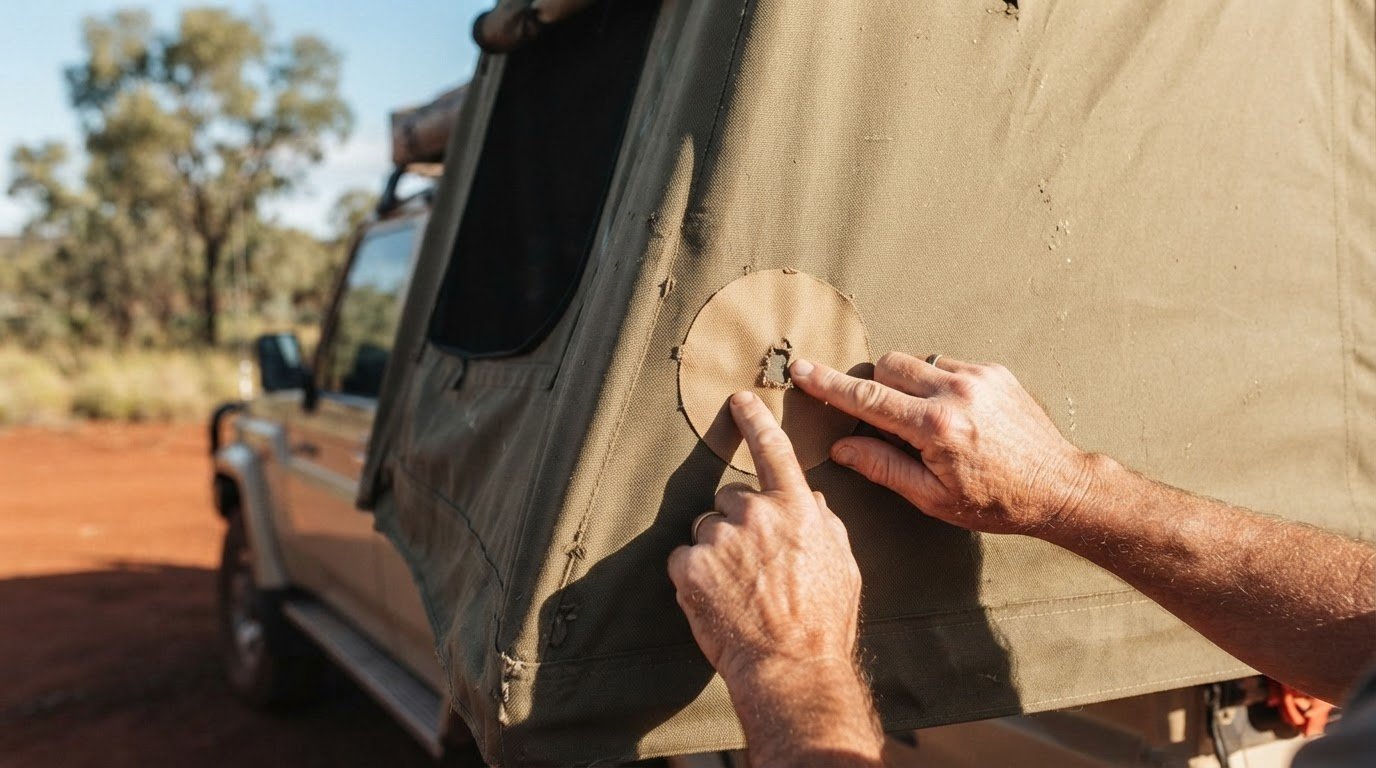
Three weeks is generally the preferred time for a Canning Stock Route crossing, but the journey can take roughly 20 to 38 days. This Canning Stock Route fuel and water planning guide starts with that realistic window: on many days, rough conditions and sand dunes can limit progress to 100 km or less.
It’s easy to focus on the route’s distance, but your crossing time also depends on preparation and the pace your vehicle and group can sustain. Fuel and water planning matter just as much: allow for long stretches between supplies and carry enough to remain self-sufficient.
This guide covers crossing time and route sections, then explains fuel range, water safety, vehicle preparation, permits, track conditions and the cooler travel season. Use it to build a flexible plan, travel responsibly through Country and prepare for remote desert driving.
Key Takeaways
- Allow around three weeks as a preferred timeframe, while building flexibility into plans for a crossing that can take roughly 20 to 38 days.
- Break the 1,850-kilometre route into sections and plan for slow progress across dunes and remote stretches.
- Map fuel range carefully: Kunawarritji at Well 33 is the only place to refuel along the route, so plan for long distances between fuel stops.
- Arrange permits for the sections between Wells 5 and 15 and Wells 40 and 51 at least six weeks before travelling.
- Plan for cooler-season travel from April to September, and prepare your vehicle and supplies for demanding desert conditions.
Table of Contents
- 2. How long does the Canning Stock Route take?
- 3. Canning Stock Route length and route sections
- 4. Permits and track-condition contacts
- 5. Recommended travel season and desert temperatures
- 5. How long is the Canning Stock Route and what are the fuel distances between communities and fuel stops?
- Adventurerz
2. How long does the Canning Stock Route take?
Allow roughly 20 to 38 days to cross the Canning Stock Route. Three weeks is generally considered the preferred amount of time, giving the trip room to follow the track’s changing pace. A Canning Stock Route fuel and water planning guide should start with this realistic time window, because distance alone doesn’t determine how long this remote adventure takes.
Daily progress can be slow. On most days, travellers may cover no more than 100 kilometres because of road conditions and sand dune crossings. A 100-kilometre day is considered a big day, and it may not always be achievable. Build the itinerary around realistic driving days, rather than dividing the route distance into an ambitious daily target.
More than 900 sand dunes cross the route, and each can affect the pace differently. Soft sand, corrugations and the time needed to cross dunes all shape the day’s progress. Use the Canning Stock Route fuel and water planning guide to leave room for slower sections, rather than assuming every day will deliver the same distance. Allow time for camping stops and routine checks, too.
Trip accounts vary: one described crossing took 17 days, while the broader reported range is 20 to 38 days. That quicker trip is an example, not a sound basis for every itinerary. Conditions and the group’s pace matter. Plan to be self-sufficient for a minimum of three weeks, even if your intended driving schedule is shorter.
The wells were positioned about a day’s walk apart, a reminder of the route’s historic remoteness, not a modern driving timetable. Alfred Canning first blazed the stock route in 1906, and its wells still help define the journey’s sections. Use them as landmarks when planning stops, but don’t assume each leg takes the same time or offers usable water.
For northbound travel, start at Wiluna and plan towards Halls Creek; for southbound travel, reverse the sequence. Map fuel stops and wells in your direction of travel, then carry supplies for the gaps between them. The central fuel stop and well locations are key planning points whichever way you travel.
Before setting a departure date, allow your schedule to absorb slow travel and changing track conditions. Keep planned camping stops flexible, and avoid relying on a single fast-crossing account. Treat three weeks as a planning baseline, not a promise of arrival; the longer 20-to-38-day range helps frame the time the crossing may require.
3. Canning Stock Route length and route sections
The Canning Stock Route stretches over 1,850 kilometres across remote Western Australia, linking Wiluna in the south with Halls Creek in the north. Its length gives only a broad sense of the journey: the route crosses three deserts, with changing terrain shaping how each section feels to drive. For trip planning, treat it as a sequence of remote stretches rather than one continuous highway.
The route includes a long stretch between Wiluna and Billiluna. Billiluna sits at the route’s northern end, while Halls Creek is the northern endpoint named for the full Wiluna-to-Halls Creek journey. Keep these locations distinct when mapping your approach and exit. They describe different points in the broader route, not interchangeable names for the same stop.
There are 51 wells between Halls Creek and Wiluna, creating recognisable landmarks along the stock route. Their numbering helps travellers identify sections and track progress, while Kunawarritji at Well 33 is a notable point on the route. Use well numbers to organise your route notes and planned stops, but don’t assume every well provides usable water.
The landscape demands patience. More than 900 sand dunes cross the Canning Stock Route, and some rise higher than a three-storey building. These crossings can interrupt a steady driving rhythm, so a map distance alone won’t tell you how demanding a day will be. Dune approaches, soft sand and the condition of the track all influence progress through each section.
For a practical route plan, mark Wiluna, Billiluna, Halls Creek and Kunawarritji first. Add wells and other planned stopping points using current route information. This gives everyone a shared view of where each section begins and ends, whether you’re travelling north or south. Keep navigation details accessible in the vehicle, especially where tracks or route options diverge.
The route’s history also helps explain its scale: it was established in the early 1900s to move cattle from the Kimberley region to southern markets. Today, its long desert sections call for careful preparation and respect for Country. Stay on the designated track, and plan stops around the route rather than creating new ones across fragile terrain. For more inspiration beyond this crossing, explore Australian adventure ideas as you shape your wider journey.
4. Permits and track-condition contacts
Permits are required for travel on the Canning Stock Route sections between Wells 5 and 15, and Wells 40 and 51. Apply for the Canning Stock Route permit at least six weeks before travelling. Build that lead time into your departure planning, rather than leaving access arrangements until the final weeks.
Use the permit process to map your intended journey through the remote landscape. Mark the sections you’ll cross, including numbered well ranges, and match them to your direction of travel. Respect Aboriginal sites throughout the trip and follow the access conditions for each area.
Track conditions can change the practical route plan. Flooding has cut off the section between Well 51 and Billiluna for months during the period described, showing how a closure can affect access across a substantial stretch. Before departure, seek current track-condition and access information from the relevant land managers and permit contacts. Recheck updates close to travel, then adjust your route if access has changed.
Keep your preparation resources together and accessible to the whole group. A useful set includes:
- Your permit details and the well ranges covered by your route.
- A current map and GPS, as tracks may change and multiple options can appear.
- Track-condition and access updates, with a clear plan for responding to closures.
- A vehicle service record and essential spare parts for remote travel.
A GPS is recommended because changed routes can leave multiple tracks visible. Use it alongside route information, not as a reason to leave designated tracks. Staying on the intended route helps limit unnecessary damage to the outback environment and keeps the group on the same journey.
Plan vehicle preparation alongside your permits. Service and maintain the vehicle before departure, and carry spare parts for remote travel, including tyres, repair supplies and a toolkit. These preparations support self-reliance in isolated areas where access is limited. They don’t replace permission to travel through restricted sections.
Treat the permit, route information and vehicle plan as connected parts of your outback journey. The permit addresses access, current conditions affect which tracks are usable, and your vehicle setup supports travel between remote sections. Start the permit application at least six weeks ahead, then keep the route plan flexible as departure approaches.
5. Recommended travel season and desert temperatures
Plan the Canning Stock Route for the cooler months, between April and September. Summer daytime temperatures can exceed 50 degrees Celsius, while nights during the recommended travel season can fall below zero. Pack for both extremes, with sun protection for exposed days and warm layers for cold desert nights.
Kimberley weather also affects timing. Wait until the last Kimberley cyclones have passed, typically in April or May, before finalising plans for that year. Check how recent conditions affect access and track surfaces, and keep your itinerary flexible. A departure date alone can’t show whether remote tracks are suitable for travel.
Permits apply to the route sections between Wells 5 and 15, and Wells 40 and 51. Apply at least six weeks before travelling, and include these access arrangements in the same planning calendar as vehicle preparation. Treat Aboriginal sites respectfully and follow the permit conditions for the sections on your route.
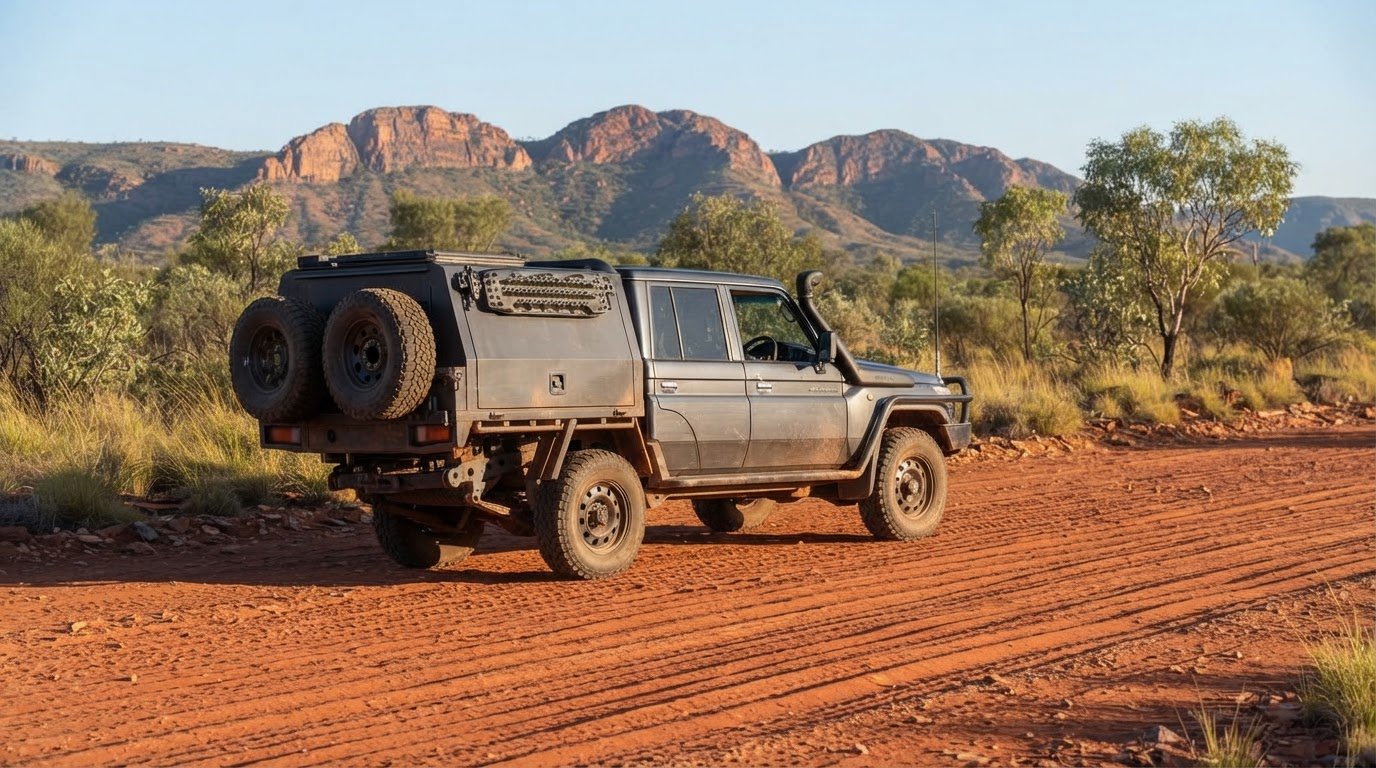
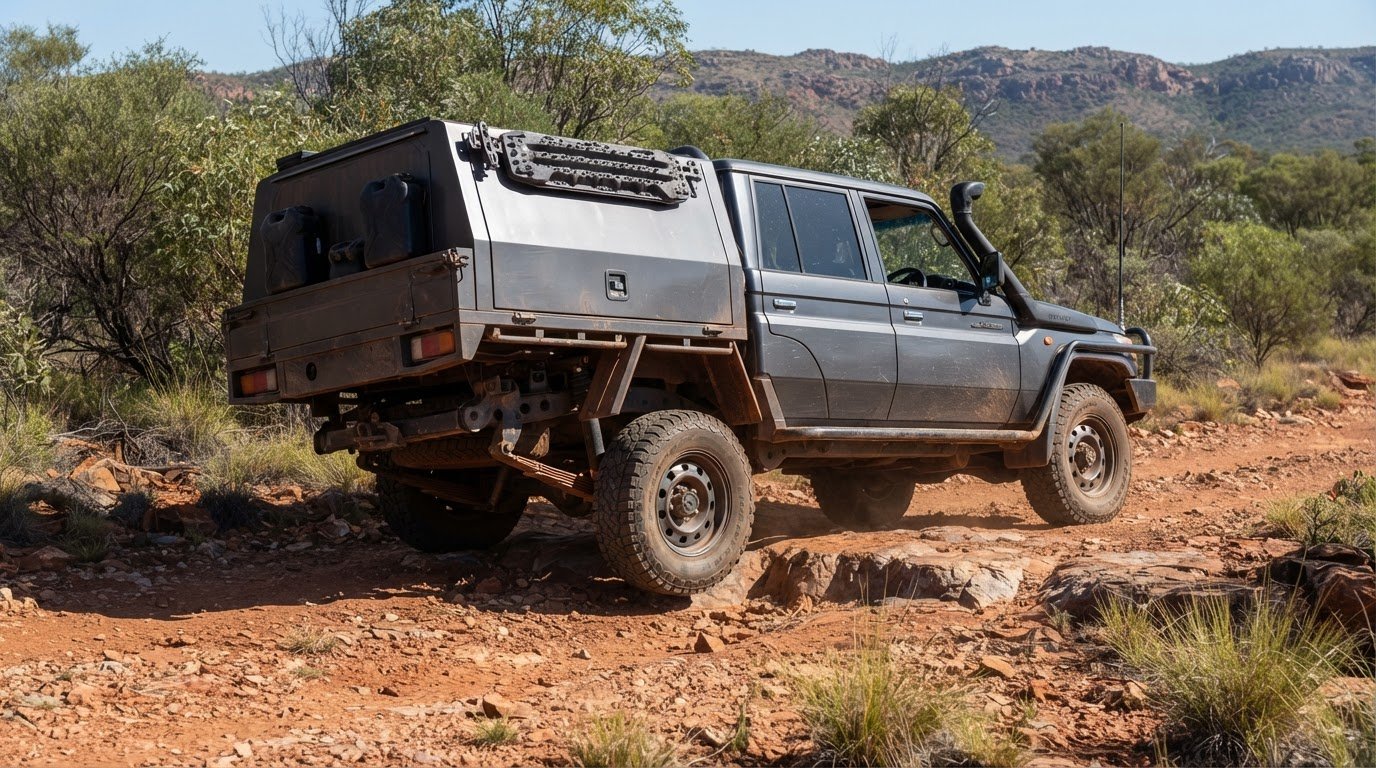
For a remote crossing, use a reliable vehicle suited to long-distance desert driving, and make sure the driver has extensive outback experience. Service and maintain the vehicle before departure. On rough, corrugated terrain, consider upgraded suspension, including heavy-duty shock absorbers and springs. Carry at least two spare tyres and a couple of correctly sized inner tubes.
Pack supplies for basic roadside troubleshooting, including tyre repair kits, fuel filters, fan belts, hoses, a comprehensive toolkit, engine oil and coolant. Choose recovery gear suited to your vehicle and the terrain, and make sure everyone knows how to use it. A GPS helps when tracks have changed or several route options appear. Use four-wheel drive throughout the route to avoid unnecessary track degradation.
Fuel, water, heat and breakdowns all demand preparation. Plan fuel for long stretches without a service station, carry your own emergency water, and treat well water before drinking. Summer heat can exceed 50 degrees Celsius, while rough tracks increase the importance of a maintained vehicle, spare parts and recovery equipment.
Travel with two or three other vehicles if you aren’t joining a professionally led convoy or four-wheel-drive club. Agree on a vehicle-to-vehicle communication plan before setting out, including what to do if a vehicle stops or becomes separated. Don’t assume another vehicle will always be nearby; keep essential supplies and recovery equipment accessible in each vehicle.
5. How long is the Canning Stock Route and what are the fuel distances between communities and fuel stops?
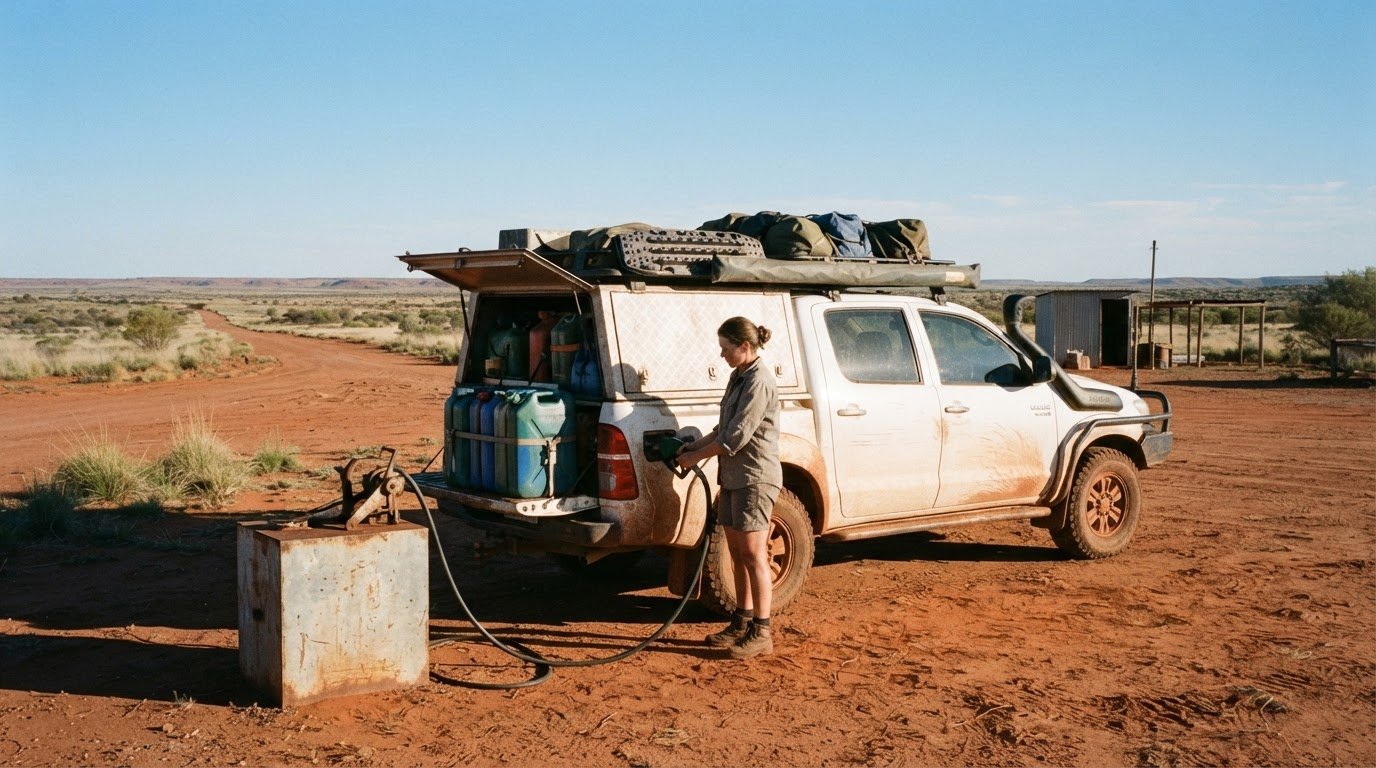
Fuel planning hinges on the long stretch between Wiluna and Kunawarritji. Kunawarritji, at Well 33, is about 1,000 kilometres from Wiluna and is the only fuel stop along the Canning Stock Route. The route itself exceeds 1,850 kilometres, so plan fuel around actual stops, not just the overall distance.
Wiluna and Halls Creek have fuel and supply facilities. At the northern end, fuel is also available at the Billiluna Community store. Kunawarritji has a general store for basic groceries, but don’t treat it as an equivalent fuel stop. The Wiluna-to-Billiluna route section is approximately 1,590 kilometres, while the tough country between Bililuna and Kunawarritji spans more than 900 kilometres.
Build a fuel plan for the longest gap first. Travellers should be prepared to carry enough fuel to cover over 1,000 kilometres without a service station stop. A general recommendation is 400 to 470 litres for the entire trip, but your vehicle’s consumption, load, terrain and detours determine the amount required. Calculate consumption for your loaded vehicle, then include a reserve for delays and route changes.
One travel account reported that 200 litres covered the journey to Kunawarritji and Wiluna with a 10 to 15% safety margin. Treat that as an example from a specific vehicle and trip, not a universal fuel allowance. Tank capacity and fuel use vary, and sand, corrugations or detours can change consumption. Record the usable capacity of your setup and plan each leg against it.
Parnngurr Community may be an option for commercially available fuel, but reaching it involves an approximately 160-kilometre out-and-back detour from Georgia Bore. Include that distance in the fuel calculation before relying on the stop. The Tanami approach also offers a 170-kilometre detour to Halls Creek for supplies and fuel. These are distinct route choices, not fuel points directly on the stock route.
Water needs a separate plan. The wells aren’t a substitute for emergency reserves: carry your own water for drinking, cooking and washing. Allow 4 litres per person per day for drinking water, and treat well water before consumption because its quality varies. Boiling and purification provide treatment options; keep the method and equipment accessible during each leg.
For this remote crossing, write down fuel range, water reserves and planned stops together, then share the plan with everyone in the vehicle. Recalculate whenever a detour changes the route. Explore more Canning Stock Route planning ideas as you prepare your trip.
Fuel planning should account for the same long gap in either direction, with enough fuel to cover over 1,000 kilometres without a service station and stops planned around Wiluna, Kunawarritji and Billiluna. Water planning is also the same northbound and southbound: carry your own drinking, cooking and washing water, and treat well water before drinking it.
Adventurerz
Adventurerz helps turn route research into practical preparation for remote Australian travel. As you refine your Canning Stock Route plan, explore its camping information and adventure ideas to consider how your setup and approach fit the journey.
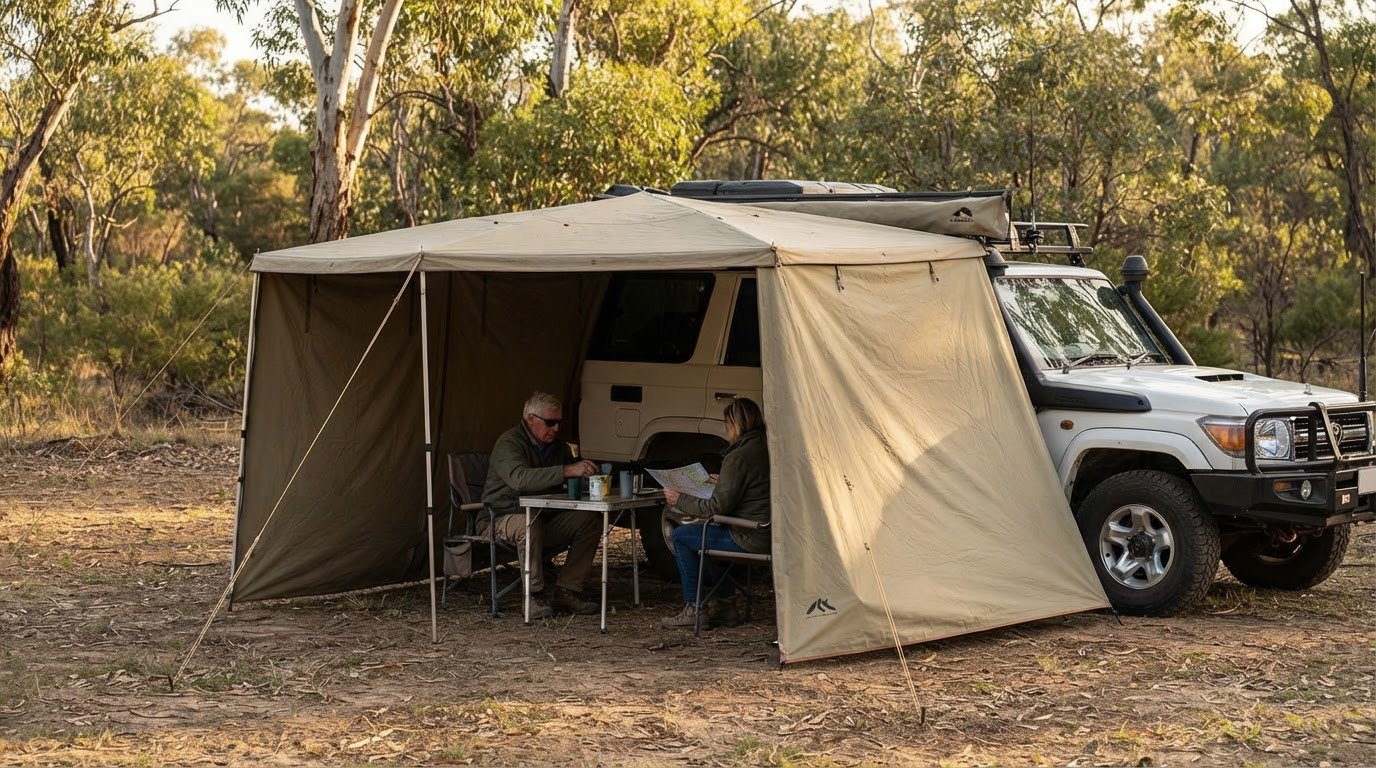
When you’re assessing shelter and camp comfort, explore roof top tent and 4WD awning reviews and recommendations. Camping and hiking equipment reviews can also help you consider what belongs in your wider trip kit. The aim is to make informed choices that suit your plans and support responsible exploration, not to replace route, permit or track-condition planning.
Have a question about preparing for an Australian adventure? Contact Adventurerz to continue the conversation.
Make your preparation work as a team
Before departure, turn your plans into a shared working document. Record who will track fuel use, who will follow route updates and how the group will adapt if conditions change. A clear plan helps everyone contribute instead of leaving important decisions to one person on the track.
Keep this Canning Stock Route fuel and water planning guide with your route notes, and revisit it as your preparations develop. Use it to prompt practical conversations with your travel companions about readiness, responsibilities and respect for the places you’ll cross. Thoughtful planning can make the journey more rewarding while helping your group travel with care.
For advice and ideas as you prepare, Contact Adventurerz about your trip. Take the time to get organised, travel considerately, and enjoy the adventure ahead.
Frequently Asked Questions
How long does the Canning Stock Route take?
Allow roughly 20 to 38 days for the crossing, with three weeks generally preferred. Use that range to shape your leave and supplies plan, then leave room in your itinerary for slower travel. For example, avoid scheduling a fixed arrival immediately after the final driving day. A flexible finish gives your group more options if rough sections, stops or changing conditions affect progress.
Where are the fuel depots on the Canning Stock Route, and what are their opening hours and contact details?
Kunawarritji at Well 33 is the route’s central fuel stop, and fuel is available at the Billiluna Community store at the northern end. Wiluna and Halls Creek are fuel and supply centres at either end of the journey. Build your fuel range around these locations, rather than assuming a stop will suit your arrival time. Carry enough fuel to manage the remote legs independently.
How much fuel should a 4WD carry for the longest remote sections of the Canning Stock Route?
Plan to carry 400 to 470 litres for the entire trip, and prepare for stretches exceeding 1,000 kilometres without a service station stop. Work out your loaded 4WD’s fuel consumption using the weight and equipment you’ll actually travel with. Then account for detours and delays in your route plan. A fuel figure from another vehicle or trip shouldn’t replace calculations for your own setup.
What are current fuel prices and fuel ordering requirements at Kunawarritji and other Canning Stock Route depots?
Plan fuel quantities and route legs first: prices and ordering arrangements don’t change the distance your vehicle must cover. Kunawarritji has a general store, and fuel is available there and at the Billiluna Community store. Carry enough fuel for the planned journey, including any detour, rather than basing your plan on a particular price or assumed delivery arrangement.
Where are reliable water sources along the Canning Stock Route, and are they safe to drink?
Wells 49, 46, 26 and 6, also known as Pierre Springs, are listed as good-water sources; Well 33 is 6 kilometres from Kunawarritji. Well water quality varies, so treat water intended for drinking. Boil it and use a purification method before consumption. Keep your own emergency water onboard as well, so your plan doesn’t depend entirely on finding usable water at a well.
How much drinking water should travellers carry per person per day on the Canning Stock Route?
Allow 4 litres of drinking water per person per day, then calculate the total for everyone and every planned day. For example, a group of two travelling for two weeks needs more than 100 litres for drinking alone. Cooking and washing require additional water. Divide supplies securely between suitable containers, and keep some accessible in the cabin for use during each day’s drive.
What permits, bookings and access rules apply to driving the Canning Stock Route?
Permits are required between Wells 5 and 15, and between Wells 40 and 51; apply at least six weeks before travelling. Match your permit arrangements to the route sections in your itinerary, whether you’re travelling north or south. Respect Aboriginal sites and follow access conditions. Keep permit details with your trip documents so the driver and other travellers can refer to them during the journey.
When is the best season to travel the Canning Stock Route, and how can rain or track closures affect resupply plans?
The recommended travel window is April to September. Rain and flooding can disrupt access: flooding has cut off the section between Well 51 and Billiluna for months during a period described in the route information. A closure can affect planned travel and resupply, so build flexibility into your itinerary. Keep fuel and water plans robust enough to manage delays without relying on a scheduled stop.