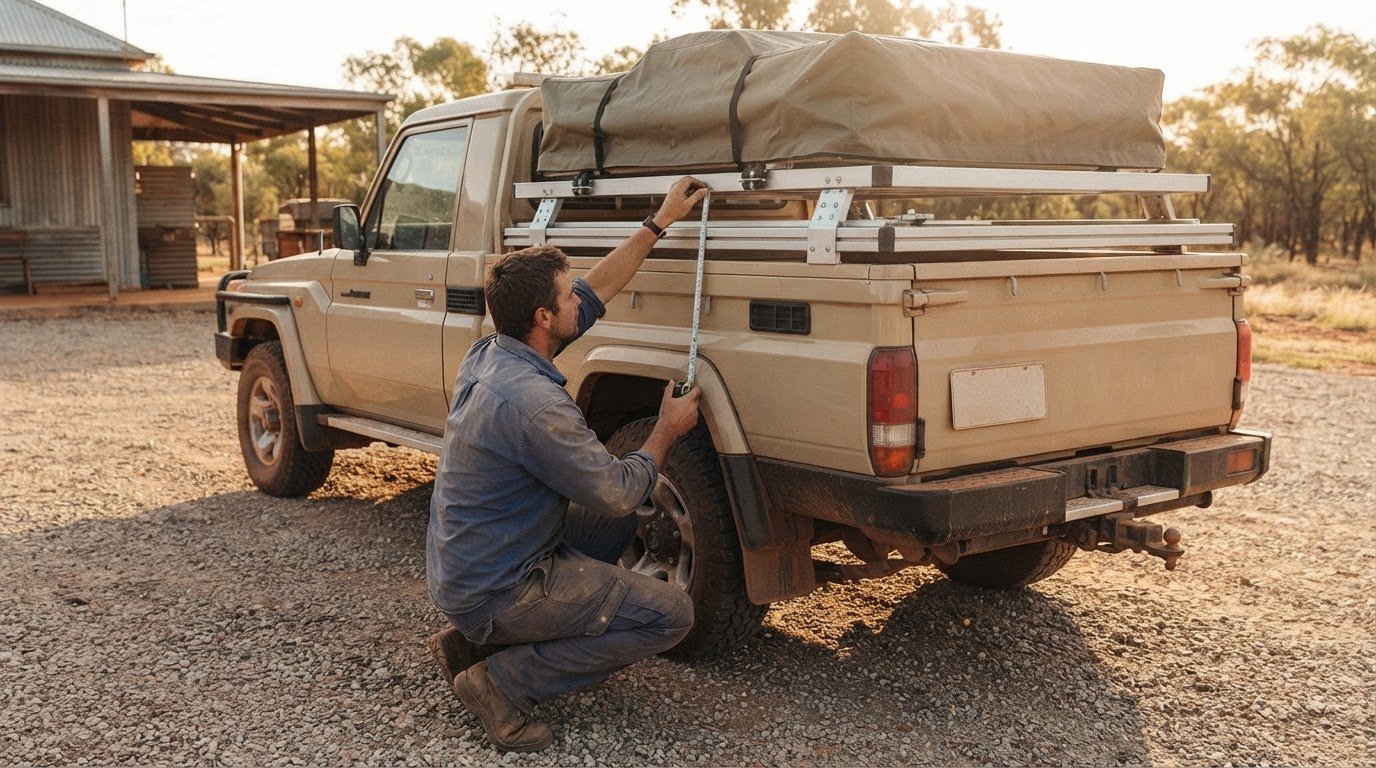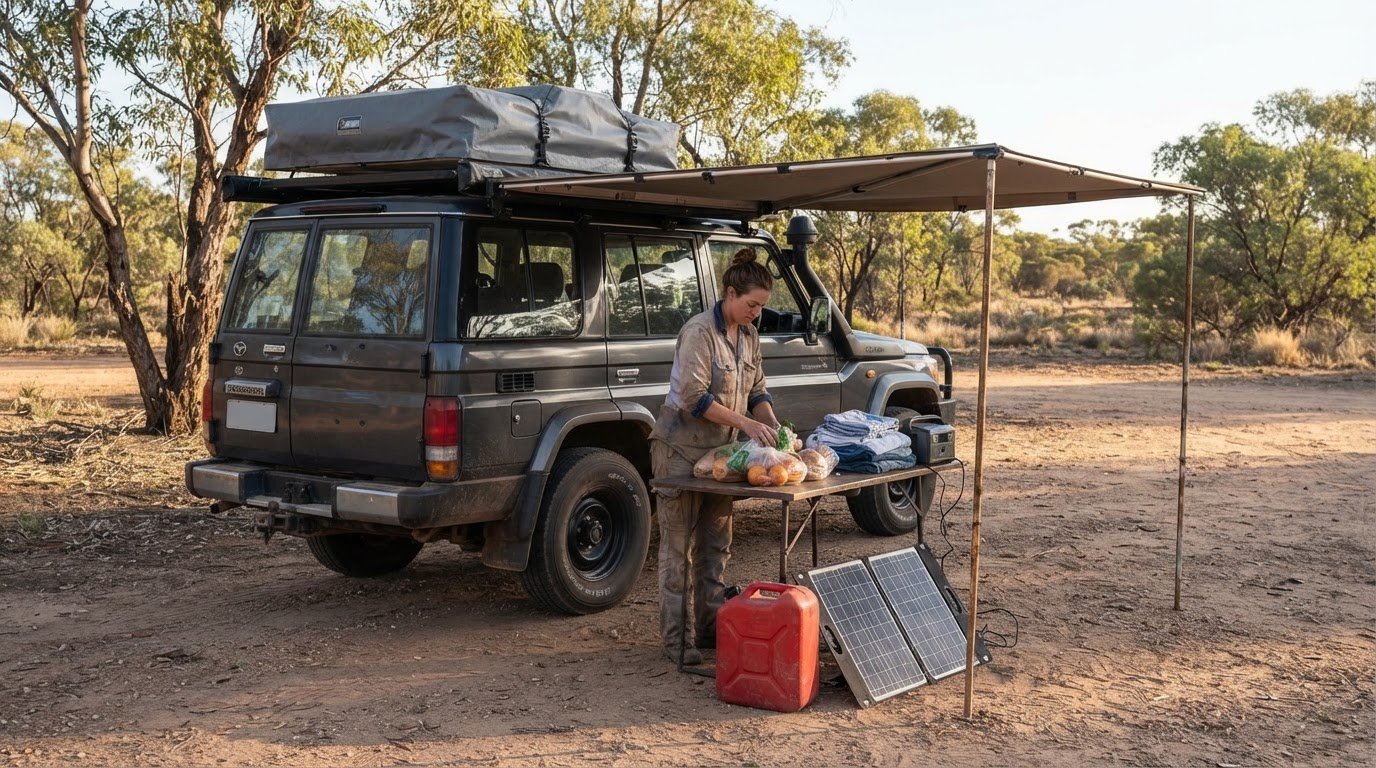
Yes, a compatible wall kit can add privacy and wind protection to a 4WD awning. A 4WD awning wall kit review for 2026 should start with fit: the walls need to match the awning’s design and attachment points. Get that right first, then weigh up the protection and coverage you need at camp.
It’s natural to look for more shelter when the wind picks up or you want a little privacy around your touring setup. The best choice isn’t simply the kit with the most panels; it’s one that works with your awning, suits your trips and is manageable to set up and secure.
This review covers compatibility, fabric and weather protection, coverage, weight, setup and stability, along with useful awning accessories. Use these factors to judge what a wall kit can add and what to consider before choosing one, while building a practical setup that respects the places we explore.
Key Takeaways
- Match a wall kit’s attachment points and panel layout to your awning so the sections fit together as intended.
- Compare fabric construction and water rating with the weather protection you need; walls can also add privacy and wind shelter.
- Balance awning coverage against vehicle size and carrying weight to suit your touring setup.
- Consider how easily the awning and walls can be deployed, secured and stabilised at camp.
- Check which accessories support your setup, including extra legs where they can improve stability.
Table of Contents
Fabric, GSM, denier and weather protection
Fabric specifications help explain how an awning shelter may perform, but no single figure tells the whole story. GSM means grams per square metre, describing fabric weight across an area. Denier describes the thickness of the yarn used to make the fabric. These measurements aren’t interchangeable, and neither alone establishes rain protection. For a useful 4WD awning comparison, read fabric details alongside water ratings, construction and the wall kit’s design.
For example, the Bushwakka Extreme Darkness awning uses 900 D ripstop polyester canvas. Ripstop construction uses a reinforcing pattern in the fabric, while 900 D identifies its yarn denier. That specification gives a concrete point for comparing materials, but it doesn’t by itself tell you how the awning’s seams, closures or wall connections handle weather. Consider the complete shelter rather than treating a fabric number as a promise of performance.
Water ratings offer another comparison point. The Rhino-Rack Batwing awning has a 2000mm water rating. Use a stated rating to compare products on the same basis, then consider how the canopy and walls join. A gap at a panel edge or an opening left exposed can affect the shelter even when the awning fabric has a stated rating. Check the wall layout and attachment method against the awning’s mounting system.
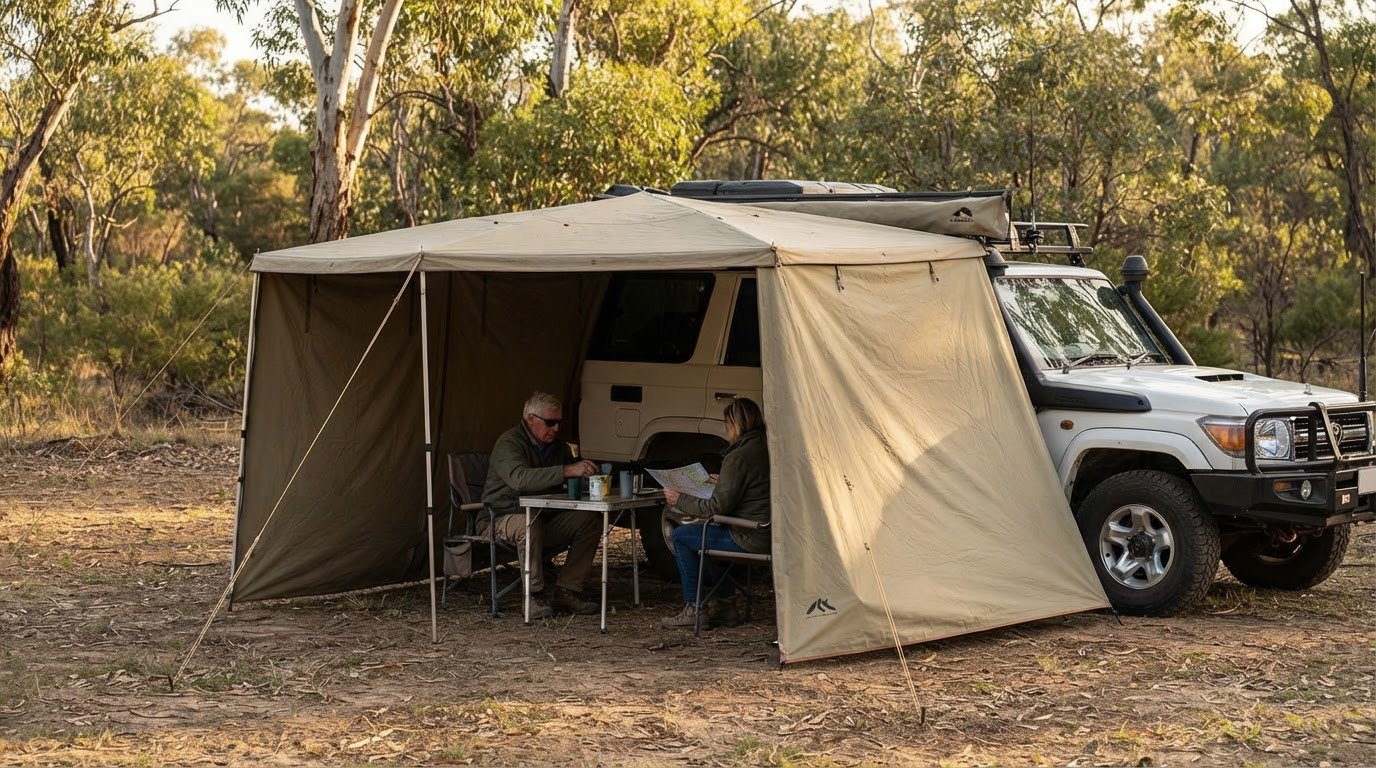
Wall kits can add privacy and wind protection, turning an open canopy into a more enclosed camp area. Check how much coverage the panels provide: gaps between sections, around the vehicle or beneath the awning can let wind through or compromise privacy. Consider where you need shelter, such as beside the cooking area or near the tailgate. A layout that blocks a useful access point may be impractical at camp.
Weather protection also depends on how the setup is positioned. Before relying on a wall kit, lay out how each panel attaches and where its edges meet the awning. Check that the arrangement suits your intended coverage and leaves access where you need it. The 4WD awning guide can help you compare canopy styles before considering compatible walls.
GSM helps distinguish lighter from heavier fabric, but extra weight doesn’t directly indicate greater weather resistance. Denier describes the yarn, while a water rating measures a different aspect of performance. Compare these details separately. Also consider how the fabric packs, how the panels attach and whether the shelter suits the conditions you expect on tour.
For a practical 4wd awning wall kit review 2026, assess fabric, water rating, seams, closures, mounting and panel coverage together. The Rhino-Rack Batwing’s 2000mm rating and the Bushwakka Extreme Darkness’s 900 D ripstop polyester canvas illustrate different specifications, not a complete verdict. Match those details to the shelter and privacy you want at camp.
Can I add walls or other awning accessories?
Yes. Walls can extend an awning’s shelter for camping, privacy and wind protection. First, match the kit’s panel layout and attachment method to your awning.
Wall kits don’t fit every awning size or mounting system. Match the kit to your awning’s model, dimensions and attachment points. Similar-looking designs aren’t necessarily compatible.
There isn’t one warranty or returns policy for every 4WD wall kit in Australia. The terms depend on the product and seller, so read the specific policy before buying.
Awning Wall Kit Options
Wall kits vary in panel count, layout and how they attach to the canopy. A seven-section kit for a 1.5m 270-degree awning, for example, includes a bonnet-side section. That layout can enclose more of the vehicle-side area than a partial set, but the right choice depends on where you need shelter and access.
A useful 4WD awning wall kit review for 2026 considers how each panel supports your camp routine. Map the sections to the awning’s sides and openings. Decide whether you want shelter beside the cooking area, privacy near the vehicle, or wind protection across a particular edge. A panel that closes an entry point may limit access during camp setup.
Full Wall Kit Availability
Some awning-and-kit combinations offer full wall kits, but no single set suits every design. A full kit generally has panels intended to cover the available sides, while a partial kit leaves selected areas open. Compare the stated panel layout and included sections with the shape of your awning.
For example, a wrap-around awning may need panels shaped to follow its curved coverage, while a straight pull-out awning has a different layout. Decide whether a full enclosure suits your trip or whether fewer panels would preserve the access you need. Check the included sections instead of relying on the product name alone.
Awning Size and Mounting Compatibility
Compatibility depends on both the awning’s dimensions and its attachment design. Compare the kit’s stated size with your awning, then check how it connects, whether through a track, zip or another specified fitting. Matching lengths alone doesn’t guarantee that the attachment points will align.
For a 4WD awning wall kit review for 2026, assess the model, panel measurements and mounting arrangement together. If the awning extends around the vehicle, confirm that the kit’s sections follow that shape. This comparison helps avoid gaps, misplaced panels or an instant setup that doesn’t work as intended.
Accessories can affect stability and ease of use. Extra legs support the awning structure when a wall kit adds enclosed panels. Position them as directed for your setup. Keep doors, the tailgate and paths around camp clear so the extra coverage doesn’t make access awkward.
Plan the setup before heading outdoors: identify the attachment points, arrange the panels in fitting order and note which openings need to stay accessible. This helps the kit extend your shelter without disrupting cooking, packing or movement around the vehicle.
For more help weighing up awning styles before choosing compatible walls, explore 4WD awning reviews.
Awning coverage, size and weight
Coverage matters most when your camp routine needs usable shade, not just a wide canopy. Most 270-degree car awnings provide 11-11.5 sqm of shade coverage. That wrap-around footprint can shelter areas beside and behind a 4WD, while a side or rear awning creates a more focused roadside setup. Match the footprint to where you stop, cook and access the vehicle.
Vehicle size helps narrow the choice. Side-mount pull-out awnings are typically available in lengths of 1.0 m, 2.0 m, 2.5 m and 3.0 m. A 1-2 m awning suits a tailgate shelter, while compact SUVs are best suited to 2.0 m awnings. Mid-size to large 4WDs can handle awnings measuring 2.5-3 m along their sides.
Different awning lengths suit different shelter needs, so there isn’t one best fit for everyone. Before choosing, consider where the awning will sit and how far it can extend alongside your vehicle. A longer model can provide more side coverage but also takes up more space on the vehicle. Compare its stated dimensions with your mounting position and the access you need at camp.
Wrap-around coverage has a different trade-off. A 270-degree awning reaches around the vehicle, while a side or rear model concentrates shade in one area. If your stops call for tailgate access, a compact shelter may suit your routine. For broader coverage, compare the awning’s shape and reach with the spaces you plan to use.
Weight also affects the decision. The CampBoss Boss Shadow 270 XL weighs approximately 28 kg, while the Boss Shadow 180 weighs approximately 24 kg. The Oztent Foxwing 270 Awning Series II weighs 19 kgs; the Oztent Foxwing 180 awning weighs 18.3 kgs. Compare these figures with your vehicle setup and how much awning you want packed for each trip.
Dimensions can clarify the footprint and storage demands. One 4WD awning measures 2300 x 1800 x 1400. Read dimensions in the order supplied for each model, then compare them with available mounting space and the shelter you expect when deployed. Don’t judge coverage from the packed size alone; the deployed footprint is what determines usable shade.
Use a simple fit check: choose the coverage shape, compare the length with your vehicle, then weigh the packed awning against your setup priorities. A 2.0 m model may suit a compact SUV, while a 2.5-3 m side awning suits mid-size to large 4WDs. These distinctions help you balance roadside shelter, accessible vehicle space and carrying weight.
Setup time and stability
Setup speed matters after a long Australian drive, but stability matters once camp is established. Some vehicle awnings are described as deploying in 30 seconds. Described 270-degree wrap-around awnings can be set up by one person in 3-5 minutes. Treat those figures as examples, not a promise for every awning and wall combination.
Wall panels add steps to opening the canopy: connect each section, arrange the edges and secure the shelter. A full wall kit may take longer to fit than a single panel. Practise at home so you can see how the awning, panels and fittings work together.
Start with the mounting points. The roof rack supports the awning’s mounting arrangement, while the deployed structure relies on its legs and other supports. Follow the instructions for your model. Extend the awning fully, position its supports, then attach the wall sections in an order that keeps access clear.
Stability depends on how the awning is supported and secured at camp. A wall kit changes the setup by adding panels around the canopy. Rugged 4×4 recommends using extra legs with its wall kit. Consider that recommendation when planning a complete setup, especially if the kit’s layout encloses more of the awning.
Follow a deliberate setup routine instead of rushing to create shelter. Keep the packed panels accessible, open the awning, position its supports, then attach the walls. Check each connection as you go. This helps you spot a misplaced section before the kit is fully arranged, rather than having to adjust it when camp is busy.
Choose the panel order based on how you’ll use the space. For example, keep the vehicle entry accessible while fitting walls around the sheltered area. If you’re creating privacy near an outdoor shower, position the panels to screen it without blocking the route back to the vehicle. A practical layout makes the shelter easier to use.
Once the walls are fitted, inspect the whole structure. Check that the supports are in position, the connections are secure and the panels aren’t pulling awkwardly against the awning. If a section shifts while you’re arranging camp, revisit the setup. These checks help keep the structure orderly; a quick setup time is no substitute for a proper fit.
For touring, prioritise a routine you can repeat calmly. A solo traveller may value the one-person setup described for 270-degree awnings, while a wall kit adds its own fitting tasks. Practise with the actual panels and mounting points before relying on the setup at a remote campsite. Pack the components together afterwards, so the next roadside stop starts smoothly.
Wall and awning accessories
Choose accessories to solve specific setup problems and suit your camp routine. A wall kit can add privacy and wind shelter, extra legs can support the awning structure, and lighting can make the covered area more useful after dark. Start with your biggest need, then check how the accessory fits the awning you already have.
For a wall kit, look beyond the label “full”. A 1.5m 270-degree kit can include 7 wall sections, including a bonnet-side section. That layout shows why panel count and position matter: the sections need to follow the awning’s shape and leave access where you need it. Plan around vehicle doors, the tailgate and camp movement.
Extra legs are another practical addition. Rugged 4×4 recommends using extra legs with its wall kit. Support points can help manage the added structure, but use the arrangement specified for your awning and kit. Set the legs before arranging panels, then make sure the finished layout doesn’t obstruct the route between your vehicle and shelter.
Lighting and tie-down accessories can also shape a camp setup. One awning package includes white and amber LED lights, plus 2 rope ratchets. These examples show how an accessory bundle can combine lighting with securing gear. Consider whether those items suit your intended use, rather than choosing add-ons simply because they come together.
A side awning and a shower awning serve different purposes. A side awning can shelter the area beside the vehicle, while a shower awning can provide a more private changing space. For either setup, consider where it attaches, how it affects access and whether its position works with the vehicle doors and awning panels.
Keep the setup simple by sorting accessories into three roles: shelter, support and usability. Match the wall sections to the canopy, position extra legs as directed, then place lighting where it will serve the covered area. This order helps prevent a support or panel from blocking a useful opening once camp is underway.
- Shelter: Choose panels that match the awning’s shape and the privacy you need.
- Support: Use compatible legs and follow the kit’s recommended setup.
- Usability: Arrange lighting and access around cooking, changing and vehicle entry.
Compare 4WD awning options to see how accessories relate to different awning setups.
Adventurerz: 4wd awnings reviews and recommendations
Adventurerz offers 4WD awning reviews and recommendations to help you assess canopy styles, wall compatibility and useful accessories. Turn to these reviews when you’re narrowing down an awning setup for touring or camping, or weighing coverage and mounting against your vehicle and travel plans.
For a broader gear setup, Adventurerz reviews and recommends rooftop tents, camping equipment and hiking equipment. These guides can help you consider how shelter, storage and other gear work together for Australian adventures, with practical use in mind.
Explore Adventurerz’s awning reviews and recommendations to compare options for your setup.
Make your next camp setup count
Before your next trip, picture how you’ll use your campsite from arrival to pack-up. A thoughtful setup supports your routines, keeps the vehicle accessible and helps you tread lightly in the places you explore. Let that practical picture guide your choices instead of carrying accessories that won’t earn their space on tour.
Use this 4WD awning wall kit review for 2026 as a starting point for a setup that fits your touring rhythm. After each trip, take note of what worked around camp and what felt awkward. Those observations can guide small adjustments to your layout, making it easier to prepare for the next route and the conditions ahead. Keep comfort and care for the outdoors in balance as you refine your gear.
Contact Adventurerz about awning walls to explore your next step, then head into your next adventure ready to make camp your way.
Frequently Asked Questions
Which 4WD awning wall kits are available in Australia in 2026?
One named example is the Rugged 4×4 Platinum 1.5m 270 Awning Wall Kit, which includes seven sections, including a bonnet-side section. Treat it as a specific kit to assess, not a complete list of Australian options. Availability can vary by seller and awning compatibility. Compare the kit’s intended awning size, panel shape and attachment design with your vehicle setup before choosing.
What are the best-rated 4WD awning wall kits in Australia in 2026?
Without comparable rating information, it wouldn’t be responsible to name a best-rated kit. Ratings are most useful when they reflect the factors you value, such as panel fit, attachment quality and ease of packing. For a practical comparison, distinguish feedback about the wall kit from opinions about the awning itself. A well-reviewed awning doesn’t automatically make its wall kit the right fit.
How do 4WD awning wall kits compare for material, waterproofing and UV protection?
Compare material specifications separately from weather ratings. The Bushwakka Extreme Darkness awning uses 900 D ripstop polyester canvas, while the Rhino-Rack Batwing awning has a 2000mm water rating. These figures describe different features, and the water rating applies to the awning, not automatically to its walls. For UV protection, compare explicit product information for the wall fabric rather than inferring it from denier or water resistance.
Are 4WD awning wall kits easy to install and remove?
Installation is easier when you know the panel order and attachment points, but a wall kit still adds steps to deploying the awning. Before your first touring trip, mark or remember which panel fits each side. At pack-up, detach the panels carefully, keep the fittings together and pack the fabric dry when conditions allow. Practising at home helps reveal awkward connections before you set up at camp.
What are the main drawbacks and safety risks of using 4WD awning walls in wind or rain?
Walls create more enclosed surface area, which can put extra strain on the awning and its supports in windy conditions. Rain can also collect where fabric sags or water cannot drain freely. Secure the setup with its intended supports, keep clear of unstable panels and take the walls down if conditions make the structure unsafe. Avoid leaving the shelter unattended as weather changes, especially if gusts or heavy rain develop.
Where can you buy 4WD awning wall kits in Australia, and what are shipping costs?
Adventurerz provides 4WD awning reviews and recommendations, rather than selling physical wall kits, so it doesn’t charge shipping for them. For a purchase, the seller sets delivery options and costs. Shipping can depend on the delivery address, parcel dimensions and seller’s terms. Compare the total delivery details with the kit’s fit and included sections, so convenience doesn’t outweigh compatibility with your awning.
Which brands make wall kits compatible with popular 4WD awnings?
Rugged 4×4 offers a Platinum wall kit for its 1.5m 270-degree awning, with seven sections including a bonnet-side section.