A rooftop tent needs more than a sturdy-looking platform: the rack must fit your vehicle, support the tent at the required crossbar spacing and stay within the vehicle and rack load limits. For Australian platform racks, typical dynamic load ratings are 50-200 kg, while typical static ratings are 200-400 kg. Choosing roof top tent mounting systems for platform racks means understanding both ratings, not relying on the static figure alone.
It’s easy to focus on the tent and overlook how the rack transfers its load to the vehicle. This guide explains how to match the rack to your vehicle and tent, account for weight while driving and at camp, and check spacing and clearance before setting off. Follow these steps to build a setup that fits securely on the road and at camp.
Key Takeaways
- Compare the rack’s dynamic rating with the combined tent-and-rack weight for driving, and account for the different static load when camped.
- Match the rack’s fitment to your vehicle’s structural mounting points and the tent’s required crossbar spacing.
- Measure rail spacing from centre to centre, then compare it with the mount dimensions before choosing a system.
- Check rack height and roofline clearance against your vehicle’s overall height and the places you plan to travel.
- Explore rooftop tent reviews and recommendations to narrow your gear choices around your vehicle and camping plans.
Table of Contents
What Counts Towards Your Load Limit?
When assessing the load while driving, count the rack, tent and mounting hardware together. At camp, the static load also includes the people inside the tent.
For Australian road travel, secure the rooftop load and keep the vehicle within applicable height, width and overhang limits. Requirements depend on the vehicle and jurisdiction, so don’t assume the same dimensions apply to every setup.
Incorrect mounting, loose hardware or an incompatible rack can let the tent shift or detach, damage mounting points, or affect vehicle stability. Check fitment and fasteners before travelling, and don’t drive with a loose assembly.
-
Check vehicle load limits and ratings
Start with the vehicle’s roof-load limit, then compare it with the rack’s rating and the tent maker’s mounting requirements. A platform’s typical dynamic rating is 50-200 kg; its typical static rating is 200-400 kg. These describe different conditions, so don’t use the larger static figure to justify a heavier driving load.
Dynamic load is the combined weight of the tent and racks while the vehicle is moving. Some crossbars are rated to around 75 kg dynamically, which can constrain a setup even when a platform has a higher rating. Check every component and use the lowest applicable limit.
-
Calculate the total rooftop load
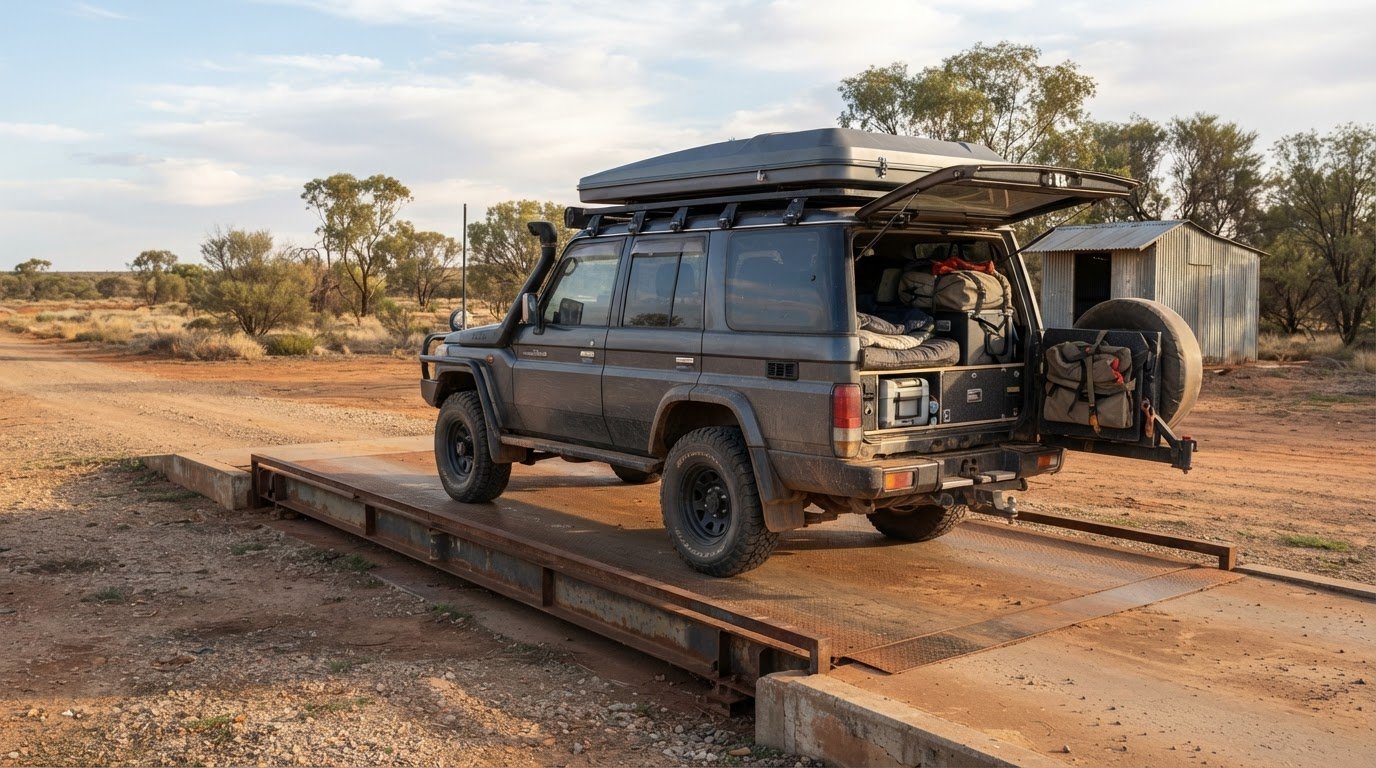
Add the tent, platform or crossbars, mounts and other roof-carried gear to calculate the driving load. Rooftop tents typically weigh 60-90 kg, so include the rack and mount weights rather than comparing the tent alone with the vehicle’s rating. For example, a tent weighing 60 kg plus racks and mounts weighing 15 kg creates a 75 kg dynamic load.
At camp, account for the tent, mounting system and occupants. A tent, two adults and crossbar mounts can together weigh 250-300 kg statically. A typical adult may weigh 75-90 kg or more, so use actual component and occupant weights when available.
When the vehicle is parked, a system that respects its dynamic load limit is engineered to support people in the tent. This doesn’t mean you can calculate the vehicle’s driving limit by adding occupants: their weight belongs in the parked static load, not the moving rooftop load.
Treat a canopy or Load-Lid as a separate supporting structure, not as automatic extra capacity. Its roof rating and mounting arrangement must suit the tent and rack. The vehicle’s roof rating alone doesn’t establish what a canopy or Load-Lid can carry.
What roof racks do I need for a rooftop tent?
Choose a rack designed for your vehicle’s structural mounting points, then match its crossbar spacing and attachment hardware to the tent. Roof top tent mounting systems for platform racks work only when the vehicle, rack and tent interfaces are compatible.
-
Confirm vehicle and tent compatibility
Match the rack and mount to your vehicle’s make, model and year, then confirm that the tent attaches to the rack. Rooftop tents sit on roof racks, which transfer their load to the vehicle’s structural mounting points rather than attaching directly to the roof.
Check the specific fitment before choosing a mount. Prado 150 mount options cover 2009-2016 and 2017 to current, while the LandCruiser 80 Series mount covers 1990-1997. These examples are vehicle-specific, not universal. Confirm that the mounting points align with your vehicle and that the tent’s brackets or channels suit the platform.
-
Match the tent to crossbars
Measure the distance between the crossbars and compare it with the tent’s required support points. Rooftop tents need specific crossbar spacing for proper support. Don’t assume any pair of bars will work simply because the tent can sit on them.
Position the bars beneath the tent’s designated mounting locations, keeping the tent level and its hardware accessible. A platform rack may offer several mounting positions, but the tent’s attachment layout determines which ones work. Before tightening anything, compare the tent instructions with the crossbar arrangement. Roof top tent mounting systems for platform racks should support the tent at its intended points, not merely hold it in place.
-
Attach mounting hardware to the platform
Choose brackets, clamps or track fasteners that match both the platform interface and the tent’s attachment points. Depending on the design, hardware may fasten through a track or slot, or clamp around a platform rail. Use the intended attachment method, and don’t force a bracket into a mismatched channel.
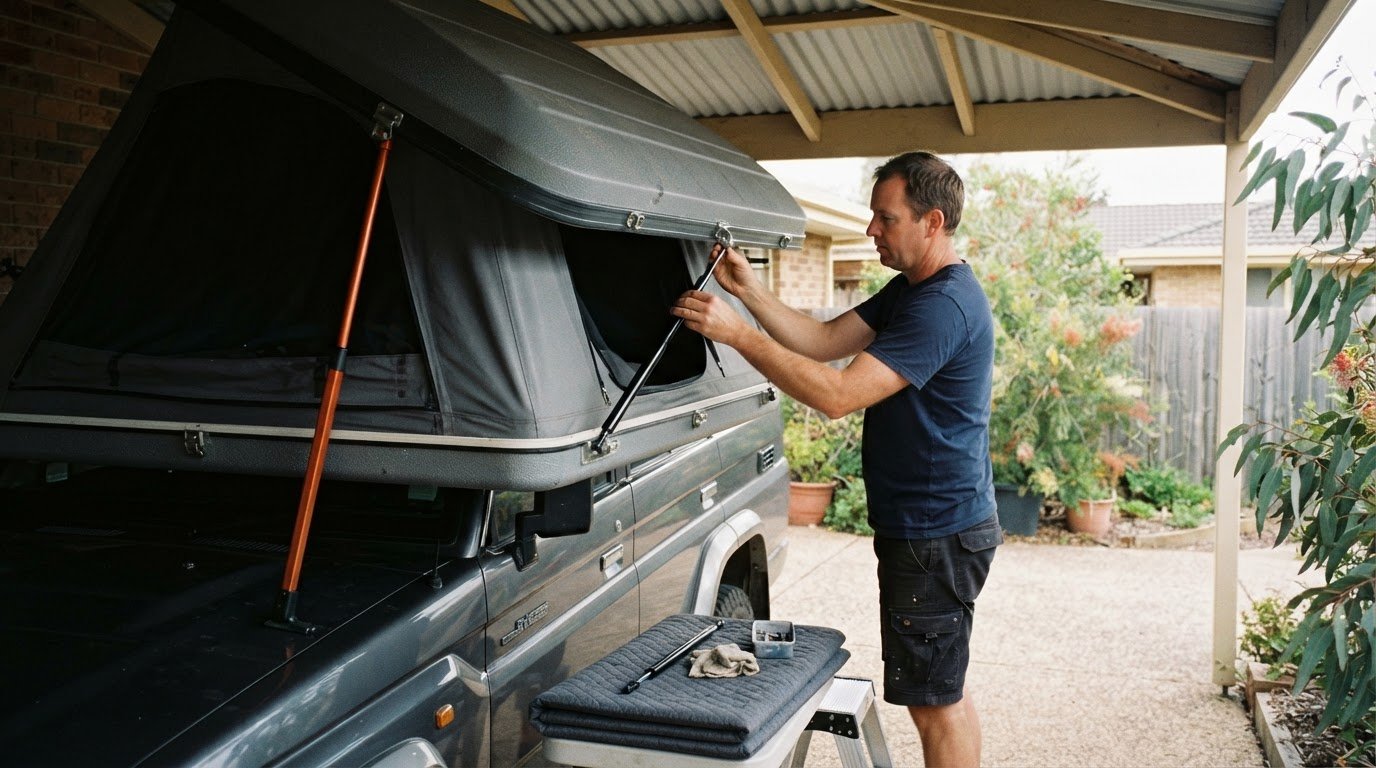
Lay out the hardware, place the tent and align each mounting point. Fit the fasteners loosely until all points line up, then tighten them as directed by the rack and tent manufacturers. Check that the hardware sits flat, the tent doesn’t slide, and the clamps don’t obstruct other fasteners.
Inspect the connections once the tent is secured, then check them again before travelling, especially after rough-road use. For a practical comparison of tent types and mounting layouts, browse these rooftop tent reviews.
A crossbar system rated to 75 kg may be tested at up to four times that load, but this is not its permitted carrying capacity.
Roof rack systems recommended for rooftop tents
Choose a roof rack that transfers the tent’s load through compatible vehicle or canopy mounting points. To reduce the risk of leaks, corrosion, theft and wind noise, avoid unapproved drilling, protect exposed surfaces, use suitable locking fasteners where provided, and seat the hardware securely.
-
Choose a rack system for the tent
Match the rack to the vehicle’s roof structure or canopy, then select a mounting system designed for that setup. A rooftop tent needs a rack because it provides the attachment points and transfers the tent’s load to the vehicle. For example, a Prado 250 low-profile roof tent mount suits vehicles from 2024 to current.
For a fibreglass canopy, a system that mounts directly onto the canopy legs can avoid the need for canopy rails. Confirm that the legs and rack arrangement suit the tent before fitting them together. Don’t treat a vehicle roof rack and a canopy-mounted system as interchangeable.
-
Check tent length and mounting concerns
Measure the tent’s length and compare it with the rack or canopy system’s stated capacity. One system is described as suitable for rooftop tents up to 2.1 m long on a fibreglass canopy. Keep the tent within that limit, and position its mounting points as the system requires.
To help prevent leaks, avoid creating roof or canopy penetrations unless the system calls for them. Protect finishes where hardware contacts the rack, and use suitable locking fasteners to deter tampering. Seat fittings evenly and securely: loose or misaligned hardware can contribute to movement and wind noise.
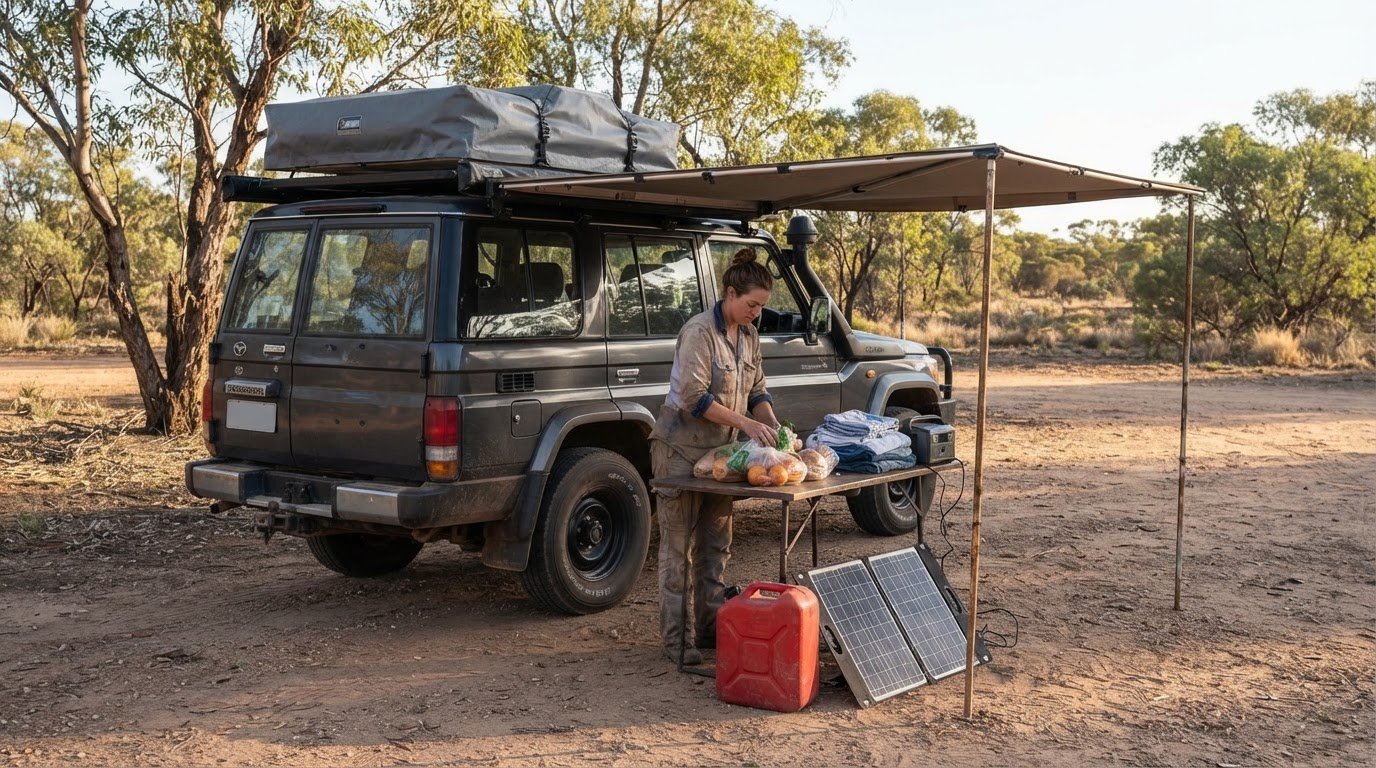
- Plan space for an awning. If pairing a rooftop tent with a 270° awning, map both mounting positions before installation. Check that the awning can deploy without clashing with the tent, doors or other equipment. Keep each accessory attached to its compatible mounting points, and account for the combined rooftop load using the ratings discussed earlier. 4WD awning reviews can help you consider awning options alongside your tent setup.
- Inspect the finished installation. Follow the rack and tent instructions for hardware placement and tightening. Check that brackets sit flat, clamps engage their intended rails or tracks, and the tent doesn’t shift against the rack. If the system uses a canopy, inspect its leg connections too. Recheck exposed contact points and fasteners after fitting and before travelling on rough tracks.
The listed shipping length is 200 cm. Use that measurement when checking whether the item can be handled and stored before installation, and confirm that the route from the delivery point to the workspace has adequate clearance. Keep the package protected while moving it, and avoid planning a tight storage location until you have accounted for its full length. Once unpacked, compare the supplied parts with the fitting instructions before assembling the rack.
Rack dimensions and height clearance
Measure the rack, vehicle roofline and tent separately before choosing a setup. Listed specifications may use different reference points, so compare like with like.
- Record the rack’s stated clearance and total installed height separately. One product specification lists 4 cm of rack height clearance and 10 cm from the roof top to the rack top. These figures describe different measurements, so don’t treat the 4 cm clearance as the full height added to your vehicle.
- Compare the system’s length, width and height with the roof area available. A listed system measures 198.5 cm long, 125 cm wide and 7 cm high. Check where the rack sits against the roofline, including any roof contours or fittings. The dimensions help assess fit, but don’t establish tent clearance on their own.
- Use the vehicle’s original roofline as a reference when assessing a vehicle-specific mount. The Prado 150 mount sits about 50 mm above the original roof height and has 15 mm of roofline clearance. Keep these separate: one describes mount height relative to the roof, while the other describes clearance at the roofline.
- Measure the complete setup after fitting the rack and tent, rather than relying on rack height alone. Add the tent’s installed height to the vehicle’s roof-to-ground height using the same measurement method. Record the result for garages, car parks and low branches on your route; the rack’s 10 cm total roof-to-top figure excludes the tent.
- Check the measurement points before comparing specifications from different rack systems. A 7 cm system height, 4 cm clearance and 10 cm roof-to-rack-top measurement may refer to separate edges or reference surfaces. Use the product drawing to identify each point, then measure the corresponding points on your vehicle. Don’t add these listed dimensions together unless they describe adjoining sections.
- Recheck clearance after positioning accessories such as a rooftop tent or awning. Their shape and mounting position can change the highest or widest point of the installed setup. Measure the vehicle’s highest point and note any projections beyond the rack. Use these measurements to plan access, and don’t assume the rack specification represents the full loaded vehicle.
Rail spacing and mounting dimensions
Use the tent’s mounting layout to set rail spacing, then compare it with the rack’s dimensions. There’s no single spacing or load rating for every rooftop tent: follow the tent’s required crossbar position and use a rack rated for the combined rack-and-tent load while driving.
-
Measure rail spacing and mounting dimensions
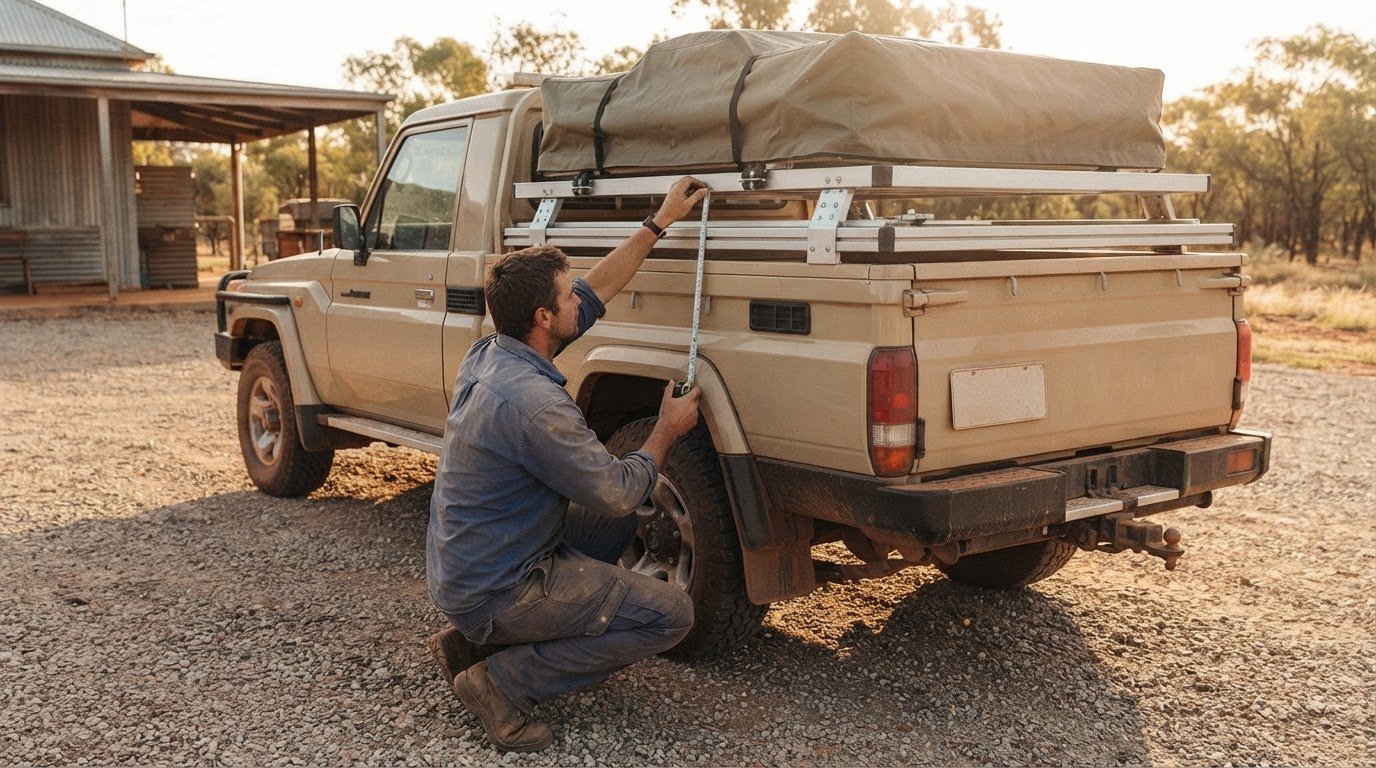
Measure from the centre of one rail to the centre of the other, keeping your tape straight across the platform. The GU Patrol low-profile mount has 570 mm rail spacing, measured centre to centre. Treat that as a specific mount dimension, not a universal tent requirement.
Next, measure the distance between the tent’s mounting points using the same centre-to-centre method. Compare both measurements before positioning the hardware. If the mounts can move along platform tracks, find positions that align with the tent without forcing brackets or angling fasteners.
-
Check platform crossbar spacing and load rating
Compare your measured crossbar spacing with the tent’s stated mounting range or required support points. Place each bar beneath the intended mounting area, then check the tent can sit level. A 570 mm rail spacing on a GU Patrol mount only suits a tent whose hardware can align with that layout.
Check the rack’s dynamic load rating against the combined weight of the rack and tent while driving. Use the lowest applicable limit for the vehicle, rack and mounting components. Don’t infer capacity from rail spacing, platform size or a static rating. Spacing confirms fit; the load rating confirms the permitted moving load.
- Mark the mounting positions. Once the spacing aligns, mark each bracket or clamp location on the platform, then lay out the hardware before tightening it. Confirm every attachment point sits flat and engages the intended track or rail. A bracket that only partly engages may leave the tent unsupported at that point.
- Recheck alignment and fit. With the tent in position, compare its mounting points with the marks and inspect the platform from both sides. Check that the tent is centred, the rails remain parallel, and the hardware doesn’t obstruct another fastener. If the measurements don’t align, reposition adjustable hardware rather than stretching or forcing a bracket.
- Keep a record of the setup. Note the centre-to-centre spacing and the rack and tent models together. For example, record 570 mm only when using the GU Patrol low-profile mount, not as a general target. These details make later inspection or refitting easier and help you spot a changed position before travelling.
For help weighing tent choices against mounting layouts, explore rooftop tent reviews and recommendations.
Adventurerz: Roof top tents reviews and recommendations
Adventurerz offers rooftop tent reviews and recommendations to help you compare options based on your vehicle, rack fit and camping plans. Use these guides when you’ve narrowed down your mounting setup and want to choose a tent suited to your Australian trips.
Explore 4WD awning reviews and recommendations if you’re planning shade alongside your rooftop tent. Camping equipment reviews and hiking equipment reviews can also help you make considered choices for nights at camp and time on the track. Match each item to the journey, pack thoughtfully and tread lightly as you explore.
Have a question about choosing your rooftop tent setup? Contact Adventurerz to keep planning your next trip.
Build a Setup Ready for the Road Ahead
Your rack choice affects more than where the tent sits. It can shape how easily you adapt your vehicle for different trips, from a quick weekend away to a longer journey on remote tracks. Consider the places you want to explore, the gear you’ll carry and how often you expect to reconfigure your setup. This bigger picture can help you choose roof top tent mounting systems for platform racks that suit your travel plans, not just your next campsite.
A considered setup also makes it easier to travel responsibly. Pack only what you need, secure loose equipment and take care of the tracks and campsites that make Australian adventures possible. When you’re ready to plan your next step, contact Adventurerz about your rack setup.
Take your time getting the fit right, then get out there and enjoy the journey.
Frequently Asked Questions
How much weight can it carry?
Capacity depends on the vehicle, rack and mounting components, so the lowest applicable rating sets the limit. Platform rack dynamic ratings typically range from 50-200 kg, but some crossbars are rated to around 75 kg dynamically. Include the tent and rack hardware in your driving load. For a setup carrying extra roof cargo, count that too rather than treating the tent rating as spare capacity.
I drive a ute, what are my options?
A ute can use a roof-mounted rack or a compatible canopy-mounted system. Factory ute roofs typically have dynamic load ratings of 50-100 kg, so account for the tent and rack together against the vehicle’s limit. A canopy system may mount directly onto canopy legs without canopy rails. On a fibreglass canopy, one system is suitable for tents up to 2.1 m long.
What is a low profile roof top tent mount?
A low-profile mount keeps the tent mounting system close to the vehicle roof rather than raising it on a taller rack arrangement. For example, the Prado 150 mount sits about 50 mm above the original roof height and has 15 mm of roofline clearance. Those dimensions describe that vehicle-specific mount; they aren’t universal measurements for every low-profile setup.
Why Mount to the Tub Rather Than the Vehicle Roof?
Mounting to a tub or canopy can work when the system is designed for that structure. For example, a canopy-leg system can attach directly to the legs without canopy rails. The vehicle roof and canopy are different mounting structures, so don’t assume a roof rack’s fitment or rating applies to a tub-mounted setup. Choose a system compatible with the structure supporting it.
What are the dynamic and static load limits for a rooftop tent and platform rack?
Typical platform ratings are 50-200 kg dynamically and 200-400 kg statically. Dynamic load applies while driving; static load applies while parked, including occupants inside the tent. Rooftop tents typically weigh 60-90 kg, so account for the rack and mounts as well. Don’t use a static rating to decide whether a setup is within its driving limit.
What are the best rooftop tent mounting systems for different tent brands and platform racks?
Choose brackets, clamps or track fasteners that match both the platform interface and the tent’s attachment points. Confirm that the rack fits your vehicle’s structural mounting points and that the crossbars support the tent at its designated mounting locations.