It’s easy to see why budgeting feels daunting: suspension, storage and power upgrades all compete for space in the plan, and every addition affects what your vehicle carries. The key is to build for the trips you actually intend to take, rather than buying gear before you know what matters most.
We’ll break down the main cost areas, show how to prioritise essential equipment and explain why weight, payload and trip expenses belong in the same budget. You’ll also get a practical way to plan a touring setup for Australian conditions, leave room for a financial reserve and travel with care for the places we explore.
Key Takeaways
- Build your budget around the trips you plan to take, and include fuel, campsite fees and a reserve. A 10,000-kilometre example shows how quickly fuel can become a major expense.
- Prioritise capability before convenience: suspension, tyres and a snorkel form the recommended minimum accessory list for off-road travel.
- Plan suspension around your loaded vehicle, not an abstract lift target. Added accessories and cargo all contribute to the weight your 4WD carries.
- Choose storage and power gear to match your food, cooking and travel needs, then consider how battery capacity and solar work together.
- Make each upgrade earn its place so your setup stays practical, safe and suited to the places you want to explore.
Table of Contents
1. So, is Touring Getting too Expensive?
Touring doesn’t require a six-figure build. The cost to set up a 4WD for touring Australia depends on your routes, passengers, cargo and comfort priorities.
Start with the base vehicle that suits your travel, not a list of accessories. A 15-year-old four-wheel drive can be one option for touring Australia, while newer vehicles may take a larger share of the budget. A thorough pre-purchase inspection and setup funds belong in the same buying plan.
Build around real trips. A vehicle used for weekend camping may need different storage and power from one carrying supplies into remote country. Start with the route, trip length, occupants and equipment, then add upgrades that solve a clear need. Travelling first with a modest setup can show which accessories earn their space. This experience-led approach also helps avoid paying for gear that stays unused.
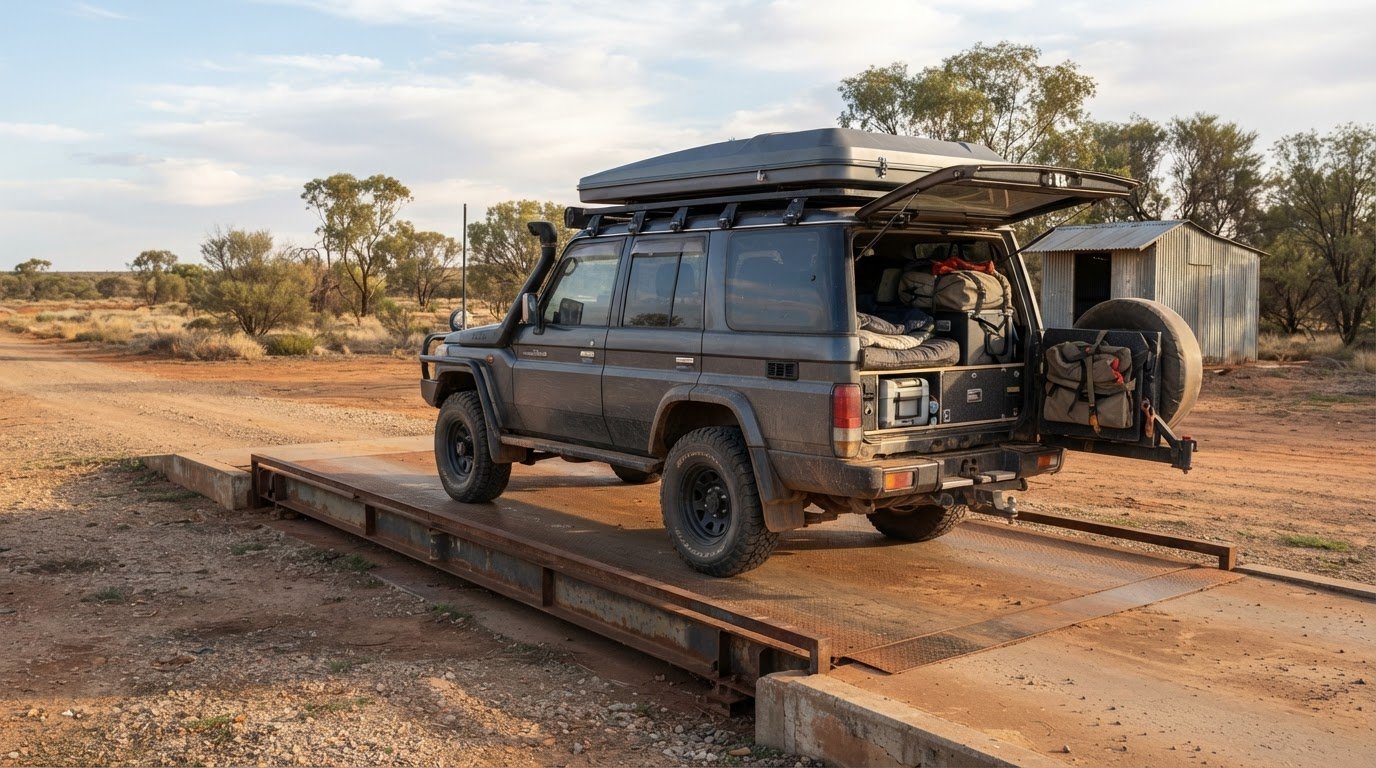
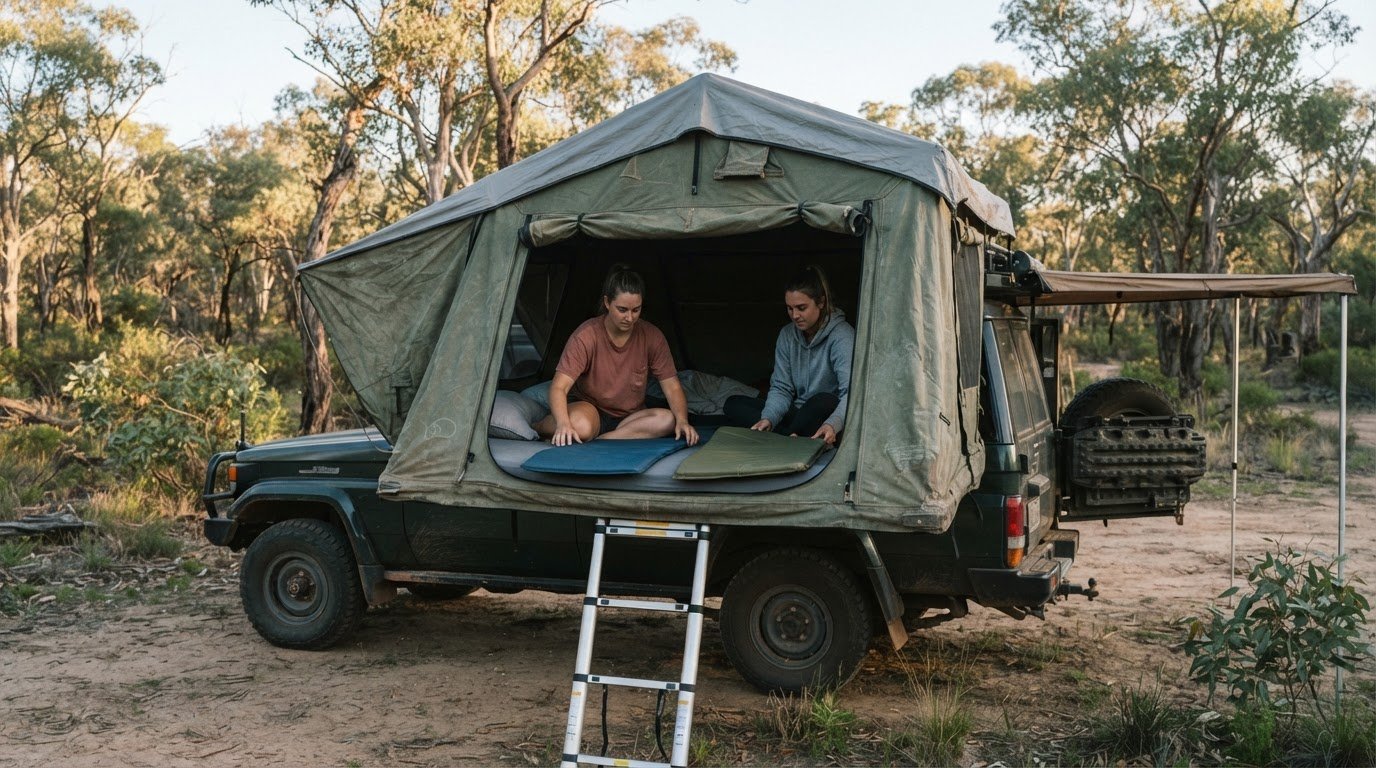
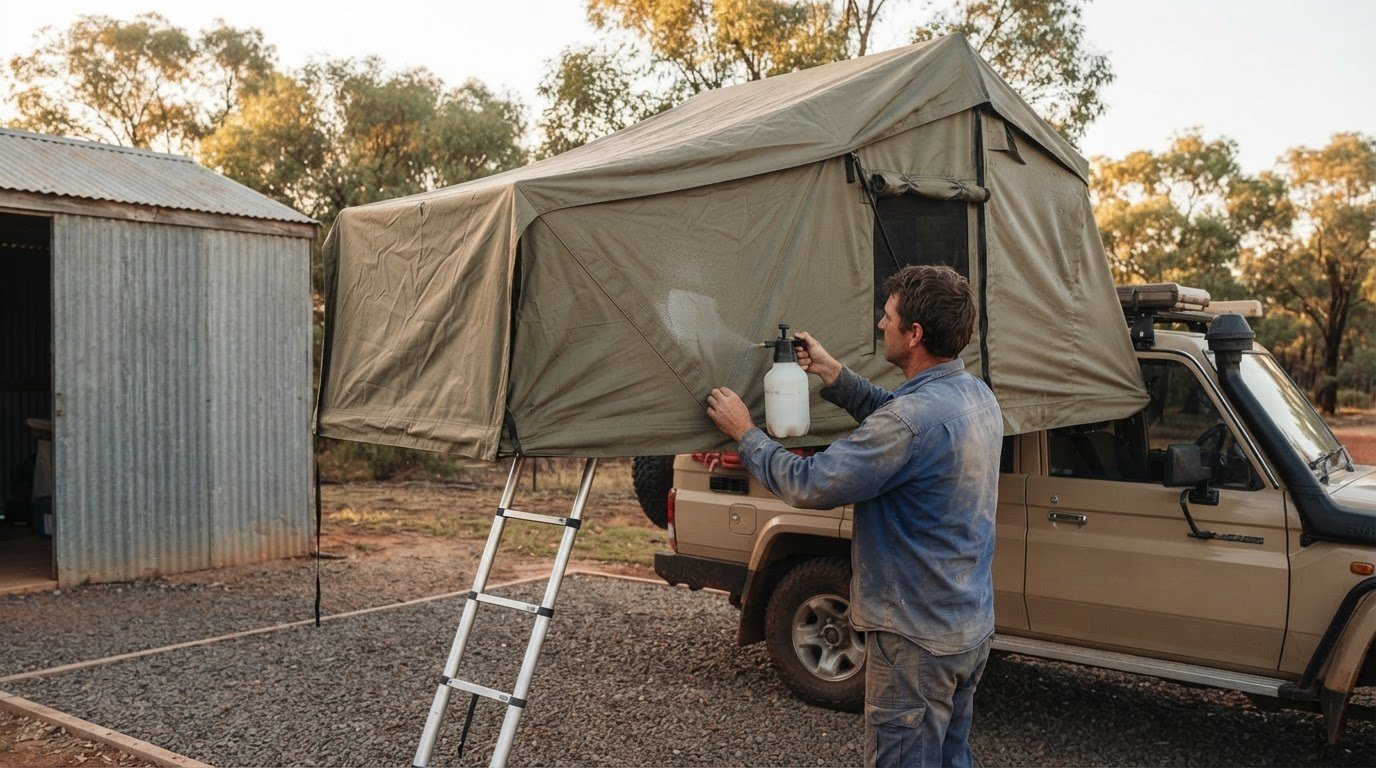
Weight changes the plan. A steel bull bar adds roughly 60kg, an aluminium canopy 150kg, and a rooftop tent about 80kg. A dual battery system adds more weight, too. Together, a bull bar, canopy, rooftop tent and dual battery system add over 300kg before other gear. Consider where each accessory sits, how cargo is secured and how the loaded vehicle handles. Heavy items placed high can affect balance, so match the layout to the vehicle and intended load.
Australian vehicle modifications must comply with the National Code of Practice for vehicle modifications to remain street-legal across states. Whether a modification needs approval or inspection depends on the change and the relevant state or territory rules. Include compliance in your upgrade plan, especially when changes affect the vehicle’s structure, suspension or roadworthiness.
How much do popular accessories cost? The answer depends on vehicle compatibility, construction, load requirements and fitting. Set priorities before choosing accessories, and keep the complete build within your budget and the weight your vehicle can manage.
The cost depends on the vehicle, travel plans and comfort priorities.
2. Planning a travel budget and keeping a reserve
Keep the vehicle purchase, modifications, travel costs and emergency reserve in separate budget lines. These examples show how a used 4WD can fit near that purchase budget, before setup costs.
For a budget, mid-range or fully equipped setup, the difference is how much capability and comfort you add. A lean build focuses spending on essentials for the planned route. A mid-range build adds storage and power for longer trips. A fully equipped vehicle can accumulate extensive upgrades and gear. The main cost drivers are the base vehicle, modifications and the amount of equipment carried. Set the equipment level according to your trips, rather than treating one setup as right for every traveller. Similarly, for travellers who also explore international wilderness destinations where vehicle outfitting isn’t practical, booking dedicated road transfers with operators like Zaf Travel provides a convenient way to reach remote safari lodges without the overhead of preparing an off-road rig.
Fuel can take a substantial share of a touring budget. Driving style, route and load affect consumption, so include a separate fuel allowance for towing.
Accommodation and small purchases also add up. Map likely paid nights, meals and resupply stops before departure. A remote roadhouse may be far from a supermarket, so plan food around larger towns instead of relying on last-minute purchases.
Keep a reserve of around 20 per cent above forecast day-to-day expenses. This buffer helps absorb an unexpected tyre replacement or a night’s accommodation when plans change. Don’t spend it in advance on optional accessories. Add up fuel, camps, food and planned activities first, then calculate the reserve against that forecast.
Review the budget in order: choose the vehicle, fund the essential setup, estimate trip expenses, then protect your reserve. This makes trade-offs visible before you set off and helps keep the adventure comfortable without putting every dollar into the build.
3. Prioritising essential 4WD touring equipment
Choose equipment for your route and conditions, not because a catalogue lists more accessories. Off-road capability depends on choosing equipment suited to the vehicle and terrain. These address vehicle support, terrain contact, and exposure to water or dust. For remote travel, add recovery equipment and reliable ways to manage tyre pressure. A weekend camping setup can be simpler than one intended for extended travel.
Start with the gear that helps you handle common touring tasks:
- Monitoring can alert you to a slow leak, while a compressor lets you reinflate after reducing pressure for suitable terrain.
- Recovery: Consider recovery boards, a shovel and compatible recovery equipment for the routes you’re taking. Learn how each item is used before leaving, and keep gear accessible rather than buried beneath camping bags.
- It may suit trips where fuel quality and distance between services are part of the planning.
Recovery gear should suit the vehicle and terrain. Owning equipment isn’t the same as knowing how to use it, so practise the intended setup in a controlled environment before remote travel. Carry a reliable communication option suited to the trip, and don’t treat recovery as a one-person improvisation. Plan with your travelling companions in mind, including how help could be reached, such as keeping contact details for regional vehicle recovery services like allouttowing.com.au on hand when touring Western Australia.
Camping equipment is another area where the route shapes the spend. A 12V fridge supports meal storage, while water storage should suit the duration between reliable resupply points. Choose cooking and sleeping gear around the people travelling, the available vehicle space and the weather expected. A decent tent or shelter that fits the trip can be more useful than several bulky extras. Pack equipment so frequently used items remain accessible.
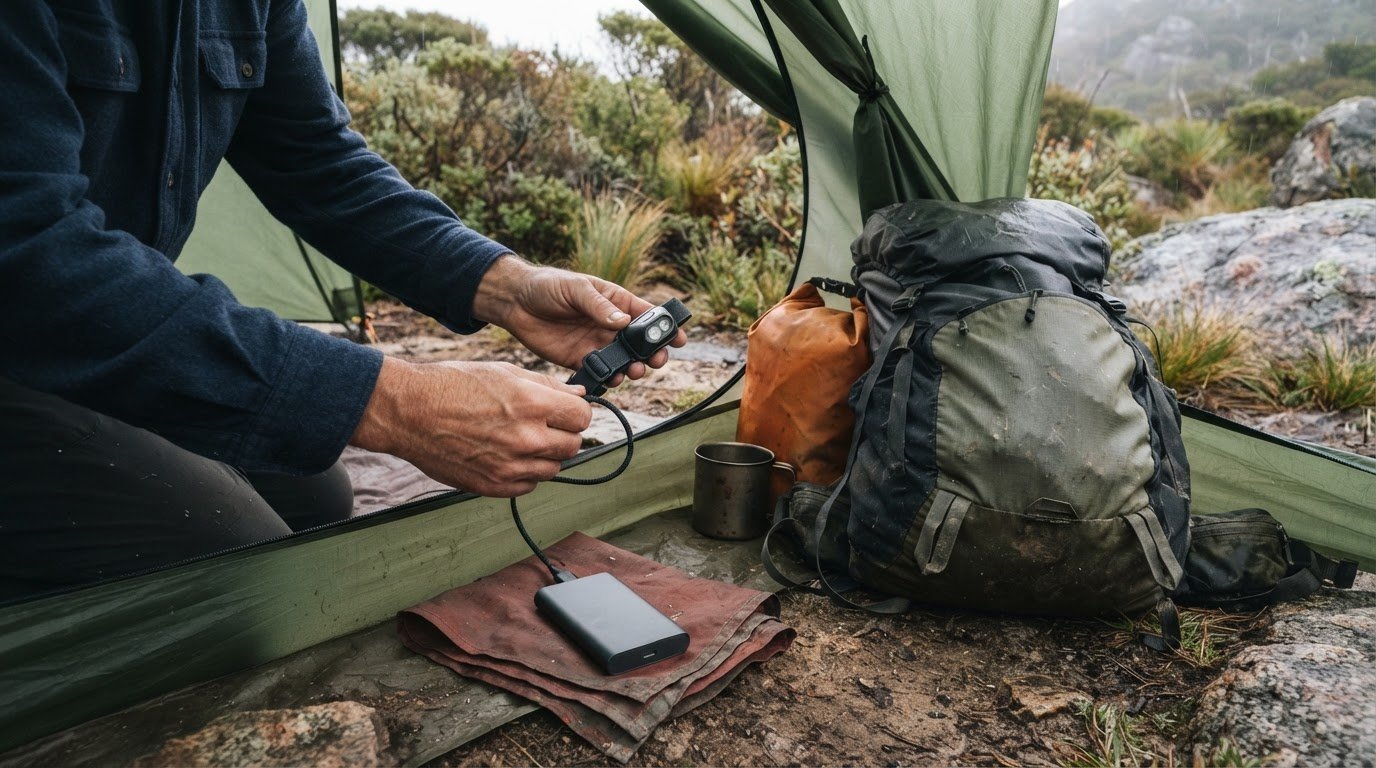
For a dual-battery system, fridge, solar panels, water storage and camping gear, total cost depends on capacity, construction and how the components work together. The available figures offer useful power-planning reference points: a standard 60L fridge typically uses 30 to 40Ah per day in Australian summer conditions. A 100Ah lithium battery with 150W to 200W of solar is recommended for keeping one running, assuming several clear-sky hours daily; higher-draw setups or winter travel might need up to 300W. A portable power station can run a fridge for 48 hours without permanent installation.
Build in stages. Start with essentials for the next trip, note what you actually use, then upgrade. A setup designed for 1-3 weeks away from shops needs different food, water and power capacity from a short camping escape.
4. GVM limits and suspension upgrades
Suspension should suit the load your 4WD carries, not an imagined ultimate build. Touring accessories, passengers, fuel, water and luggage all contribute to vehicle weight. As the load grows, suspension choice affects how the vehicle sits and behaves on the road and remote tracks. Match the upgrade to your intended touring setup, including any trailer you plan to tow.
GVM is the vehicle’s maximum permitted loaded weight. Payload is the capacity available for occupants and added cargo, so accessories reduce what remains for people and trip supplies. Towing adds another consideration: the vehicle must carry its own load while managing the trailer’s demands. Plan for the fully equipped vehicle, not just the weight of one new accessory.
Overloading has real safety consequences. About 23% of vehicles weighed during Australian roadside operations were found to be dangerously overloaded. That figure makes a strong case for planning the full load before choosing suspension or adding storage. A bull bar, canopy, battery system and touring equipment can consume payload together, leaving less capacity for water, food and passengers. Distribute the load carefully, and avoid treating a suspension upgrade as extra payload by itself.
Heavy-duty touring suspension can give a vehicle about a 2-inch body lift. That change does not make every vehicle more capable or suitable for every track. The intended load, vehicle configuration and use should guide the setup. A Cruiser carrying a canopy and touring supplies has different demands from a lightly equipped 4WD used for occasional trips. Choose an upgrade to support that load, rather than chasing lift height as the goal.
GVM upgrades also involve vehicle-specific considerations. 2026 changes to Australian Design Rules ADR 80/04 affect how some pre-registration GVM upgrades are processed, particularly for vehicles with older engine platforms. This is relevant when comparing a new vehicle with a used touring 4WD. Treat the vehicle’s configuration and upgrade pathway as part of the purchase decision, alongside the cost of suspension and other modifications.
For safe touring, what payload and towing risks should you consider? Added accessories and cargo can push a vehicle towards or beyond its permitted loaded weight, while towing adds demands that the suspension and overall setup must handle. Plan around the fully loaded vehicle and intended trailer, not the empty 4WD.
Build the budget in stages: identify the load, choose suspension to match, then account for associated upgrade costs. The exact cost depends on the vehicle, components and work involved, so define the build before setting a suspension allowance. This keeps the setup practical for your itinerary and helps avoid upgrades that don’t serve your travel plans.
5. Storage and power modifications
Storage and power should work as one touring system. Start by listing what you carry, how you access it and which devices need power. A fridge, cooking equipment and lighting compete for space, battery capacity and charging time. In a diesel 4WD, the engine and charging setup also affect how auxiliary batteries are replenished. Match components to your travel pattern instead of buying each piece separately.
Plan storage around the equipment you use most. Keep recovery gear and daily supplies accessible, while less-used camping items can go deeper in the vehicle. Drawers can organise smaller items, but fixed cabinetry adds weight and reduces flexible cargo space. A canopy may suit travellers carrying bulky equipment, while open storage may work for shorter trips. Leave room for passengers and the supplies needed for remote travel.
Power choices depend on what you want to run and for how long. A 12V fridge is useful for keeping meals on board, but its energy demand must fit the battery and charging arrangement. A dual battery system adds 30kg to a touring setup, so include it in the loaded vehicle’s weight plan. If you’re considering an induction cooktop, the stated requirement is a 2000W inverter. A 5kW inverter is an example of a larger touring installation, not a default target for every vehicle.
Costs vary with battery capacity and type, inverter output, solar setup, wiring, mounting and installation. Storage costs depend on materials, vehicle fit and whether components are removable or fixed. Water storage costs also vary with container design, capacity and mounting. These choices interact: a larger fridge may need more power, while extra battery capacity adds weight and installation requirements. Budget for the complete system rather than treating each accessory as an isolated upgrade.
Before settling on a layout, work through three practical checks:
- List every device, then identify when and how often it needs power.
- Group food, water, cooking and recovery equipment by access frequency.
- Account for batteries, storage units and packed supplies in the vehicle’s load plan.
This sequence helps prevent a common mismatch: adding storage that crowds the cabin, then discovering the electrical system cannot support the gear. It also makes future upgrades easier to plan. Add components as your travel needs develop, rather than rebuilding the entire setup around an early guess.
For a sleeping arrangement that changes your packing plan, compare roof top tent reviews and recommendations alongside your storage layout. A well-planned setup keeps essentials accessible and leaves the vehicle ready for the next leg of the adventure.
Adventurerz
Adventurerz helps you make informed touring choices with reviews and recommendations for camping and hiking equipment, roof top tents and 4WD awnings. Turn to these resources when you’re weighing up which gear fits your vehicle, travel style and budget, rather than adding accessories without a clear purpose.
Use the guidance to compare the role each item could play in your setup, then prioritise equipment that supports your planned trips and responsible travel. A considered gear list can help you balance comfort, storage and practical needs before you commit to upgrades.
Have a question about planning your touring setup? Contact Adventurerz to continue the conversation.
Make Your Touring Setup a Work in Progress
The cost to set up a 4WD for touring Australia is easier to manage when your build follows your travels, rather than trying to anticipate every possible trip. Let your first itinerary shape the next decision: consider the terrain, where you’ll camp, and what you’ll need to carry. After each outing, note what worked, what stayed packed away and what you’d change. That experience gives your future upgrades a clear purpose.
Keep the places you visit in mind, too. Travel within your vehicle’s capabilities, respect local access guidance and leave campsites and tracks in good condition. A considered setup supports self-reliance while helping us explore Australia responsibly.
If you’re weighing up equipment choices or planning your next step, contact Adventurerz about your touring setup. Take the build one thoughtful decision at a time, then get out there and enjoy the journey.
Frequently Asked Questions
What Does Touring Actually Cost?
Touring costs depend on how far you travel, how you camp and what your vehicle needs. The cost to set up a 4WD for touring Australia is only one part of the budget: travel also brings fuel, food, accommodation and maintenance expenses. For a realistic estimate, plan a specific route, note likely resupply stops and overnight stays, then allow for costs that change with distance and conditions.
How can I make touring Australia cheaper?
Reduce spending by planning around what you already own and delaying upgrades that don’t solve a clear need. Choose a route with suitable low-cost camping options, prepare meals rather than relying on roadside stops, and buy supplies in larger towns. Travelling with fewer bulky extras can also reduce load and simplify packing. Keep the itinerary flexible enough to adjust if fuel, weather or road conditions change.
So, is Touring Getting too Expensive?
Touring can suit different budgets because travellers choose different vehicles, routes and levels of comfort. You don’t need to complete a full build before your first trip. Start with a suitable vehicle and essential gear, then use experience to decide what deserves an upgrade. A shorter outing can reveal practical gaps, such as awkward storage or missing cooking equipment, before you commit to a more remote itinerary.
The 4×4 Camping Build Hierarchy: Where to Start?
Start with the vehicle’s condition and the load it must carry, then prepare for the terrain on your itinerary. Next, consider recovery needs, shelter and cooking, followed by storage and electrical capacity. This order ties each purchase to a real trip requirement. For example, decide how you’ll sleep and pack before choosing a roof-mounted shelter, since it changes storage arrangements and the vehicle’s overall load.
How much does a new 4WD suitable for touring Australia cost?
The purchase price varies with the make, model, age, specification and condition of the vehicle. A new 4WD’s touring suitability also depends on its load capacity, passenger needs and intended routes, not just its badge or advertised features. Compare the purchase cost with likely setup work and ownership expenses. A vehicle that leaves room in the budget for practical preparation may suit your plans better than a more expensive model.
What is the cost of a basic 4WD touring setup in Australia?
The cost of a basic setup depends on the equipment already included with the vehicle and the trips you plan. A weekend camp may need less storage and power than a longer journey with limited resupply. Separate essential equipment from comfort upgrades, then cost the essentials first. Include fitting where required, and keep the setup within the vehicle’s payload so the budget reflects its practical limits.
How much does a 4WD touring setup cost with a rooftop tent or camper trailer?
The total depends on shelter type, vehicle compatibility and any additional storage or towing equipment required. A rooftop tent changes roof load and packing choices, while a camper trailer changes the towing setup and trip planning. Consider the complete arrangement, including where other gear will go and how the vehicle handles when loaded. Adventurerz’s reviews and recommendations can help compare equipment categories before you decide what suits your touring style.
What are typical 4WD touring fuel, servicing, insurance and registration costs in Australia?
These running costs depend on the vehicle, location, travel distance and how it’s used. Fuel use changes with route, load, driving conditions and towing; servicing depends on the vehicle’s requirements and use. Insurance depends on the cover selected and vehicle details, while registration costs vary by jurisdiction and vehicle. Include each category separately in your plan, distinguishing regular ownership costs from extra expenses caused by a particular trip.