Choose a used roof top tent for the people who’ll sleep in it and the vehicle that must carry it, not simply the biggest footprint you can find. When deciding what to look for when buying a used roof top tent, start with capacity: most models are designed for one to two people, with around 700 mm of width per person as a useful guide. For two sleepers, that points to roughly 140 cm of interior width.
It’s easy to focus on the bargain or picture your first night under the stars, but a used roof top tent needs a closer inspection. Worn canvas, faulty zips, damaged weather seals or incompatible mounting hardware can turn an appealing find into a poor fit for your trips.
Compare tent size and opening direction, inspect the canvas and weather protection, and check how the added roof weight could affect clearance, handling and fuel use. These checks can help you find a tent that suits your crew, vehicle and travel plans across Australia.
Key Takeaways
- Match the sleeping space to your crew and measure your vehicle roof to avoid an awkward overhang.
- Compare side- and rear-opening designs against how you access the tent and use your vehicle at camp.
- Inspect the canvas, stitching, zips and weather seals for wear that could compromise comfort in Australian conditions.
- Before fitting a tent, compare its weight with your vehicle’s dynamic and static roof-load ratings and your rack’s rating.
- Factor in added height, wind resistance and pack-down effort when deciding whether a second-hand tent suits your travel style.
Table of Contents
Effects on vehicle handling and fuel use
A used roof top tent changes more than your sleeping setup. Its weight sits high above the ground, affecting roof load, vehicle balance, clearance and wind resistance. Before buying, compare the tent, rack and accessories with your vehicle’s ratings and mounting requirements.
For Australian use, check your vehicle’s dynamic and static roof-load ratings, the roof rack or platform rating, the tent’s weight, its mounting requirements and the manufacturers’ instructions. Dynamic capacity applies while driving; static capacity applies when the vehicle is stationary and occupied at camp. One rating cannot substitute for the other.
Weight varies by design: soft-shell rooftop tents commonly weigh 40 to 70 kg, while hard-shell models can weigh 55 to 90 kg. Most mid-size 4WDs and SUVs in Australia have a dynamic roof-load rating around 75 to 100 kg. That allowance must accommodate the tent and any other roof-mounted accessories. A rack’s rating also matters, so use the lowest applicable capacity when judging the complete setup.
Added height and wind resistance can change how a vehicle feels on the road. A rooftop tent can raise total vehicle height by around 200 mm to 400 mm, depending on the tent and rack. That affects clearance at garages, car parks and low branches. At 100 km/h, fuel use may increase by around 10% to 20%, particularly on long highway trips. Crosswinds and exposed weather can make the extra roof load more noticeable, so allow for changed handling rather than assuming the vehicle will feel unchanged.
| Setup option | Typical tent weight | Key compatibility check | Driving consideration |
|---|---|---|---|
| Soft-shell tent | 40 to 70 kg | Dynamic and static roof load; rack rating | Check overall height and highway wind resistance |
| Hard-shell tent | 55 to 90 kg | Mounting points and total roof load | Account for added mass high on the vehicle |
| Tent with extra roof accessories | Calculate the combined load | Include each accessory in the dynamic limit | Allow for extra height and wind exposure |
Choose a tent only after confirming that the vehicle, rack and mounting system work together. A tent that fits the crossbars but exceeds the vehicle’s dynamic roof load is not suitable for driving. Measure the total height with the tent installed, then consider your regular routes and storage access.
Before travelling, follow the tent and vehicle manufacturers’ fitting instructions, secure every mounting point and account for the combined roof load. A careful compatibility check helps protect the equipment and keeps the vehicle ready for the road.
What Size Roof Tent is Best for You?
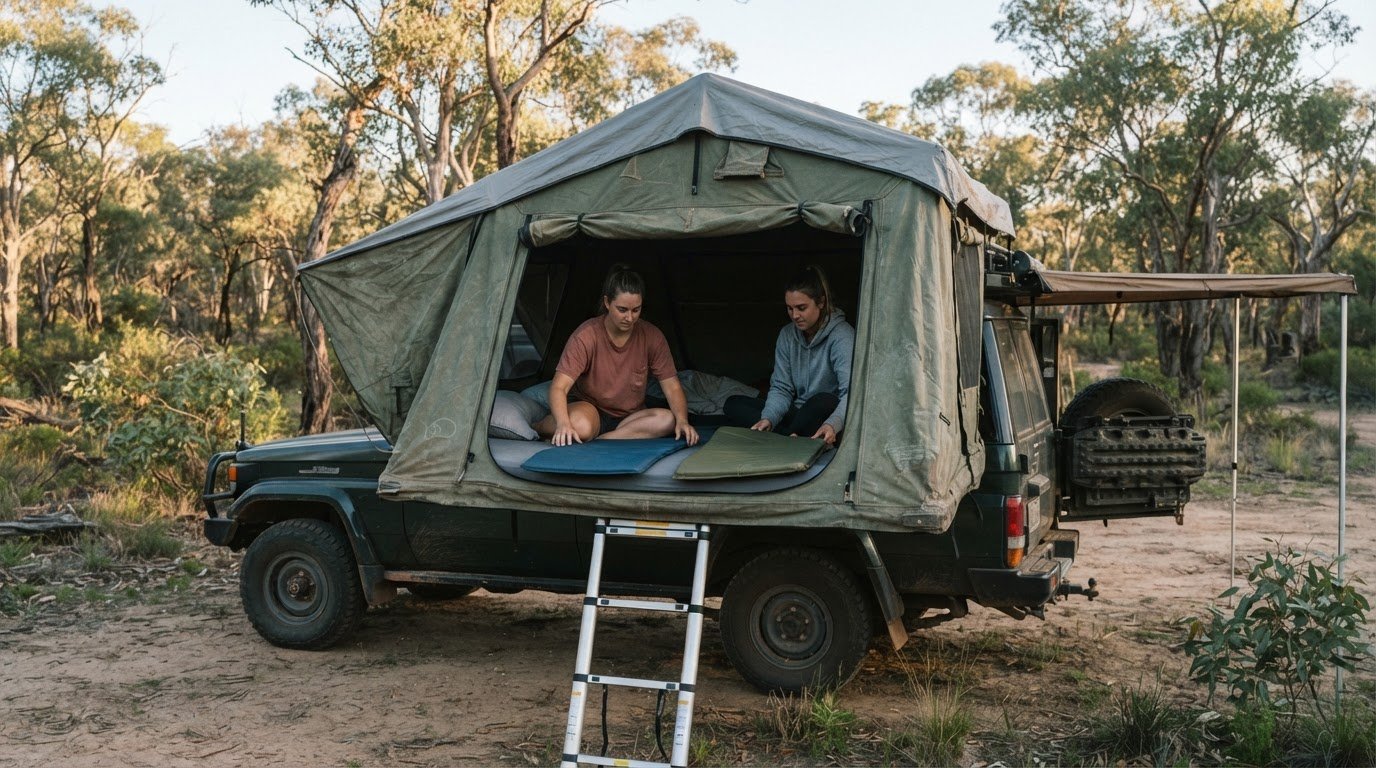
Choose the sleeping footprint for your actual crew, then consider how often you’ll move camp. Most rooftop tents are designed for one to two people, and around 700 mm of width per person is a useful starting point. For two sleepers, an interior width of about 140 cm gives each person room to settle without carrying unnecessary bulk.
Solo campers can consider an inside width around 120 cm to 130 cm, while couples may prefer 140 cm to 160 cm. A tent around 2 m long leaves extra space for gear, though your sleeping position and the mattress shape affect how usable that length feels. Measure the sleeping area, not just the exterior shell, and picture where boots, bedding and small essentials will go.
Size also affects how the tent works at camp. A canvas roof top tent can unfold to provide double the footprint of its folded unit, creating more sleeping space without a full-size hard shell. The extra fabric and floor area may suit campers who value space, but they also mean more to fold and secure at pack-up. Consider where the open tent will sit at your regular campsites.
For a used model, ask to see a complete setup and pack-down, not just a quick demonstration of the opening mechanism. Watch how the fabric folds, whether the cover closes cleanly and whether one person can manage the process. Try each step yourself: the previous owner’s practised routine may feel less straightforward to a new camper.
- Soft-shell: Setup and pack-down commonly take 5 to 10 minutes. Check the sequence for unfolding the floor, arranging the fabric and fitting the travel cover.
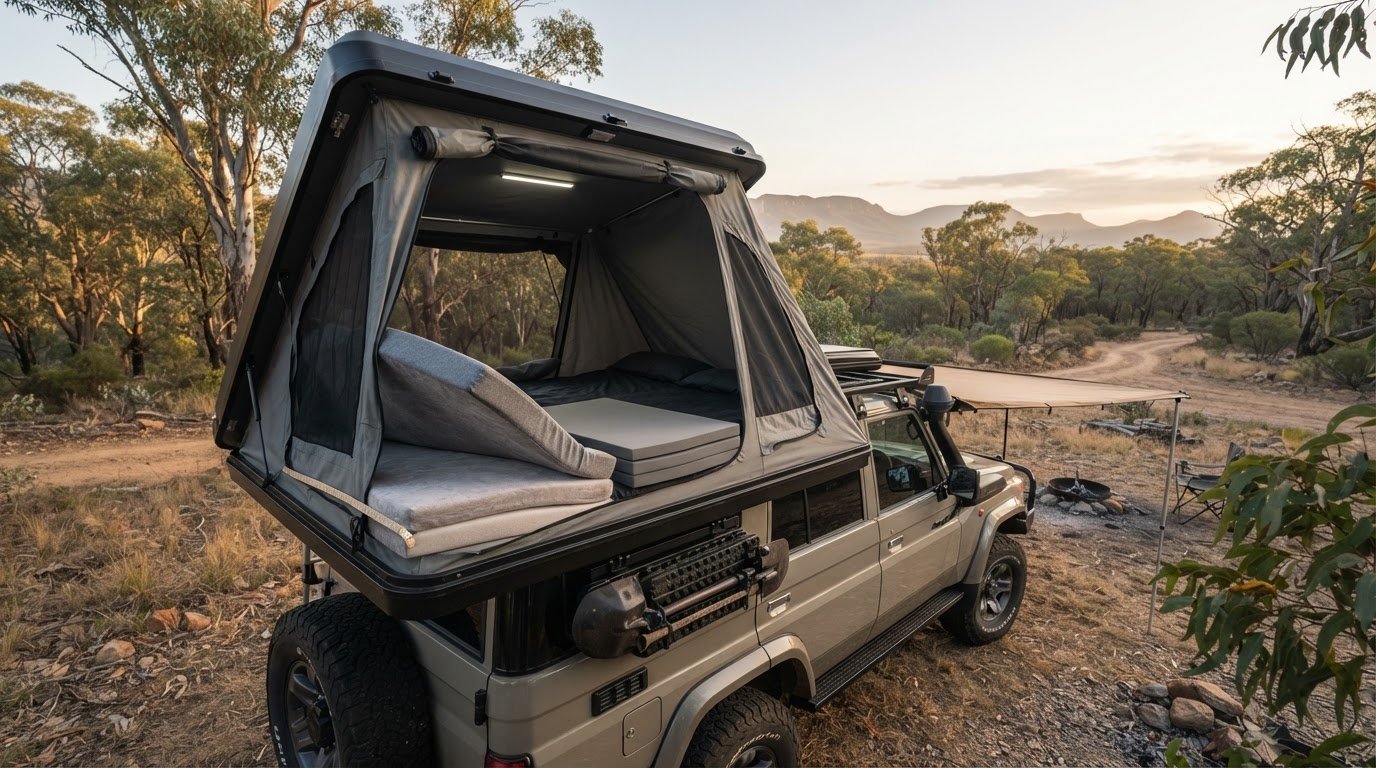
- Hard-shell: These can open in about 30 to 60 seconds. Test the closing process too, since fast opening doesn’t guarantee easy pack-away.
If you move camp often, packing time matters every morning. A hard-shell or hybrid design can make repeated transitions quicker, while a soft-shell may offer more sleeping room. During inspection, check the mounting area and packed shape, then consider whether the closed tent fits your storage space and travel routine. Make sure the cover closes without trapping fabric.
Make your final choice by balancing sleeper capacity, usable length and the effort you’ll spend setting up. If you travel solo and move often, a compact tent with a quick pack-down may suit better than extra floor space. If two people want room for bedding and gear, prioritise the measured interior. Compare roof top tent designs to see how different layouts match your camping style.
Canvas quality and weather protection
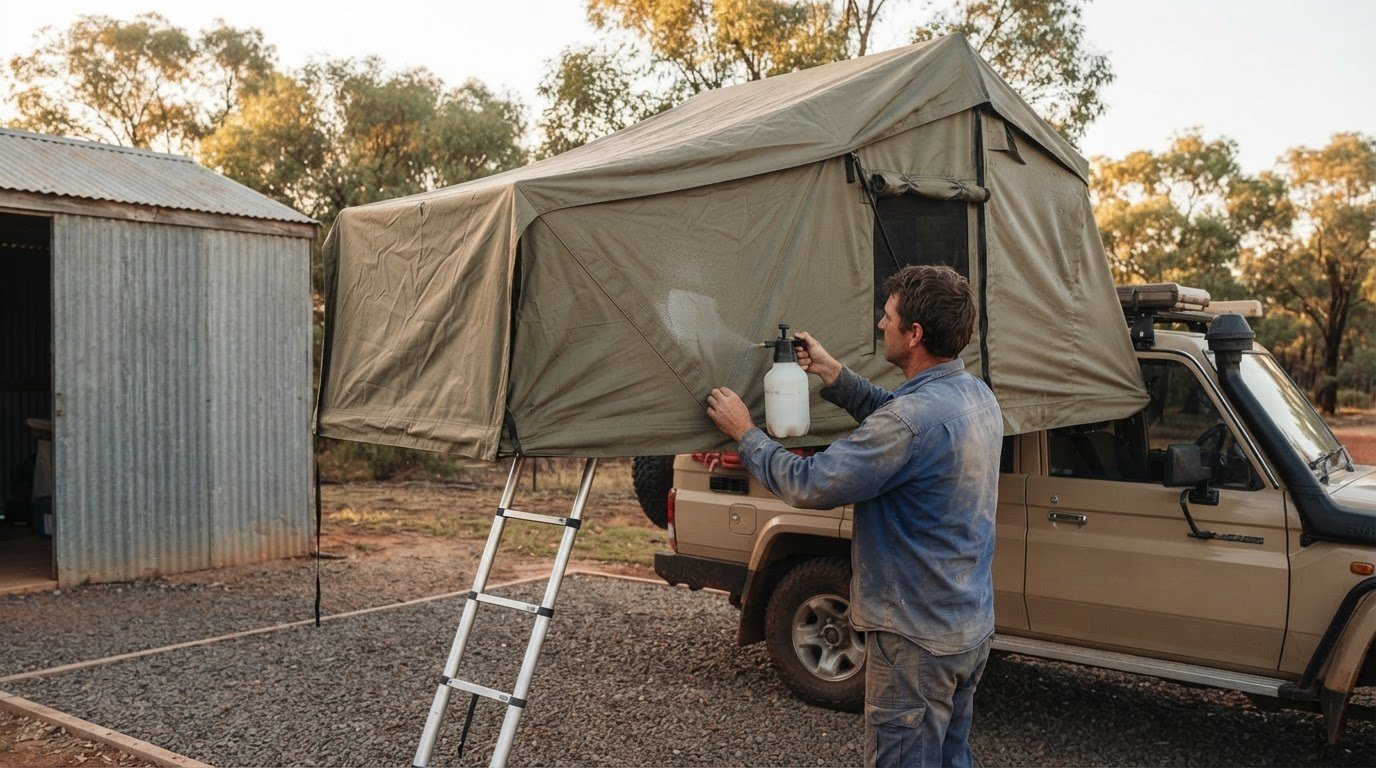
Inspect the used tent both open and packed away. Focus on the fabric, stitching, zips, weather seals and ventilation, as damage in any of these areas can affect protection during Australian camping.
Canvas Quality and UV Protection
Canvas weight gives you a comparison point, but it can’t tell the whole story. A recommended range for Australian conditions is 280gsm to 320gsm poly-cotton canvas, while some tents advertise 380gsm. Compare the fabric itself, including worn patches, thinning, fading and damaged stitching. Look for UPF 50+ fabric or a good UV coating to help protect against Australian UV damage.
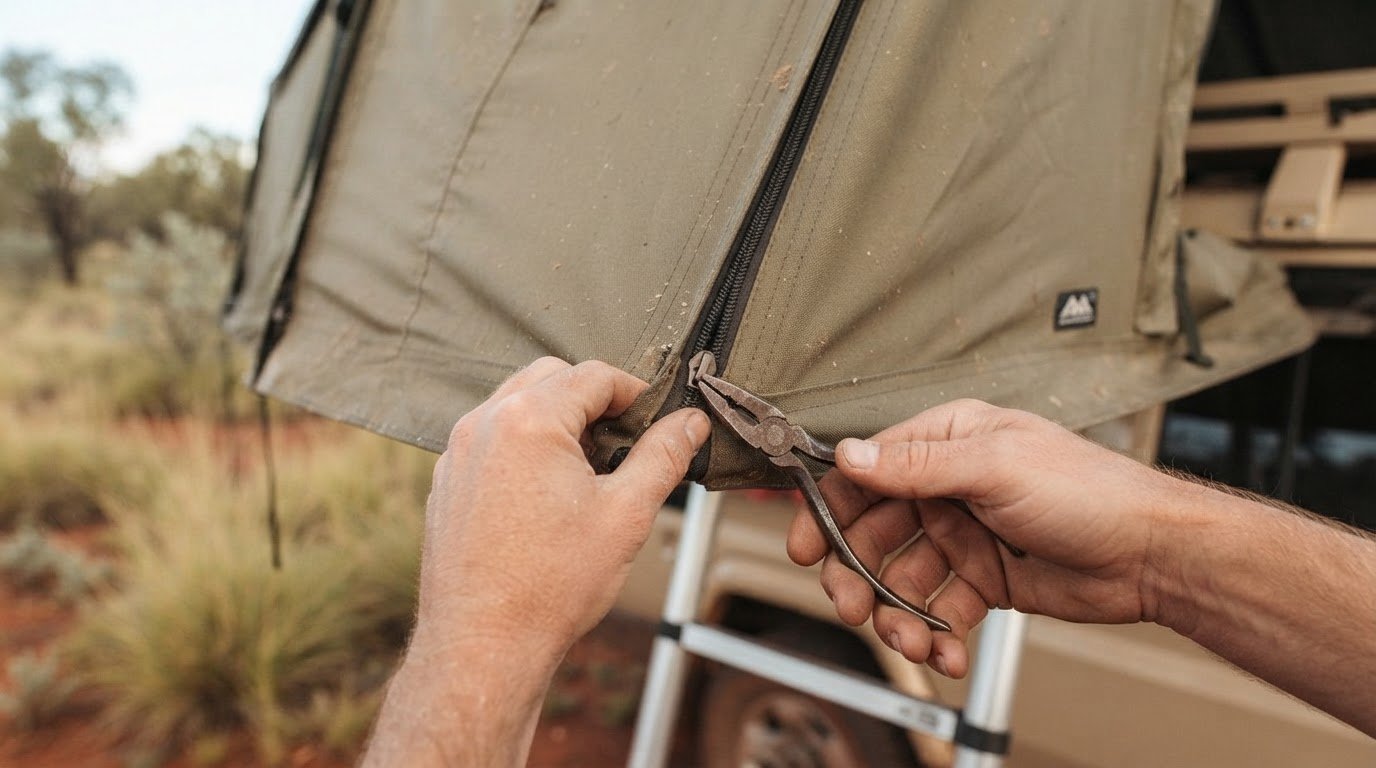
Inspect seams where panels meet and areas that fold during travel. Look for frayed threads, small tears and repairs that may weaken as the fabric is packed repeatedly. Run each zip along its full track; it should move without snagging or separating. GSM describes fabric weight, not the tent’s overall condition, so consider it alongside the stitching, zips and visible wear.
Season Rating and Rainfly Fit
A season rating helps describe the conditions a tent is designed to handle, but it doesn’t replace a close inspection. For example, the Smittybilt GEN2 Overlander is rated for three seasons. Whatever the rating, inspect the rainfly for tears, stretched attachment points and damaged seams. Set the tent up and check that the rainfly sits correctly over the fabric, without loose sections or gaps.
Rain performance depends on correct setup, including tent tension, ladder placement and rainfly fitting. Check each during the demonstration rather than judging protection by the packed cover. Look inside for signs of past leaks and examine the weather seals around openings. Insulation can deteriorate over time, so inspect its condition, especially if you plan to camp in colder weather.
Ventilation and Weather Protection
Mesh windows and cross-flow ventilation help manage heat and humidity during Australian camping. Open each window and check the mesh for tears, loose edges or zips that no longer close. A tent that seals against rain still needs airflow, so assess ventilation alongside the rainfly and fabric condition.
For trips in tropical climates, ventilation and waterproofing both matter. Check whether windows can be opened while the rainfly is fitted, and inspect the fly’s coverage around each opening. For a hard-shell tent, inspect its seals and any fabric around the entry points. The shell doesn’t remove the need to check canvas, stitching and weather protection.
Use a consistent inspection sequence: open the tent, examine the fabric and seams, operate every zip, fit the rainfly, then check ventilation and the interior. Compare any wear with the tent’s rating and the weather you expect on your trips. A neatly packed tent can still conceal fabric damage or deteriorated insulation, so assess it both open and closed before deciding.
What are the downsides of a rooftop tent?
In Australia, repair or replacement costs depend on the damaged part, whether it can be repaired, and the replacement component and labour required. A mattress, ladder, cover or fabric panel involves a different repair, so assess the fault before comparing costs.
Mattress Comfort and Included Accessories
Lie on the mattress during inspection, rather than judging comfort by appearance. Check for flattened sections, uneven support, dampness and musty smells; these can affect sleeping comfort even when the tent fabric looks tidy. A 60 mm to 75 mm high-density foam mattress is recommended for longer trips, but its actual condition matters in a used tent.
List what comes with the tent, then inspect each item separately. Check the cover, mounting hardware and included accessories for damage or missing pieces. If bedding is meant to stay inside when the tent is packed, test whether the cover closes without compressing or trapping it. Treat an annex or awning as extra space, not a substitute for checking the tent itself.
Ladder Design and Access
Extend the ladder fully and check its rungs, joints and locking points. Place it on firm, level ground, then test whether it stays steady as you climb. A ladder that shifts, sticks or has bent sections can make access awkward, especially after dark or in wet weather.
Check that the ladder reaches the ground at a practical angle when the tent is mounted on your vehicle. Look for worn feet and loose attachment points, then confirm it can be stored securely for driving. The ladder may sit differently on sloping ground, so consider the uneven sites you use.
Rooftop access also changes your camping routine. Unlike a ground tent, the sleeping area is above the campsite, so you need to climb up and down for bedding or belongings. Consider who will use the ladder, including children or anyone with limited mobility, and whether this arrangement suits your usual trips.
Soft-shell models may include an annex or additional room, creating space beneath the tent. Inspect its fabric, zips, attachment points and included poles, and check that every piece is present. A damaged annex can be separate from the sleeping area, so assess its condition and usefulness on its own.
Rooftop tents must be packed down before you drive away, so the vehicle can’t leave camp while the tent is open. Check that the cover, ladder and accessories all secure properly for travel. At an exposed campsite, a rooftop tent can move more than a ground tent in windy conditions, so weigh access and comfort against the way you camp.
Side-opening versus rear-opening tents
Opening direction affects how a rooftop tent fits your vehicle and campsite. Compare the entry position with your roof rack, tracks, parked vehicle and access needs before choosing a used model.
A side-opening tent unfolds beside the vehicle, while a rear-opening design opens towards the back. Entry and hinge layouts vary, so watch the tent open instead of relying on its label. Check whether the ladder lands on usable ground and whether the open floor blocks a door, tailgate or walking route at camp.
Couples can use an inside width of around 140 cm to 160 cm as a guide. Then compare the actual sleeping footprint, not just the outside dimensions. For family adventures, a canvas soft-shell may provide space for four, while many rooftop tents are designed for one to two people. Check the maker’s stated capacity and ensure everyone has room to sleep comfortably.
Opening style also affects access. A rear entry can work well when the back of the vehicle faces open ground, but a nearby tree, another vehicle or a narrow campsite can obstruct it. A side entry may be easier to reach when the rear is crowded, though the extended floor still needs clear space. Picture a typical campsite before deciding which direction suits your trips.
- Check the roof rack: Confirm the mounting points align with the rack or platform, and inspect tracks and brackets for damage or movement.
- Test the opening: Open and close the tent, checking hinges, struts, fabric tension and latches through the full movement.
- Assess access: Place the ladder where it would rest at camp, then consider doors, tailgate access and surrounding ground.
Repeated operation can reveal wear that a single demonstration misses. Reviewers have converted rooftop tents between travel and camping modes 25 times to assess durability. Use repeated opening and closing as an inspection step, watching for stiff hinges, loose fittings, fabric catching in the frame or a cover that becomes difficult to secure.
Choose the opening direction that fits your vehicle layout and regular campsites, then prioritise sound tracks, mounts and operating parts. For more help comparing roof top tent designs, explore the available reviews and recommendations before settling on a used model.
Adventurerz: Roof top tents reviews and recommendations
Adventurerz offers roof top tent reviews and recommendations to help you compare designs with your vehicle, sleeping needs and travel style. Use these guides when you’ve narrowed down size and opening direction but want a broader view of the trade-offs before choosing a used tent.
Use this guide’s inspection points alongside model comparisons: check roof-load compatibility, canvas condition, weather protection, access and pack-down. A tent that suits your crew should also fit your vehicle and the Australian conditions you expect. Thoughtful gear choices help us travel responsibly and make more of every campsite.
Want help finding your next step? Contact Adventurerz.
Make your next camp setup count
Let your next trip guide the final choice. As you decide what to look for when buying a used roof top tent, picture the journeys you want it to support, from quick escapes to longer explorations. Choose with your travel habits in mind, and let the gear serve the adventure rather than define it.
Before setting out, plan a first outing that gives you time to settle into your setup and learn its routine. Thoughtful preparation leaves more room to enjoy the track, campsite and landscapes we’re lucky to explore.
Here’s to finding a setup that feels right for your journey and many memorable camps ahead!
Frequently Asked Questions
Do you need a roof rack first?
Yes, plan the rack before choosing the tent so the mounting layout suits both. Crossbar spacing and position can affect where the tent sits, which way it opens and whether the ladder has a clear landing spot. Treat the rack and tent as one setup, not separate purchases. This helps you avoid a tempting tent that won’t work with your vehicle.
Hard shell or soft shell: which suits Australian conditions?
Choose based on how you camp, rather than assuming one shell is better for every Australian climate. A hard-shell design may suit travellers who want bedding to remain set up while packed, and some hard shells can be insulated. A soft-shell design can offer more room for sleepers. Consider where you’ll camp, how you’ll store the tent and which trade-offs matter most on your trips.
How long does setup and pack-down really take?
The time depends on the model and how familiar you are with its routine. A quick opening demonstration doesn’t show the full job: include arranging bedding, securing accessories and closing the travel cover. Ask to see the complete pack-down, then try the sequence yourself. You’ll get a better sense of the effort than by watching someone who knows every fold and fastening.
What do first-time buyers often get wrong?
A common mistake is assuming every pictured accessory comes with the tent. Before agreeing to buy, make a written list of the included parts, such as the ladder, mounting hardware, cover and any annex components. Match each item to what’s physically present at handover. This avoids confusion, especially if the previous owner kept useful pieces or removed accessories shown in an old listing.
What’s the best value?
The best value is the option that meets your needs without unwanted extras or missing essentials. Compare tents with similar capacity and opening layouts, then consider how much usable space each gives your crew. A feature that suits one camper may add little for another. First decide what matters for your trips, then judge each used option against your shortlist.
Which features are worth paying for?
Prioritise features that solve a real problem in your setup. Hard-shell roof rails can suit campers who want to mount items such as solar panels or surfboards, provided the overall setup works for their vehicle. Bedding that stays in place when packed can also save repacking effort. Skip features you won’t use; extra equipment adds value only when it supports your travel plans.
What should you inspect when buying a used rooftop tent?
Ask the owner how the tent was stored, how often it was used and whether any parts were repaired or replaced. Compare their account with the tent’s current condition and the items included in the sale. Occasional use alone doesn’t tell you how it was stored between trips. A clear history helps you interpret wear and plan for your intended use.
How can you check a used rooftop tent for mould, leaks, and water damage?
Don’t rely on the outside looking dry. Open the tent fully and let it air before checking enclosed areas, including pockets and fabric folds. Note persistent musty smells or marks that remain after airing, and ask the owner when it was last packed away damp. The answer can help explain what you find and whether the tent needs further attention before camping.