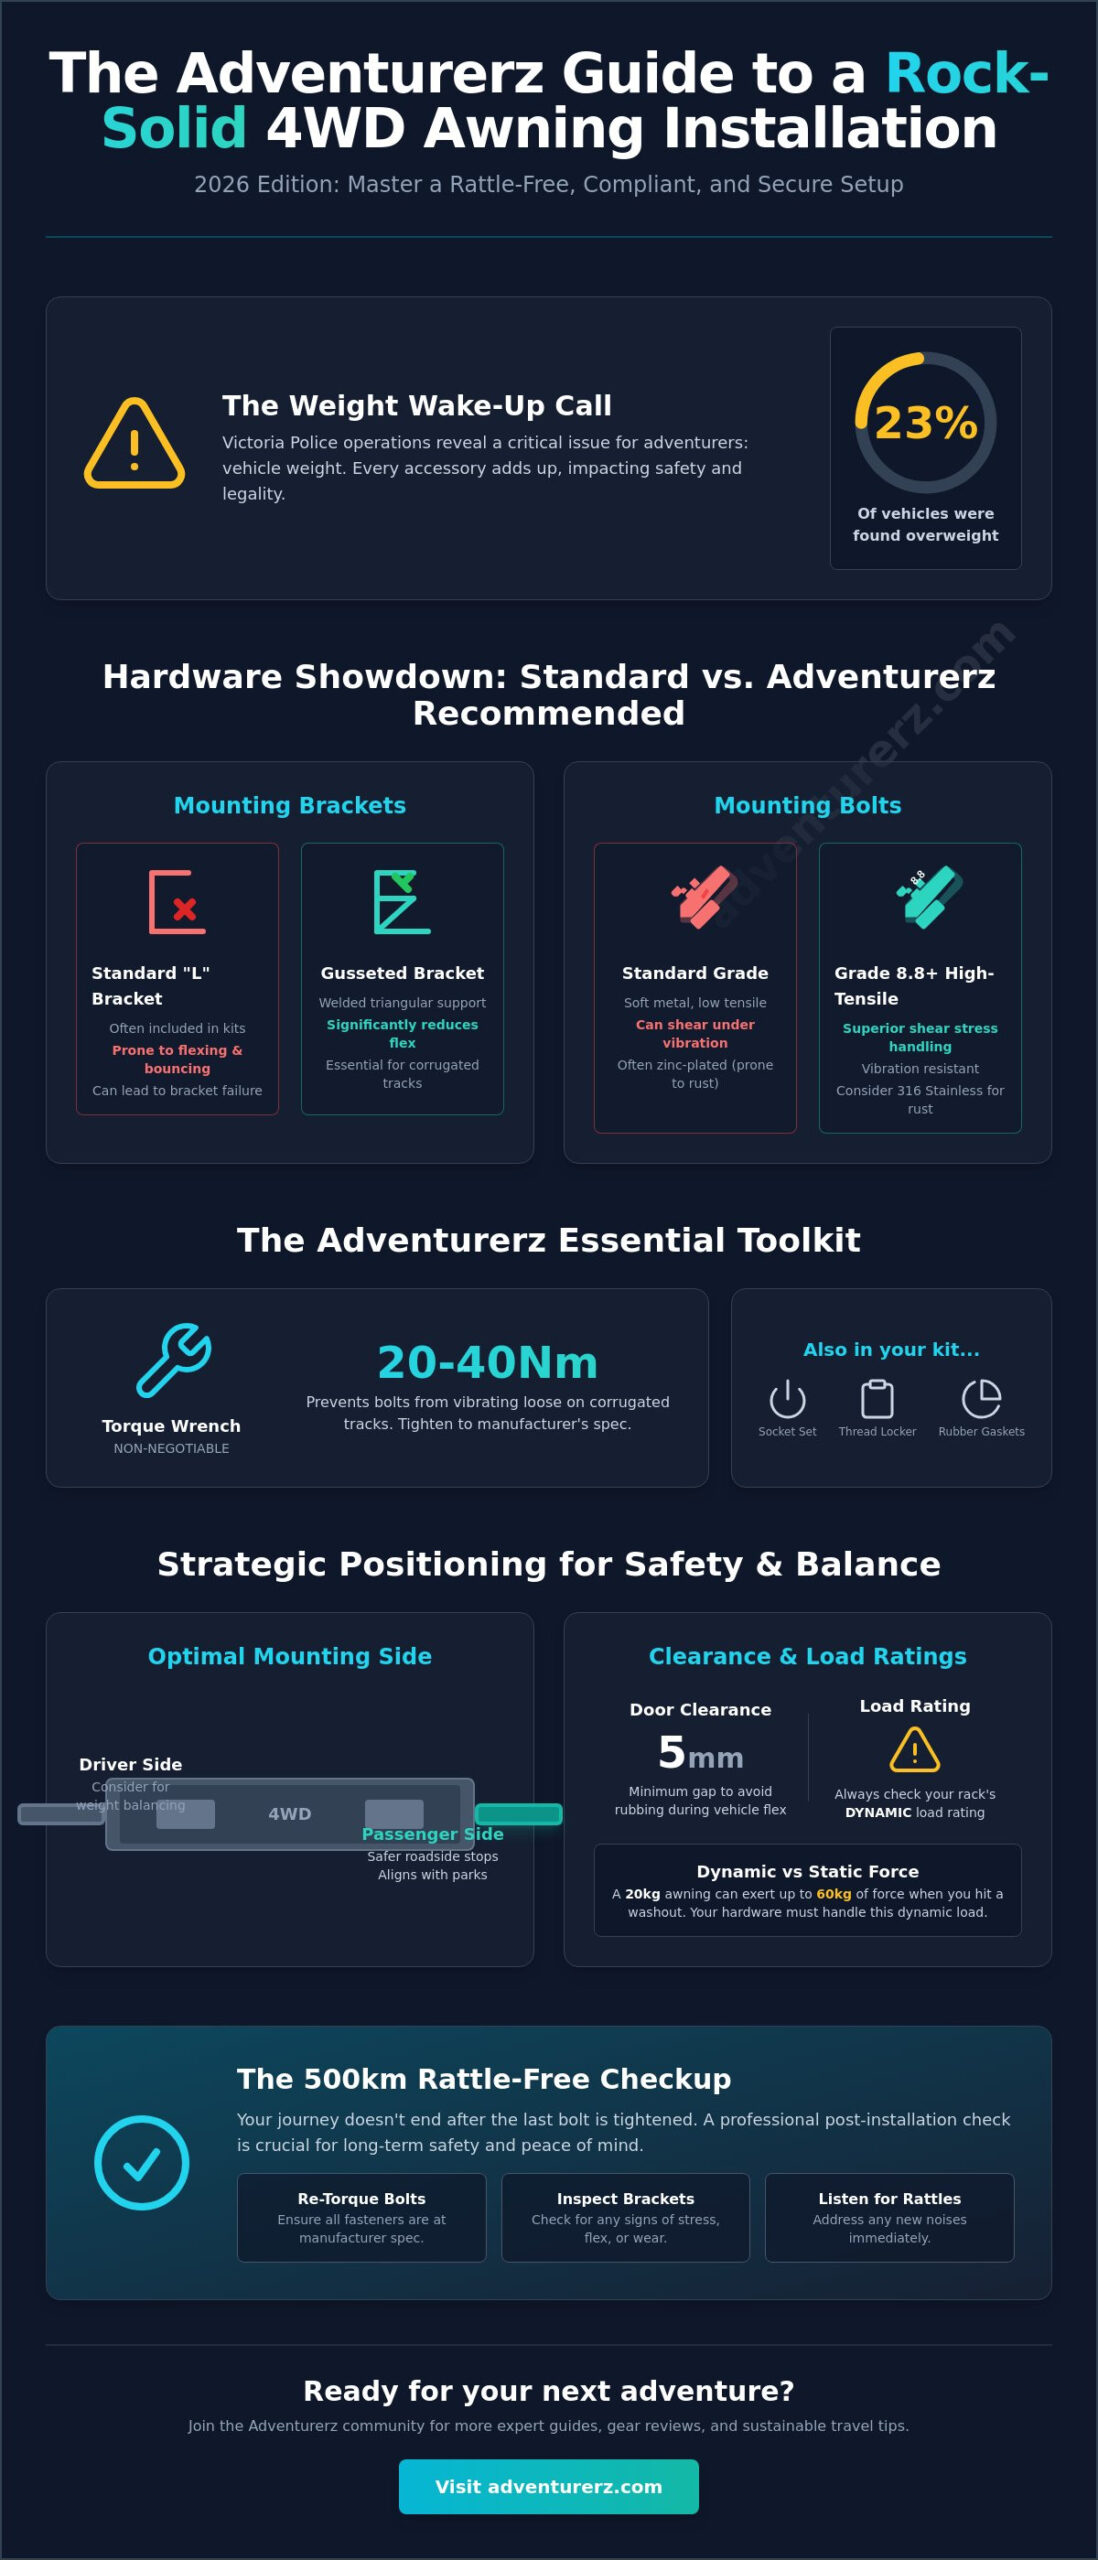
Victoria Police conducted over 1,200 weighbridge operations in a single year and discovered that 23% of vehicles were exceeding their weight limits. For us Adventurerz, this is a wake-up call that every accessory matters, especially when learning how to install a 4wd awning on a rig already packed with heavy bull bars and roof top tents. We understand the gut-wrenching worry of hearing a rattle at highway speeds or wondering if those brackets will actually hold up against the salty air of the Ningaloo coast. You want a setup that provides instant shade without compromising your vehicle’s structural integrity or safety.
We’ve designed this 2026 guide to help you master a rock-solid, rattle-free installation that respects both Australian Design Rules and your vehicle’s Gross Vehicle Mass. You’ll learn the expert technical steps to secure your mounting points, understand ADR 92/00 compliance to avoid fines, and discover sustainable maintenance habits that prevent rust. We’ll walk through everything from weight distribution calculations to the final bolt torque. By the end of this guide, you’ll have the confidence to deploy your shade in any weather while keeping your footprint light and your gear secure on the toughest tracks in the Australian wilderness.
Key Takeaways
- Learn why Grade 8.8 bolts and gusseted brackets are essential for keeping your gear secure on bone-rattling corrugated tracks.
- Discover the exact steps for how to install a 4wd awning with optimal bracket spacing to ensure maximum cantilever support and stability.
- Master the specific mounting angles that reduce aerodynamic drag and protect your setup from harsh Australian red dust and coastal salt spray.
- Establish a professional 500km post-installation check routine to ensure your rig remains rattle-free and safe for the long haul.
- Join the Adventurerz community to gain insights on balancing technical gear requirements with sustainable, low-impact bush-camping practices.
Preparation and Essential Tools for a Secure 4WD Awning Install
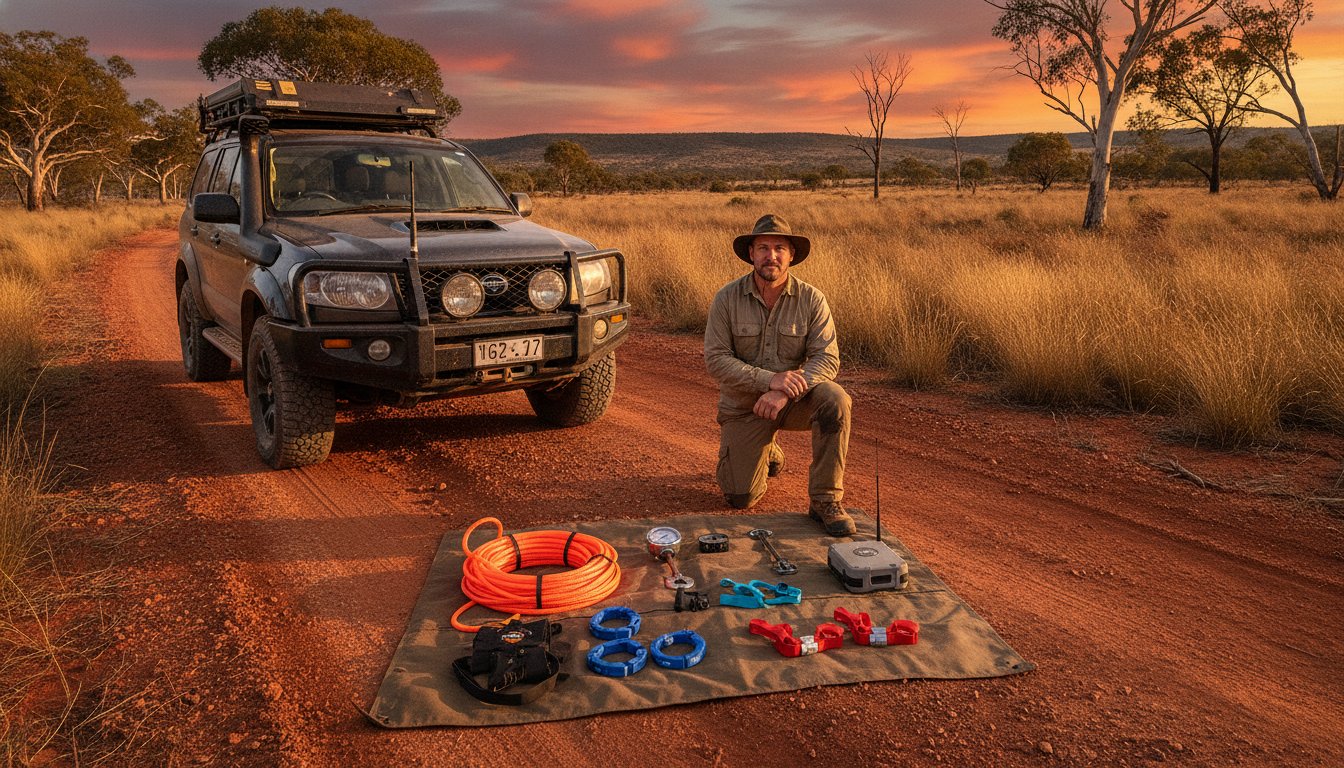
Preparation is the heartbeat of every successful DIY project. We’ve seen far too many Adventurerz rush into a build only to find themselves stuck with a half-mounted bracket as the sun sets. Before you even touch a wrench, clear a dedicated workspace. If you’re working in the driveway or at a bush camp, lay out a recycled rubber mat or use a magnetic parts tray. This simple step ensures that small washers and specialized nuts don’t vanish into the red dust or grass. We always recommend a two-person team for this job. Most awnings weigh between 15kg and 45kg; attempting to balance that bulk while threading a bolt is a quick way to scratch your paint or injure your back.
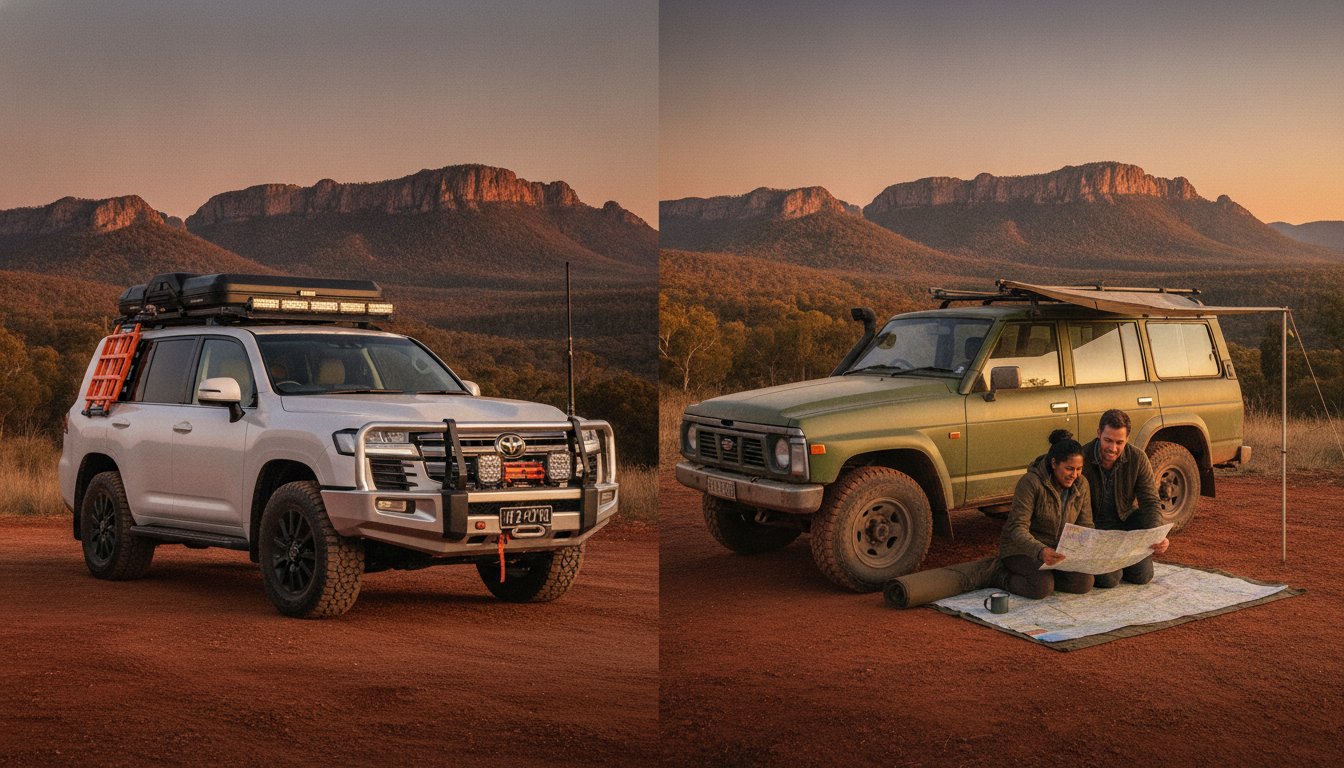
Start by evaluating your roof rack setup. Whether you’re running heavy-duty crossbars or a flat platform rack, you must confirm the dynamic load rating of your off-road vehicle roof system. Platform racks generally offer more mounting channels, while crossbars might require specific wrap-around brackets. Once you’ve confirmed the fitment, gather your gear. We’re not just talking about a basic toolkit; we’re talking about the right gear to ensure your installation survives the harshest Australian conditions.
The Ultimate DIY Toolkit for Adventurerz
Precision is your best friend when learning how to install a 4wd awning. You’ll need a high-quality socket set and spanners, typically in metric sizes for most modern brands. A torque wrench is a non-negotiable addition to your kit. Tightening your mounting bolts to the specific manufacturer tension, often between 20Nm and 40Nm, prevents the assembly from vibrating loose on corrugated tracks. We also suggest swapping out standard zinc-plated bolts for 316-grade stainless steel hardware to prevent rust. To keep those bolts locked tight without harming the environment, use a biodegradable, eco-friendly thread-locking compound. It’s a small change that keeps your rig secure and our wilderness clean.
Choosing the Optimal Mounting Side
Deciding which side to mount your awning is a strategic choice for any serious traveler. Most of our community members opt for the passenger side. This allows for safer roadside stops away from passing traffic and aligns with the layout of most Australian caravan parks. However, you must consider your overall weight balance. If you’ve already followed our advice on roof top tents and have one mounted toward the driver’s side, placing the awning on the passenger side helps level your center of gravity. Before drilling or bolting, do a “dry fit” to check for door clearance. Ensure your awning bag won’t catch on the top of the doors or interfere with a rear-opening tailgate. A 5mm clearance gap is the minimum standard to avoid metal-on-metal rubbing during vehicle flex.
Understanding Mounting Hardware: Brackets, Bolts, and Load Ratings
Choosing the right hardware is where most DIYers go wrong. When you’re figuring out how to install a 4wd awning, you’ll likely find standard L-brackets included in the box. While these are fine for highway cruising, they often lack the rigidity needed for the bone-shaking corrugations of the Gibb River Road. We recommend upgrading to heavy-duty gusseted brackets. These feature a welded triangular support plate that significantly reduces flexing. This extra strength prevents the awning from “bouncing” against your roofline, which is a leading cause of bracket failure and roof rack damage.
Corrugations are the ultimate gear-killer in the Australian Outback. Standard hardware can shear under constant high-frequency vibrations. Always ensure your mounting bolts are Grade 8.8 or higher. These high-tensile fasteners handle shear stress far better than the soft bolts often found in budget kits. To prevent metal-on-metal fatigue, place rubber gaskets or thin EPDM strips between the bracket and your rack. This dampens vibrations and protects your rack’s powder coating from scratching. It’s a simple step that stops rust before it starts, keeping your rig pristine for years of exploration.
Dynamic vs. Static Load Ratings Explained
One of the biggest mistakes we see is ignoring the difference between static and dynamic load ratings. Your roof rack might be rated for 100kg while parked (static), but that capacity drops significantly when you’re moving (dynamic). A 20kg awning can exert three times its weight in force when you hit a washout at 60km/h. Before you bolt anything down, check your vehicle’s manual and ensure you are meeting Australian vehicle standards for roof loads. Exceeding these limits isn’t just a safety risk; it’s a legal one that can void your insurance in the event of an accident.
Custom Mounting Solutions for Platform Racks
Platform racks offer incredible versatility but require specific hardware like T-bolts or channel nuts that slide directly into the slats. To ensure a rock-solid fit, position your brackets over the rack’s internal support beams or across multiple slats to spread the weight. For those running heavy 270-degree setups, a backbone system provides the structural integrity needed to prevent roof rail damage. If you’re still deciding on the right shade for your rig, check out our guide on the best 4wd awnings to see which models include these heavy-duty mounting options as standard. We’ve found that a bit of extra investment in hardware now prevents a massive headache in the middle of the Simpson Desert. Don’t be afraid to reach out to the Adventurerz tribe if you’re unsure about your specific rack compatibility!
Step-by-Step Guide: How to Install Your 4WD Awning Safely
Mastering how to install a 4wd awning is a rite of passage for every self-sufficient traveler. We’ve all seen gear failing on the tracks; usually, it’s because of a rushed job or poor alignment. To ensure your setup survives the vibration of the Simpson Desert, start by determining your bracket spacing. For maximum cantilever support, position your brackets so they aren’t more than 500mm from the ends of the awning. Positioning them too close to the center creates excessive overhang, which allows the awning to flex and whip when you’re tackling high-speed tracks. We recommend a “loose-fit” approach during this phase. Don’t tighten anything fully until the entire unit is level and centered.
Marking and Aligning the Brackets
Start by measuring the exact distance between the internal mounting tracks on the back of your awning. Transfer these measurements to your roof rack with a wax pencil. We always use a spirit level or a laser guide to ensure the brackets sit perfectly parallel to the vehicle’s roofline. This isn’t just about aesthetics; a crooked awning increases aerodynamic drag and wind noise. Double-check your height. Open your vehicle doors fully to ensure they don’t strike the brackets or the awning body. If you’re tight on space, you may need to flip your L-brackets to gain an extra 20mm of clearance.
Securing the Awning Body
Now it’s time for the “Adventurerz Buddy System.” While your mate holds the weight, slide the bolts into the awning’s rear track and align them with the bracket holes. Thread the nuts on by hand first to avoid cross-threading. Before you reach for the socket set, apply a drop of eco-friendly thread-locker to every bolt. This simple step is your best defense against the relentless vibrations of Australian corrugated roads. Once everything is in place, slide the awning horizontally until it’s perfectly centered over your doors or provides the specific coverage you need at the rear.
The Final Safety Inspection
Before you call it a day, give the entire unit a vigorous “shake test.” If you hear even a tiny click or rattle, something isn’t seated correctly. Run your hand along the brackets to check for any sharp edges or protruding bolts that could catch your swag or recovery gear. Precision matters here. The correct torque setting for M8 stainless bolts is typically 12-15 Nm to prevent stripping the threads or crushing the rack slats. This ensures even pressure across all mounting points, giving you a rock-solid foundation for years of bush camping. Now you’re ready to hit the tracks with total confidence in your DIY skills!
Optimising Your Setup for the Australian Environment
Australia’s landscapes are breathtaking, but they’re also incredibly harsh on vehicle accessories. Whether you’re navigating the salt-heavy air of the Eyre Peninsula or the fine red dust of the Kimberley, your installation needs to be resilient. When learning how to install a 4wd awning, many Adventurerz forget that the job isn’t finished once the bolts are tight. Red dust can act like sandpaper on moving parts, while coastal humidity accelerates oxidation on any exposed metal fasteners. To combat this, we recommend installing aerodynamic infill strips between the awning and the roof rack. These small rubber or plastic inserts prevent the dreaded “wind whistle” at 100km/h and reduce the accumulation of debris in your mounting channels.
Wind management is another critical factor for the long-term health of your rig. If your awning is mounted at an upward angle, it acts like a wing, creating lift that puts immense strain on your brackets. Aim for a neutral or slightly downward-tilted profile to improve airflow. By keeping the unit tucked tight to the roofline, you minimize your carbon footprint and save money at the pump. Integrating a small LED strip and a slimline solar controller into your setup also reduces the need for noisy, polluting generators at camp, keeping our bush stays peaceful and pristine.
Weatherproofing and Anti-Corrosion Tactics
Bolt threads are the most vulnerable point for rust. Apply a lanolin-based spray to every fastener during the assembly process. Unlike petroleum-based lubricants, lanolin is biodegradable and creates a long-lasting barrier against moisture. If you had to drill into your rack, seal the entry points with automotive-grade silicone. This prevents water from pooling inside the rack tubes, which can cause internal rust that remains hidden until the structure fails. Also, invest in a UV-resistant heavy-duty cover. In the Australian sun, standard PVC covers can degrade by up to 30% in a single season, leading to cracked fabric and water ingress that ruins the internal mechanism.
Sustainable Camping and Installation
As responsible Adventurerz, our commitment to the wilderness starts in the driveway. Always collect metal shavings with a magnet after drilling; these tiny shards are hazardous to local wildlife if they wash into the soil. A well-executed installation also has a direct impact on your vehicle’s efficiency. A poorly angled awning can increase fuel consumption by as much as 1.5 liters per 100km due to excessive drag. Choosing gear from brands with ethical manufacturing processes ensures your exploration doesn’t come at the cost of the environment. Once your rig is optimized for the elements, check out our travel planner to map out your next eco-friendly remote escape. If you’re still deciding on the right setup, you can find our latest recommendations in our guide to the best 4wd awnings available this year.
Post-Installation Care and Adventurerz Community Tips
Welcome to the tribe! Once you’ve mastered how to install a 4wd awning, you’re officially part of a community that prizes self-sufficiency and respect for the wild. However, the journey doesn’t end when the last bolt is torqued. We recommend a strict 500km post-install check routine. Corrugations have a way of finding the slightest weakness in any setup. Re-apply your torque wrench to every mounting point to ensure they’ve maintained their 12-15 Nm tension. If you detect the infamous “Outback rattle,” don’t wait for a failure. It’s usually a sign that a bracket has shifted slightly or a nylon washer has compressed. Addressing these minor movements early prevents metal fatigue that can lead to a snapped bracket in the middle of a remote track.
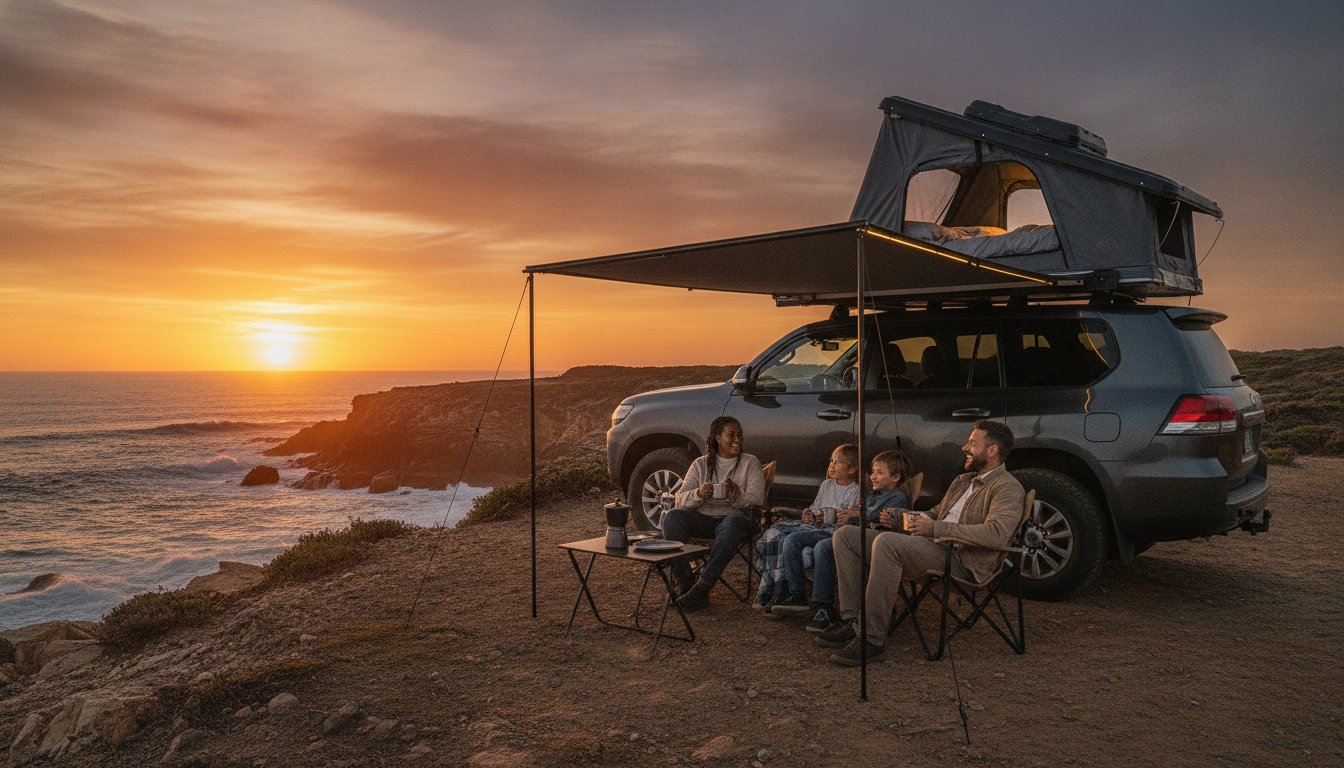
Seasonal storage is another area where many Adventurerz can improve their rig’s efficiency. If you aren’t heading bush for a few months, consider removing the awning. This reduces your vehicle’s weight and improves your fuel economy by roughly 3% to 5% by eliminating unnecessary drag. Store your awning in a cool, dry place, away from direct sunlight, and never store it while the fabric is damp. This prevents mold growth and ensures your gear is ready to go the moment the next adventure calls. For those looking to pair their shade with more gear, our reviews of the roof top tents currently on the market provide great insights into managing total roof loads effectively.
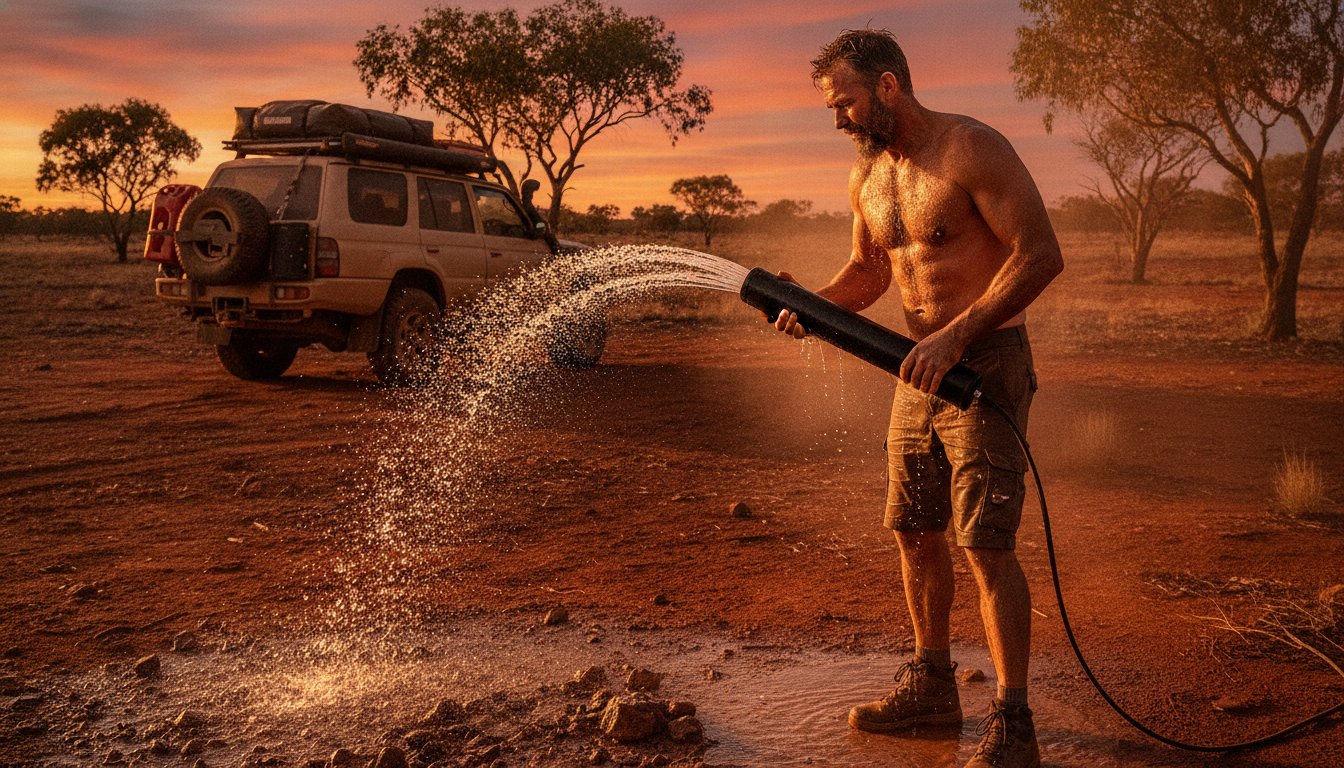
Routine Maintenance for Longevity
Longevity is built on consistency. After every dusty trip, we make it a habit to blast out the mounting tracks and brackets with fresh water. Red dust is abrasive; if left in the tracks, it can grind down the bolt heads over time. While you’re at it, inspect the fabric near the mounting points for any signs of stress or fraying. We always use a dry-silicone spray on zips and hinges. Unlike grease, dry-silicone doesn’t attract sand or grit, which keeps your deployment smooth even after a week in the dunes. This small act of stewardship ensures your equipment lasts for years of exploration.
Advanced Deployment Techniques
Setting up camp like a pro means adapting to the terrain. We carry both sand pegs for coastal stays and heavy-duty rock pegs for the hard-packed soils of the Red Centre. To prevent water pooling during a sudden downpour, always set one awning pole significantly lower than the others. This “rain run-off” angle ensures water sheds instantly, preventing the weight of the pool from bending your internal rafters. Finally, know your limits. If wind speeds exceed 30km/h, it’s time to pack the awning away. No bracket is worth the risk of a gust turning your shade into a sail and damaging your roof rack. If you’re looking for more gear to round out your kit, check out our latest recommendations for the best 4wd awnings for 2026.
Gear Up for Your Next Remote Escape
Mastering how to install a 4wd awning is more than just a weekend project; it’s a commitment to self-sufficiency and safety on the road. By choosing Grade 8.8 high-tensile hardware and sticking to the 12-15 Nm torque settings we’ve discussed, you’ve ensured your rig is ready for the harshest corrugations. A rattle-free setup isn’t just about comfort. It protects your vehicle and minimizes your environmental impact through better fuel efficiency and reduced gear waste. We’ve seen how proper alignment and sustainable maintenance habits keep the Australian wilderness accessible for everyone.
You don’t have to tackle 4WD modifications alone. Our team provides expert reviews from real Australian travelers who’ve tested this gear in the toughest conditions from the Cape to the Canning Stock Route. We are a passionate community of over 10,000 Adventurerz dedicated to sustainable outdoor exploration. Join the Adventurerz community for more expert 4WD gear guides! Whether you’re fine-tuning your roof load or planning an off-the-grid expedition, we’re here to help you explore responsibly. See you out on the tracks!
Frequently Asked Questions
How long does it take to install a 4WD awning for the first time?
Expect to spend between 1 to 2 hours on your initial setup. This timeframe allows you to carefully dry-fit the brackets, check for door clearance, and ensure the unit is perfectly level before final tightening. While experienced Adventurerz might finish the job in 30 minutes, rushing the process often leads to alignment errors that cause annoying wind noise later. Taking your time ensures you understand how to install a 4wd awning correctly for a rattle-free journey across the tracks.
Can I install a 4WD awning by myself?
You can complete the install alone, but we strongly recommend having a mate help for safety. Most awnings weigh between 15kg and 45kg, making them incredibly awkward to hold steady while you’re trying to thread bolts into a narrow rack channel. Having a second person prevents you from scratching your vehicle’s paint or straining your back. It also makes horizontal alignment much faster since one person can adjust the position while the other checks the level from the ground.
Do I need to drill holes in my roof rack to mount an awning?
Most modern platform racks and crossbars allow for a drill-free installation using T-bolts or channel nuts. These specialized fasteners slide directly into the existing accessory tracks of your rack system. However, if you’re using older steel racks or specific custom setups, you might need to drill through the frame. If drilling is required, always seal the entry points with automotive-grade silicone to prevent internal rust from compromising the rack’s structural integrity over time.
Will an awning affect my vehicle’s fuel consumption or handling?
An awning typically increases fuel consumption by roughly 3% to 5% due to added aerodynamic drag and weight. It also slightly raises your center of gravity, which can affect handling during high-speed cornering or technical off-road maneuvers. To minimize these effects, mount the awning as tight to the roofline as possible. Ensuring a low profile reduces the wing effect and keeps your rig more stable when you’re tackling steep inclines or windy highway stretches.
What is the difference between a side awning and a 270-degree awning installation?
The primary difference lies in the weight distribution and the number of mounting points. A standard side awning is lighter and usually requires only two brackets. In contrast, a 270-degree awning can weigh over 30kg and requires three or more heavy-duty gusseted brackets to handle the increased leverage when the arms are extended. When learning how to install a 4wd awning of the 270-degree variety, you must ensure your rack can support the concentrated load at the rear corner.
How do I stop my 4WD awning from whistling while I am driving?
Whistling is usually caused by air rushing through the small gap between the awning and the roof rack at speeds over 80km/h. You can stop this by installing rubber aerodynamic infill strips to block the airflow through the mounting channels. Additionally, check that your awning isn’t tilted upward, which creates a wind trap. Adjusting the unit to sit parallel or slightly downward helps the air flow smoothly over the top, significantly reducing cabin noise during long hauls.
Can I mount an awning to factory roof bars, or do I need an aftermarket rack?
You can mount an awning to factory roof bars, provided they have a sufficient dynamic load rating for the weight. Many factory bars are limited to 50kg or 75kg, which can be easily exceeded once you add an awning and other accessories. You’ll likely need specialized wrap-around brackets since factory bars rarely feature the accessory T-channels found on aftermarket racks. Always confirm your vehicle manufacturer’s roof load limits before completing the installation to remain legal and safe.
What happens if my awning brackets start to show signs of rust?
Rust can quickly compromise the strength of your mounting system if left untreated. If you see orange spotting, remove the brackets, sand back the affected area to bare metal, and apply a rust-inhibitor primer followed by a fresh coat of powder-coat paint. To prevent this, we suggest using 316-grade stainless steel hardware and applying a lanolin-based protective spray. Regular maintenance is essential for Adventurerz who frequently travel through coastal areas where salt spray accelerates the corrosion of standard steel components.