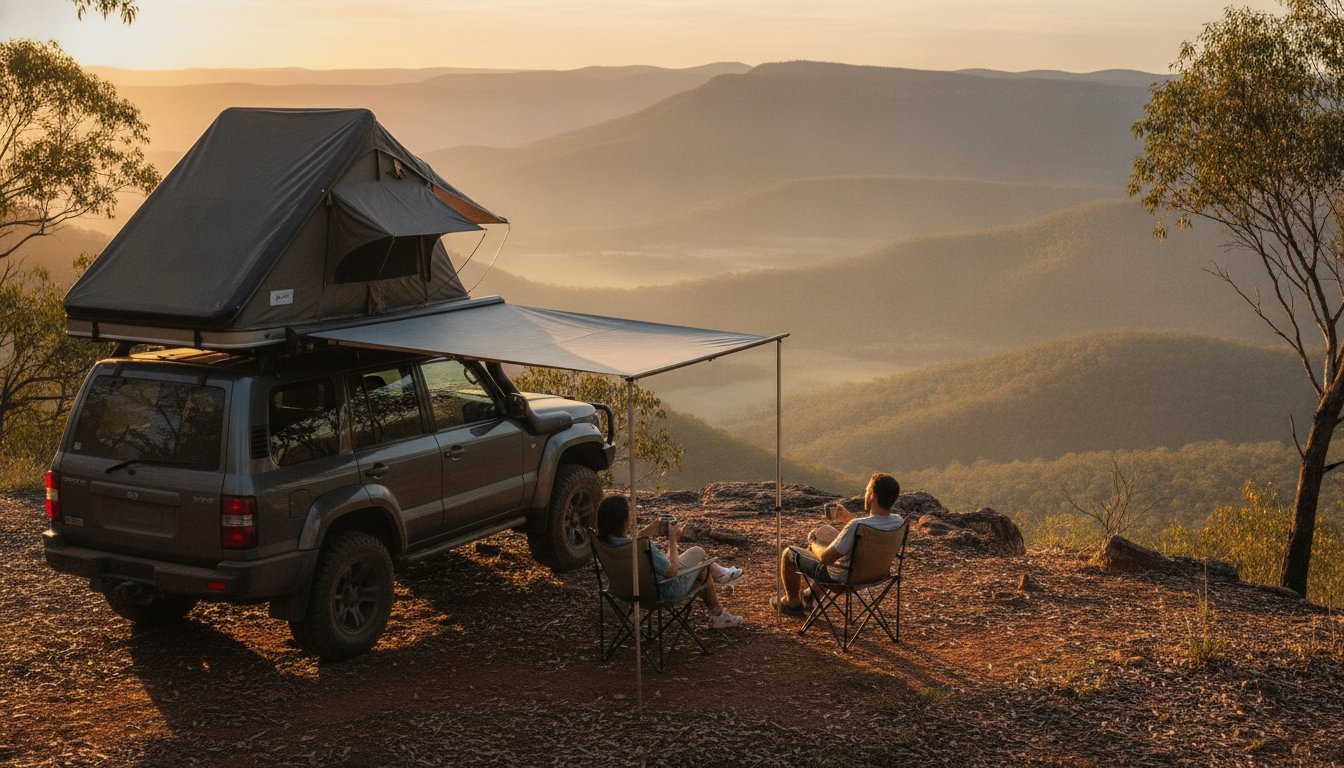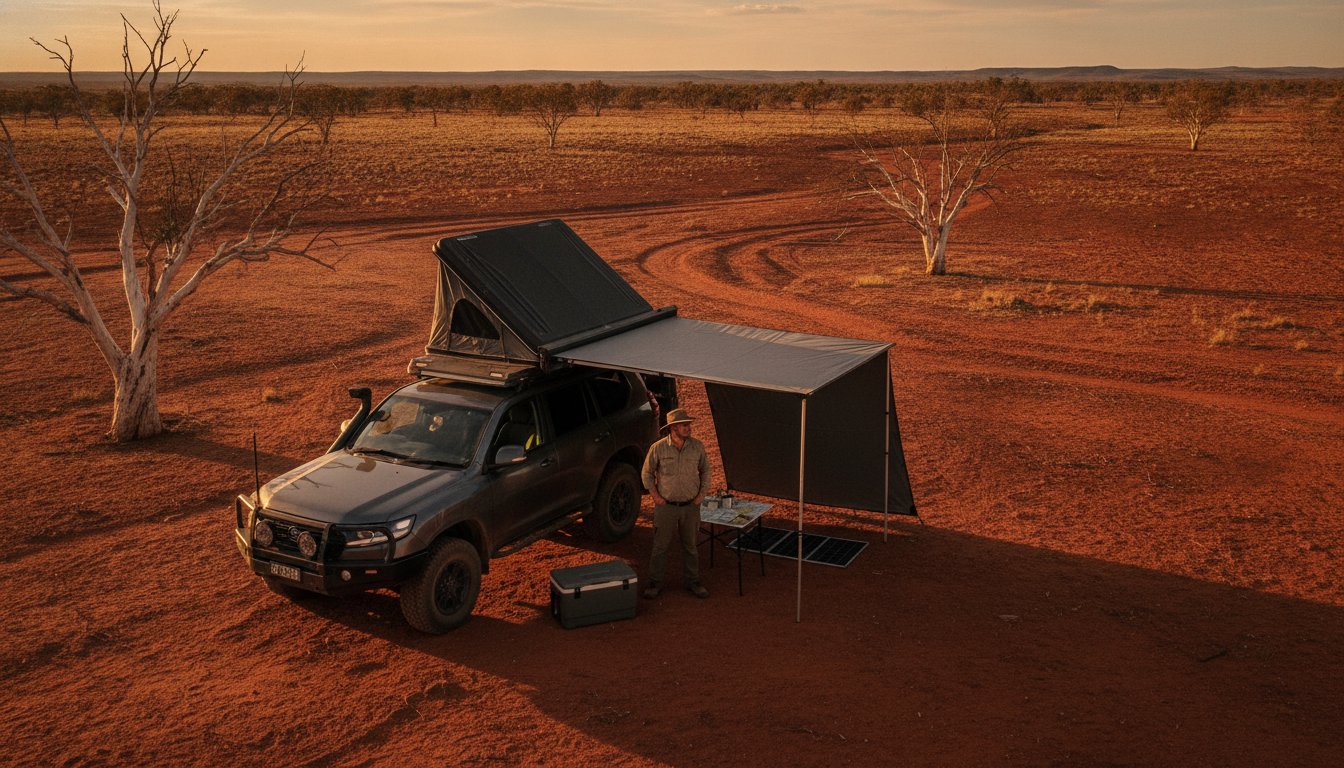
Imagine you’re deep in the Simpson Desert, the sun is beating down, and a sudden gust of wind catches your shade. You hear that sickening crack of a plastic hinge or the sharp rip of expensive canvas. It is a moment every Adventurerz member dreads. When you are hundreds of kilometers from the nearest town, you need a solid understanding of 4wd awning repair kit essentials to stay self-reliant. We agree that there is nothing more frustrating than gear failure in a remote location, especially when flimsy, store-bought kits let you down in the middle of a trip. We promise to help you build a bulletproof, custom kit that handles everything from UV damage to structural breaks. This guide previews the exact tapes, replacement poles, and heavy-duty hinges required to keep your setup secure in the harshest Australian conditions. Let’s get your gear ready for the long haul so you can explore with total confidence and keep your setup in peak condition for years to come.
Key Takeaways
- Learn why your awning is a critical tool for heat management in the Outback and how to shield it from harsh UV and corrosive salt spray.
- Discover the 4wd awning repair kit essentials required to move beyond generic sets and build a custom toolkit tailored to your specific gear.
- Master our ‘Clean-Dry-Apply’ framework to ensure your field repairs hold firm against sudden wind gusts and demanding conditions.
- Gain the expert knowledge to quickly stabilize structural failures and prevent minor damage from ending your remote adventure early.
- Implement simple post-trip maintenance rituals that neutralize corrosive red dust and significantly extend the lifespan of your canvas.
Table of Contents
Why a 4WD Awning Repair Kit is a Non-Negotiable for Remote Travel
We often think of our awnings as a simple luxury for a midday brew, but in the remote Australian interior, they are vital survival tools. When the mercury hits 40 degrees in the shade, your awning becomes your primary defense against heat exhaustion. It isn’t just about comfort. It is about creating a manageable microclimate where you can rest, recover, and plan your next move. Understanding 4wd awning repair kit essentials ensures that this critical piece of infrastructure stays functional, even when the environment tries its best to tear it down.
Our landscape is uniquely brutal. The high UV index in the North West can bake canvas until it becomes brittle, while coastal salt air works tirelessly to seize up joints and corrode aluminum. Sudden wind gusts are perhaps the greatest threat, often turning a peaceful campsite into a scene of structural carnage in seconds. By mastering awning construction and materials, we can identify exactly where these stresses occur. Choosing to repair rather than replace is a core value for us. Spending roughly $50 on a comprehensive kit is a far better investment than shelling out upwards of $1,000 for a new 270-degree setup simply because a single hinge failed.
Common Awning Failure Points on the Track
Fabric stress is a constant battle. UV degradation is a slow killer, but a stray branch in the tight scrub of the High Country can cause an immediate, jagged tear. Structural fatigue usually hits the hinges and knuckles first. These components are often designed as sacrificial ‘weak links’ to prevent damage to your vehicle’s roof rack. We also see environmental factors like fine red dust and salt spray wreaking havoc on zippers and sliding joints. Without proper maintenance and a ready 4wd awning repair kit essentials pack, these small issues quickly escalate into total gear failure.
Self-Reliance and the Responsible Explorer
In the deep bush, waiting for help is rarely an option. We believe that true adventure requires a high degree of self-reliance. When you carry the right tools, you aren’t just looking after yourself. You become a valuable member of the fellowship of the track, ready to help a fellow traveler whose shade has buckled under a storm. This approach is about more than just convenience. It is about sustainable exploration. By extending the life of our gear, we reduce the amount of high-quality equipment ending up in landfills. If you started with one of the best 4wd awnings on the market, it deserves the respect of a proper field repair to keep it in service for years to come.
The Anatomy of an Essential 4WD Awning Repair Kit
A truly effective kit isn’t just a collection of adhesive patches. We categorize our 4wd awning repair kit essentials into three distinct pillars: fabric, structural, and mechanical components. While many off-the-shelf ‘universal’ kits promise a quick fix, they often fail because they lack the specific hardware for your brand’s unique hinge system. We’ve seen plenty of travelers stuck because their kit had the right tape but the wrong knuckle for their specific 270-degree setup. Customizing your gear is the only way to ensure field-readiness.
The ‘Golden Trio’ of adhesives is the heart of any repair bag. You need a high-quality seam sealer for waterproof integrity, a flexible fabric glue for permanent bonds, and a heavy-duty repair tape for immediate stabilization. Store these items in a dedicated, padded pouch inside your canopy. Heat is the enemy of adhesives; keeping your kit protected from the extreme temperatures of an Australian summer prevents your glues from drying out before you actually need them.
Fabric Repair Essentials: Beyond the Patch
Successful canvas repair starts with preparation. We always include isopropyl alcohol wipes to strip away red dust and oils before applying any tape. For minor nicks, Tenacious Tape provides a nearly invisible, permanent seal. However, for large rips in heavy canvas, you need structural reinforcement. A set of curved needles and heavy-duty sailmakers’ thread allows you to stitch the wound shut before sealing it, ensuring the repair doesn’t pull apart under tension. If you haven’t chosen your setup yet, take a look at our best 4wd awnings guide to find models with the most durable fabric options.
Structural and Hardware Spares
This is where standard kits let you down. You must carry spare knuckles and hinges specific to your awning model. These are designed to break under extreme pressure to protect your vehicle, so having a pair of replacements is mandatory for remote travel. We also include pole splints and extra-large zip ties for emergency structural bracing. In coastal areas, standard pegs often pull out of the sand. Adding high-tension guy ropes and dedicated sand pegs to your kit ensures your shade stays grounded when the sea breeze turns into a gale.
Fabric Tears vs. Structural Failures: Choosing the Right Fix
When gear fails on the track, we first need to determine if we are facing a cosmetic blemish or a genuine structural safety risk. A small puncture from a stray branch is a simple patch job, but a twisted rafter or a snapped hinge can turn your shade into a dangerous projectile in high winds. We always prioritize stabilizing the frame before addressing the fabric. If the skeleton of your setup is compromised, no amount of tape will keep you protected. Understanding this distinction is a core part of mastering your 4wd awning repair kit essentials.
For adhesive repairs, we swear by the ‘Clean-Dry-Apply’ framework. Even the strongest patches will peel if they are applied over a layer of fine red dust or salt spray. Once the surface is prepped with alcohol, you must choose between a ‘soft’ and a ‘hard’ repair. Soft repairs use high-performance tapes for immediate, flexible fixes while you are on the move. Hard repairs involve heavy-duty stitching and liquid sealants, which are best saved for when you have reached camp and can allow the materials to bond properly. We also keep a close eye on delamination, where the waterproof coating begins to flake away from UV-thinned sections. These areas require a specialized liquid re-coating to restore their integrity.
Canvas and Poly-Cotton Patching Techniques
Precision matters when you are patching canvas. We always round the corners of our patches because square edges are prone to catching the wind and peeling back over time. For maximum reinforcement, apply patches to both the top and bottom of the tear to sandwich the damage. Curing time is the specific duration required for an adhesive to reach its maximum chemical bond strength, a process that can be significantly slowed by high humidity or extreme cold. Taking the time to let the bond set ensures your repair won’t fail the next time the weather turns.
For those who want to go beyond simple repairs and add a touch of professional branding or personalization to their rugged gear, Custom Patches Australia offers high-quality, durable options that are built to survive the same demanding environments as your 4WD setup.
Fixing the Unfixable: Hinges and Poles
Structural breaks often feel like the end of the road, but we’ve found ways to keep the adventure going. If a pole snaps, an emergency bypass using a sturdy branch or even a spare tent pole can provide enough support to get you through the night. For snapped aluminium knuckles, the ‘Drill and Bolt’ method is our go-to bush fix; by drilling through the remaining bracket and using a high-tensile bolt, you can create a pivot point that is often stronger than the original plastic part. If you want to avoid these headaches entirely, check out our guide to the Best 4WD Awnings to see which models offer the most durable structural designs for remote travel.
Field Guide: How to Perform Emergency Awning Repairs
Performing a repair in the middle of a remote track is vastly different from doing it in your driveway. The elements are rarely on your side. When gear fails, the first rule of survival is stabilization. Drop the awning immediately to prevent further damage. A flapping rafter or a loose piece of canvas acts like a sail, and it can quickly turn a small tear into a total structural failure. We’ve seen minor nicks become write-offs because the owner waited too long to pull the setup down.
Once the gear is stable, focus on surface preparation. This is where your 4wd awning repair kit essentials truly shine. Cleanliness is non-negotiable in the bush. Use your alcohol wipes to strip away every trace of fine red dust, salt spray, and oils from the repair area. If the surface isn’t pristine, your adhesive will bond to the dirt rather than the canvas. This leads to a repair that peels off the moment you add tension. We always carry a small microfibre cloth just to ensure a completely dry surface before the glue hits the material.
Execution requires a steady hand and firm pressure. When applying patches or tape, work from the center outwards to push out any air bubbles. You want an airtight seal that prevents moisture from creeping under the edges. After the repair is applied, the wait period begins. It’s tempting to pack up and keep driving, but most high-performance adhesives need time to cure. Check the instructions in your kit and give it the full recommended time before re-deploying. Rushing this step is the number one reason field repairs fail.
Repairing a Tear in High Wind
Wind is our biggest enemy during a repair. We recommend repositioning your vehicle to act as a windbreak, shielding the damaged area from the brunt of the gusts. If you’re struggling to keep the fabric still, use temporary ‘clamping’ techniques like binder clips or heavy-duty magnets from your kit to hold the tear together while the adhesive sets. Once you’ve finished, be mindful of tension management. Don’t over-tighten your guy ropes; a little bit of ‘give’ can prevent the new repair from being ripped right back open.
Fixing a Jammed or Broken Zipper
A jammed zipper track can be a nightmare when the sun is setting. We use a bit of graphite from a lead pencil or a specialized wax stick to lubricate the teeth and revive a stuck slider. If the slider has come off one side, you can often realign it by gently opening the end of the slider with a flathead screwdriver, re-inserting the teeth, and crimping it back down. For a zipper that’s completely toast, keep a few heavy-duty safety pins in your kit as a temporary fix to keep your awning bag closed for the night. If your current gear is constantly failing, it might be time to upgrade to one of the best 4wd awnings we’ve reviewed for their superior hardware.
Maintaining Your Awning for Longevity and Performance
We have spent a lot of time discussing how to fix failures on the track, but the ultimate goal is to prevent those failures from happening in the first place. Proper maintenance is a mark of a seasoned explorer. It ensures your shade remains a reliable refuge rather than a liability. By integrating a few simple rituals into your routine, you can reduce the frequency with which you need to reach for your 4wd awning repair kit essentials. It is about respecting your gear and the environments we love to visit.
For those who value the spirit of remote exploration but prefer to leave the logistics and gear maintenance to the experts, African Luxe Travel offers high-end private tours across South Africa, providing a seamless way to experience the wild in total comfort.
Our post-trip rituals start with a thorough wash-down. Red dust from the interior is incredibly abrasive; if left in the fibers, it acts like sandpaper every time you roll or unroll the canvas. Similarly, salt spray from a beach run will quickly seize up your aluminum pivot points and corrode your mounting brackets. Use a soft brush and fresh water to clear these contaminants before they do permanent damage. While you are at it, check every bolt and nut on the frame. The constant vibration of corrugated roads can rattle even the best setups loose over time.
Waterproofing is another critical area. Most high-quality canvases come with a factory coating, but this wears down under the relentless Australian sun. We recommend applying a specialized re-waterproofing spray every 12 to 18 months, or whenever you notice water stopping to bead on the surface. In the tropical north, the ‘Dry Fold’ rule is absolute. Never store your awning while it is damp. Mould and mildew can ruin a premium canvas in just a few days of humid storage, leading to odors and structural rot that even the best repair kit cannot fix.
Seasonal Gear Audits
We advocate for a full gear audit at the start of every season. This is the time to open your bag and check your 4wd awning repair kit essentials for expired items. Fabric glues often have a shelf life, and those isopropyl wipes can dry out if the seal is compromised. Inspect your guy ropes for fraying and consider replacing any remaining plastic pegs with heavy-duty alloy versions. There is a lot of maintenance synergy here if you also run roof top tents, as the cleaning and waterproofing requirements are almost identical for both pieces of equipment.
Upgrading vs. Repairing
There comes a point where even our best efforts cannot save a piece of gear. If the canvas has become paper-thin from UV damage or the main mounting channel is warped, the awning might be too far gone for safe use. We prefer modular designs where individual arms can be replaced, as this aligns with our goal of reducing waste. However, safety must always come first. There is a genuine pride in owning well-maintained, battle-scarred gear that has seen the furthest corners of the country. Keep your setup in peak condition, and it will keep you shaded through many more adventures to come.
Master the Track with Total Confidence
We have moved beyond basic patches to build a deep understanding of 4wd awning repair kit essentials that truly stand up to the Australian sun. You now have the skills to identify structural risks and the ‘Clean-Dry-Apply’ framework to ensure your field repairs last the entire journey. By carrying brand-specific hardware and committing to post-trip maintenance, you’re not just saving money; you’re practicing the kind of responsible, self-reliant exploration that defines our community. We take pride in gear that is battle-scarred yet perfectly functional.
Ready to refine the rest of your setup for the long haul? You can build your ultimate adventure kit with our expert gear guides. We offer community-led advice for remote Australian travel and expert reviews of 4WD awnings and accessories designed for the toughest conditions. Our mission is to support your journey with sustainable practices that keep our wild places pristine. Check your gear, pack your spares, and join us on the next great horizon!
Frequently Asked Questions
Can I use standard duct tape for a 4WD awning repair?
Standard duct tape is a poor choice for long-term repairs because the adhesive breaks down quickly under the harsh Australian sun and leaves a sticky residue. We recommend using specialized repair tapes like Tenacious Tape, which are UV-resistant and designed to flex with the fabric. These high-performance tapes are 4wd awning repair kit essentials because they create a permanent bond that won’t peel when the temperature climbs.
How do I fix a snapped aluminium awning pole in the bush?
You can fix a snapped pole by using a dedicated pole splint or a straight, sturdy branch as an external brace. Slide the splint over the break and secure it tightly with heavy-duty zip ties or high-tension tape from your kit. This creates a rigid bypass that allows you to keep using the shade until you can source a proper replacement part. It’s a classic bush fix that keeps the adventure moving.
What is the best adhesive for poly-cotton canvas awnings?
Flexible urethane adhesives are the best choice for poly-cotton canvas because they provide a waterproof, permanent bond that stays supple in extreme heat. We use these glues for sealing seams and reinforcing patches during field repairs. Including a tube of high-quality fabric adhesive in your 4wd awning repair kit essentials ensures you can handle jagged rips that tape alone might not fully secure against the elements.
How long does a field repair typically last before it needs a professional fix?
A well-executed field repair using the ‘Clean-Dry-Apply’ method can often last for the remaining life of the awning. If you use high-quality patches and allow the adhesive to cure fully, the bond is frequently stronger than the original fabric. However, if you’ve performed a rushed emergency fix in high winds, we suggest inspecting the area once you’re back home to decide if a more permanent patch is required.
Should I repair my awning while it is still attached to the vehicle?
You should always stabilize or drop the awning before attempting a repair to prevent further structural damage. While minor fabric nicks can be patched while the setup is deployed, significant tears or hardware failures are much easier to handle on a flat, stable surface like a camp table. Removing the tension from the canvas allows the adhesive to bond correctly without being pulled apart during the curing process.
What is the most common cause of 4WD awning failure in Australia?
Sudden wind gusts combined with inadequate pegging are the leading causes of awning failure across the country. Many travelers underestimate how quickly a sea breeze or a desert squall can lift an unsecured 270-degree awning. This often leads to snapped knuckles or twisted rafters. We always advocate for using high-tension guy ropes and sand pegs, even if the weather looks calm when you first set up camp.
How do I prevent mould from growing on my repaired awning sections?
Preventing mould starts with the ‘Dry Fold’ rule, ensuring every part of the repaired section is completely moisture-free before packing it away. Repaired areas can sometimes trap tiny amounts of water if the sealant hasn’t cured properly. We recommend leaving the awning deployed in the sun for several hours after a repair. This ensures the adhesive is set and the surrounding canvas is bone dry, especially in the humid tropical north.
Is it worth carrying spare knuckles and hinges for my specific awning brand?
Carrying spare knuckles and hinges is essential because these parts are designed as sacrificial ‘weak links’ to protect your vehicle’s roof rack. When a gust hits, it’s better for a $20 plastic hinge to snap than for your entire mounting system to buckle. Having brand-specific spares means a major structural failure becomes a simple ten-minute fix rather than a trip-ending disaster. It is the ultimate insurance for remote self-reliance.