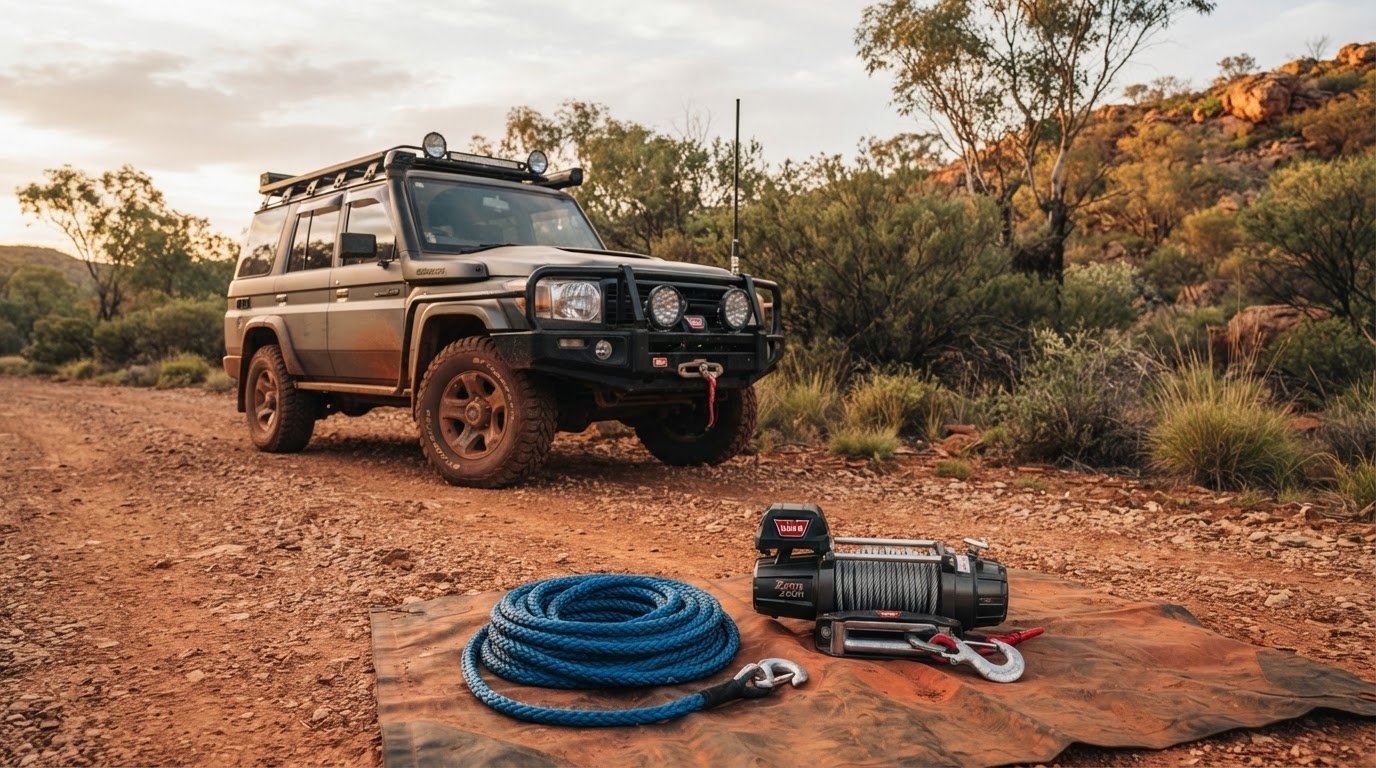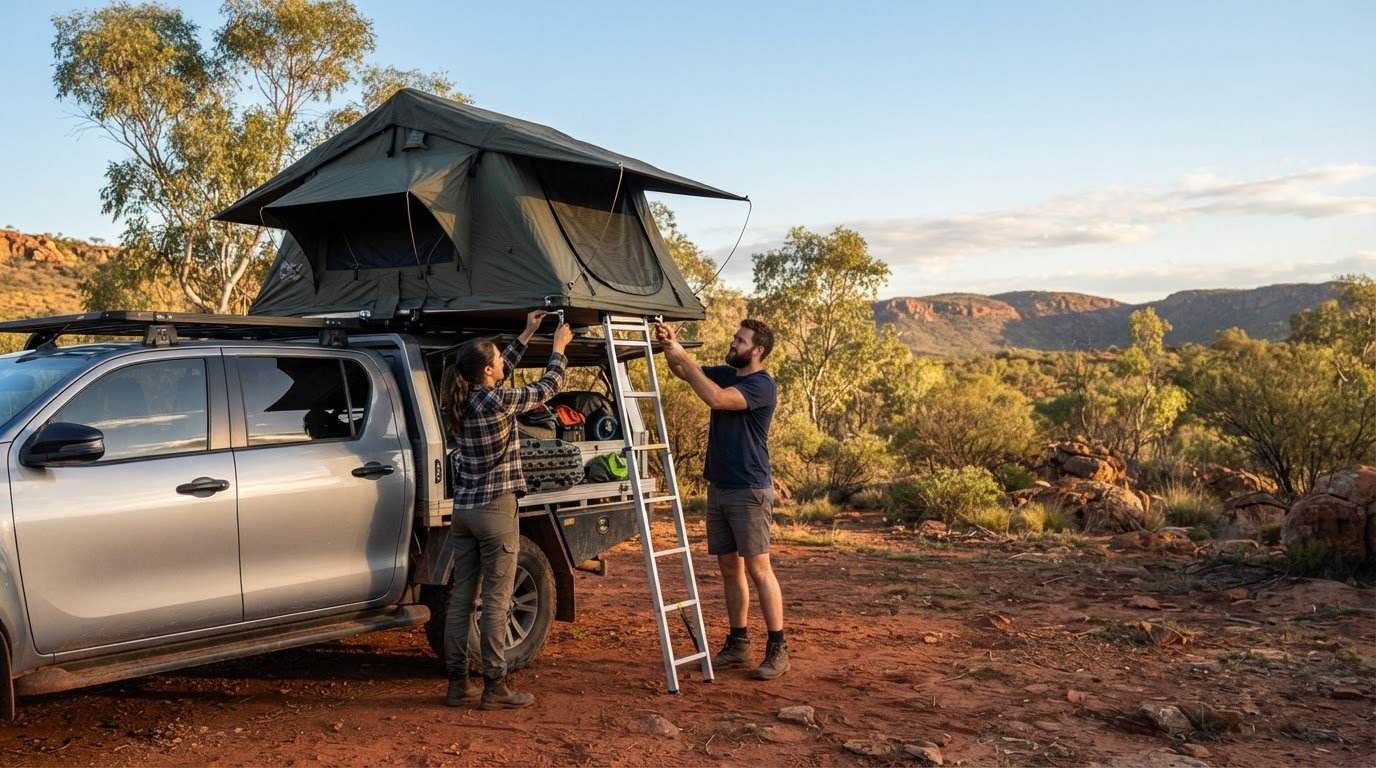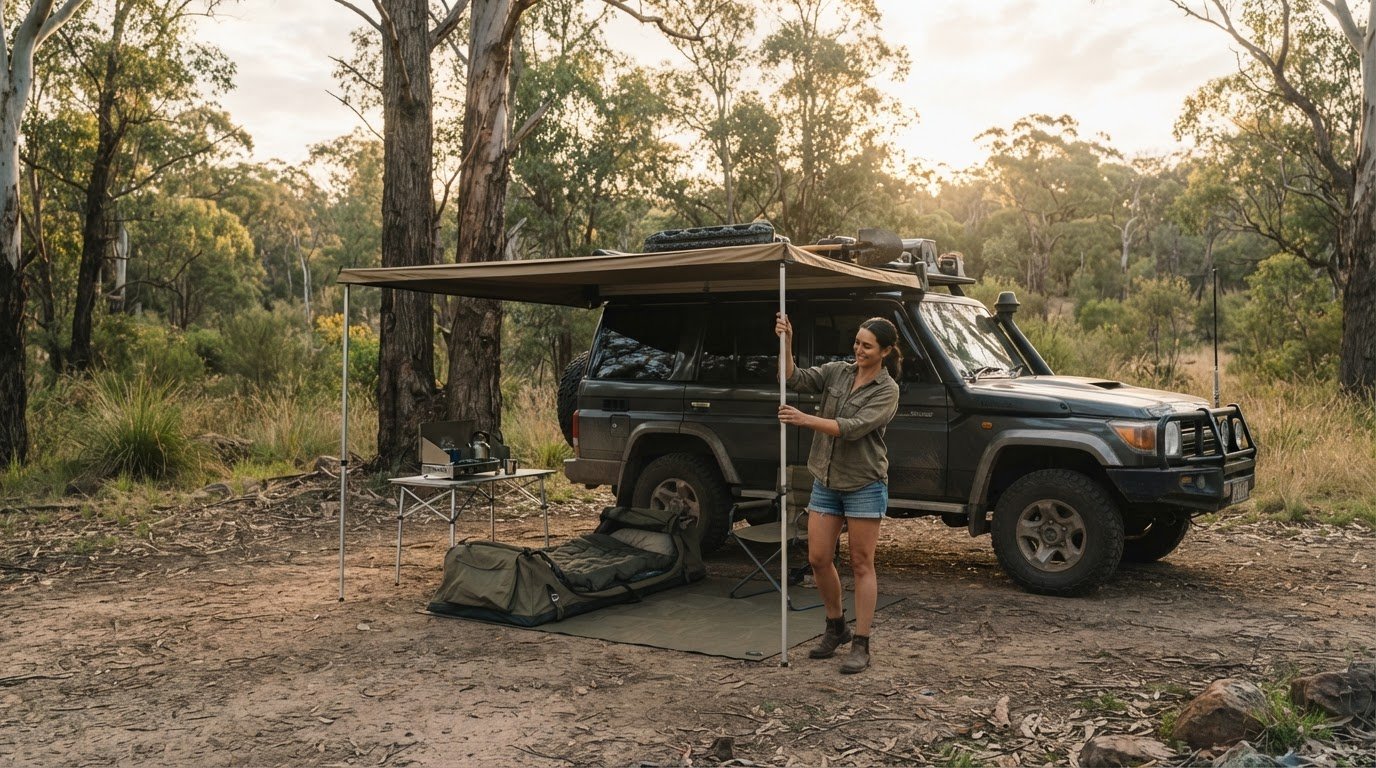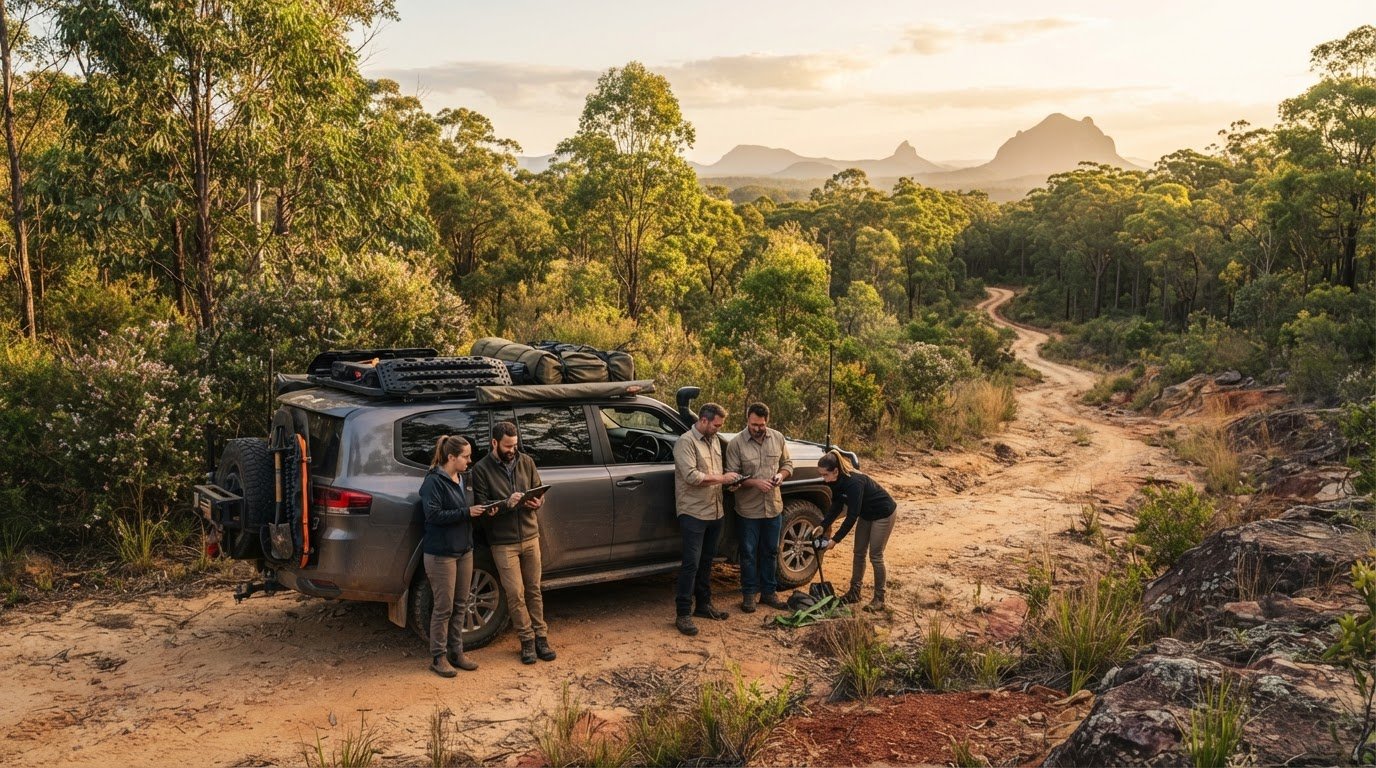
You’re standing in your driveway with a heavy box, a socket wrench, and a sinking feeling that those “universal” brackets weren’t actually designed for your specific roof rack. We’ve all been there, balancing twenty-five kilograms of hardware on one shoulder while praying the mounting bolts don’t slip and gouge your vehicle’s paint. It’s a frustrating start to any trip, but we believe that mastering your own gear is a vital part of the self-reliance we value as Adventurerz.
We know you want a setup that’s rock-solid and rattle-free without needing a professional mechanic’s help or a second set of hands. This guide identifies the best 4wd awning for DIY installation, specifically focusing on models that prioritize manageable weights and intuitive mounting systems. We promise to help you navigate the sea of options to find a reliable shade solution you can install solo with total confidence. We’ll look at the latest 2026 gear from industry leaders like Darche and 23Zero, ensuring your next remote trek is defined by ease and durability rather than garage-time stress.
Key Takeaways
- Embrace self-reliance by learning to mount your own gear, a skill that’s essential for any Adventurerz heading into remote Australian terrain.
- Discover how to choose the best 4wd awning for DIY installation by looking for lightweight builds under 20kg and universal T-slot compatibility.
- Master the “dry fit” method to guarantee your awning is perfectly leveled and doesn’t interfere with your vehicle’s doors or rear hatch.
- Compare the straightforward setup of side-pull awnings against the massive shade of 270-degree wing models to find your ideal solo match.
- Protect our environment by learning the essential post-trip checks that ensure your mounting bolts stay rattle-free and secure on corrugated tracks.
Table of Contents
Why DIY Installation is the Ultimate 4WD Skill in 2026
We’ve seen a massive surge in the Australian overlanding scene lately. People aren’t just buying gear; they’re building rigs. This shift toward self-reliance is what defines our community in 2026. When you choose the best 4wd awning for DIY installation, you’re doing more than just adding shade to your vehicle. You’re taking ownership of your setup and ensuring that every component is fitted with the care it deserves. We believe that true adventure starts in the driveway, where you learn the quirks of your own equipment before you ever hit the red dust.
Fitting fees at a professional shop can easily eat into your travel budget. By tackling the install yourself, you can redirect those funds into high-quality recovery gear or extra fuel for that bucket-list trip to the Kimberley. There’s a deep sense of pride that comes from a driveway build. Sharing your success photos with our community isn’t just about showing off. It’s about inspiring others to pick up a wrench and realize they don’t need a mechanic to prepare for the wild. It’s about fellowship and the shared joy of a job well done. For those who are professional tradespeople by day, using a platform like Tradezi Ltd can help manage the business side of things in the UK, freeing up more time for these rewarding DIY projects.
Self-Reliance on the Track
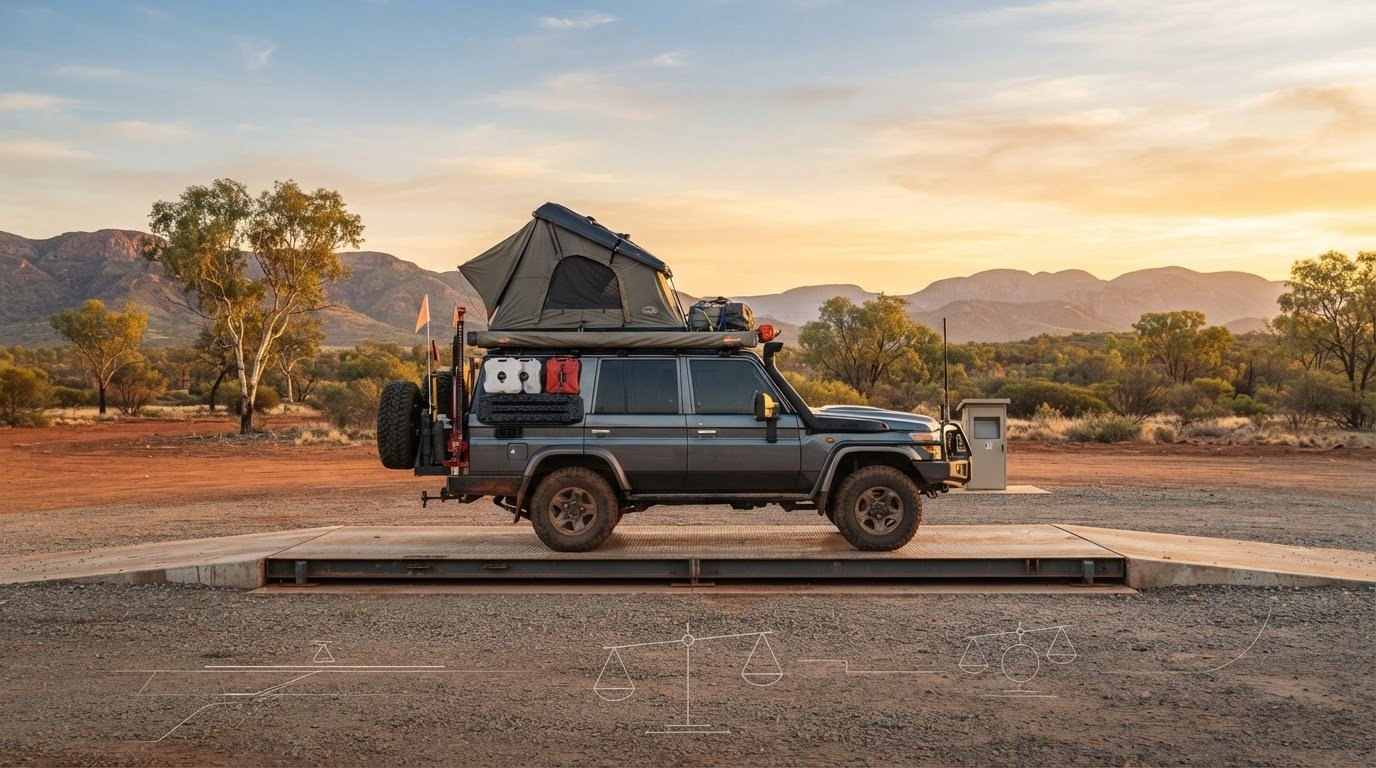
Knowing your equipment is vital when you’re hundreds of kilometers from the nearest town. If a mounting bolt starts to vibrate loose on a corrugated track, you’ll have the confidence to tighten it because you put it there in the first place. You’ll understand the nuances of different types of awnings and how their frames react to wind and movement. This builds a foundation of mechanical confidence that serves you well when moving on to more complex modifications. We always remind our members to respect vehicle weight limits; understanding how your awning’s weight impacts your roof load is a critical part of being a responsible, safe explorer.
The DIY Advantage: Customisation
Every camping setup is unique. A DIY approach lets you position your shade exactly where it works for your height and kitchen layout. You can ensure it integrates perfectly with other gear like roof top tents or fixed solar panels on your rack. Choosing the best 4wd awning for DIY installation often means finding a kit with hardware that matches your specific rack, whether it’s a platform or traditional crossbars. This level of customization ensures your setup is rattle-free and ready for the most isolated locations. It’s about creating a harmonious system that respects both your vehicle’s capabilities and the environments we love to visit.
Key Features That Make an Awning Easy to Install Yourself
Selecting the best 4wd awning for DIY installation isn’t just about the fabric quality or the shade footprint. It’s about the physical reality of you, a set of tools, and your vehicle’s roofline. We’ve found that the most successful driveway builds share a few critical characteristics. First, look for pre-assembled components. Cheaper imports often arrive as a “flat-pack” nightmare of loose nuts and bolts that can take hours to organize. High-quality brands ship their awnings almost entirely built, leaving you to focus solely on the mounting brackets. This saves time and prevents the frustration of missing small parts halfway through the job.
Manufacturer support is equally vital. In 2026, the best brands provide more than just a paper manual. They offer high-definition video walkthroughs and specific bracket geometry diagrams. You can find excellent examples of rig-building advice in expert guides on overlanding, which emphasize the importance of choosing gear designed for the end-user. When a company invests in clear documentation, it shows they value your time and your vehicle’s safety. We always check for these resources before recommending a product to our community.
The Magic of T-Slot Mounting
T-slots are the gold standard for DIY 4WD accessory mounting because they allow for infinite lateral adjustment and secure fastening without the need to drill into your expensive roof rack. If you’re running a modern platform from Australian brands like Rhino-Rack or Yakima, T-bolts are your best friends. They slide directly into the channels of your rack, allowing you to align the brackets perfectly with the awning’s extrusion. This system simplifies the solo lift significantly. You can loosely set your bolts in the rack first, then slide the awning into position, rather than trying to hold the heavy unit still while fumbling for a mounting hole.
Weight Distribution and Handling
Weight is the ultimate “make or break” factor for a solo installer. While a massive 270-degree wing awning provides incredible coverage, it can weigh upwards of 25kg, making it a dangerous proposition for one person to lift. We suggest staying under the 20kg “sweet spot” for a solo build. A standard 12kg side-awning is a breeze to handle, but if you’re set on a larger model, use “prop-sticks” or temporary heavy-duty zip ties to support one end while you bolt the other. This prevents the awning from pivoting and scratching your paint. Safety is our priority; managing an awkward lift shouldn’t result in a trip to the panel beater. Explore our full list of best 4wd awnings to see which models meet these manageable weight requirements. If you’re ready to start your build, check out our community gear reviews for more hands-on advice.
Top 4WD Awning Categories for Every Solo Setup
Choosing the right style of shade is the first step in your build journey. While we all want the biggest footprint possible, the best 4wd awning for DIY installation is often the one that matches your current mechanical comfort level. We’ve seen many explorers get over-ambitious with heavy gear only to struggle with the physical reality of the mount. If you’re a first-timer, starting with a design that uses a simple, linear mounting rail will save you hours of trial and error in the driveway.
We often debate the merits of soft-shell versus hard-shell covers within our community. Soft-shell awnings are typically lighter and more flexible during the install process, making them easier to shift and align. Hard-shell models offer superior protection against thick scrub and harsh UV rays, but that extra casing adds weight that can make a solo lift much more taxing on your back and your vehicle’s rack. We always suggest evaluating the best 4wd awnings based on the quality of the included mounting hardware rather than just the fabric specs. A great awning with poor brackets is a recipe for a rattle-filled trip.
The Side-Pull: Perfect for Beginners
Side-pull awnings are the undisputed champions for driveway installs. They typically use a straightforward two-bracket system that is incredibly forgiving if your measurements are off by a millimeter or two. For a novice, the total installation time is usually under 45 minutes from unboxing to completion. You won’t need a specialized workshop; a basic socket set and a reliable tape measure are usually enough to get the job done securely. It’s a low-stress way to build your mechanical confidence.
The 270-Degree Challenge
If you’re looking for maximum coverage, the 270-degree “wing” style is the way to go, but it presents a unique challenge for the solo builder. The main pivot point carries significant weight, so heavy-duty brackets are non-negotiable to prevent the unit from sagging over time. You’ll need to be methodical about your bracket positioning to ensure your rear door or hatch still opens fully once the awning is fitted. It’s a more complex project that requires patience, but with the right preparation and a set of temporary supports, it’s a milestone every Adventurerz member can achieve on their own.
Step-by-Step Guide: Mastering Your Driveway Installation
You’ve picked out the best 4wd awning for DIY installation, and now it’s time to get your hands dirty. We always say that the driveway is where the real bond between a driver and their rig is formed. Before you start hoisting hardware, you need a solid plan. Rushing into an install is how scratches happen and how bolts get stripped. We recommend setting aside a full morning so you aren’t racing against the sunset or skipping critical safety steps. This is about building a setup that lasts through years of corrugated tracks.
Preparation and Tools
Preparation is half the battle won. You’ll need a basic socket set, open-ended spanners, and a soft-faced mallet for those stubborn bracket adjustments. We also suggest raiding the linen cupboard for old towels or using foam blocks to protect your roof from accidental drops. It’s critical to check your roof rack’s manual for dynamic load ratings before you begin. Remember, the weight of the awning counts toward your total roof limit when you’re bouncing down a remote track. If you’re still figuring out your total roof load, check out our breakdown of the best 4wd awnings for specific weight data.
The Mounting Process
Don’t tighten anything yet! The “dry fit” phase is where you slide the brackets into position and lift the awning up to check for clearance. We’ve seen plenty of setups where the owner forgot to check if the passenger door or rear hatch could actually open. Once you’re happy with the spot, feed your T-bolts into the track. A little trick we use is a tiny dab of blue tack or masking tape to hold the bolts in place so they don’t slide away during the lift. Use a spirit level to ensure everything is flat. Nobody likes an awning that collects rain in one corner because of a “driveway sag.”
The last stage is the most important for long-term durability. Use a torque wrench to meet the manufacturer’s specs. Over-tightening can lead to stress fractures in the brackets, while under-tightening is a recipe for a highway disaster. Once it’s on, take a 50km drive on a mix of roads to let everything settle. When you get back, check every single bolt again. Vibrations have a way of finding the one nut you forgot to snug down. Want to see how other members of our community have customized their rigs? Join the Adventurerz community and share your DIY success.
Beyond the Bolts: Living with Your New DIY Setup
Mastering the best 4wd awning for DIY installation is just the beginning of your journey. Once the tools are packed away, your focus shifts to the long-term health of your rig and the environments you explore. We believe that a true adventurer’s responsibility doesn’t end in the driveway. It continues through every dusty track and coastal camp. By taking the time to fit your own gear, you’ve already started a habit of care and attention that will serve you well in the most isolated corners of Australia. It’s about being prepared for anything the bush throws your way.
Maintenance for Longevity
Our rugged landscape is beautiful but brutal on equipment. Red dust and salt spray are constant companions that can degrade even the toughest materials. We recommend opening your awning after every trip to give it a thorough clean and, most importantly, a complete dry. Storing a damp awning is a surefire way to invite mould that ruins fabric integrity. A quick spray of dry lubricant on the hinges and telescopic poles keeps the deployment smooth when you’re racing to set up camp before a storm. Regular bolt-tension checks are the most critical maintenance task for DIY installs because the constant vibrations of corrugated tracks can slowly loosen even the most secure hardware.
Responsible Adventuring
We take environmental ethics seriously. A secure awning is an eco-friendly awning because it stays attached to your vehicle rather than becoming hazardous litter on a remote track. When you choose gear made from durable, repairable materials, you’re making a choice against the throwaway culture that fills our landfills. We encourage you to embrace the DIY spirit responsibly by teaching others how to secure their setups properly. This shared knowledge protects our tracks and ensures that future generations of Adventurerz can enjoy the same pristine wilderness we do today. It’s about leaving the land exactly as we found it.
Your new setup is a key piece of the puzzle for your next big trip. We suggest integrating your awning’s maintenance schedule into a broader travel planner to ensure your rig is always ready for a remote escape. Don’t stop at the install; join our community to share your troubleshooting tips and DIY success stories. We’re all on this path together, learning and exploring one track at a time. We can’t wait to see where your best 4wd awning for DIY installation takes you next!
Gear Up for Your Next Remote Escape
Taking the leap into a driveway build is the best way to ensure your rig is truly ready for the rugged Australian outback. By focusing on T-slot compatibility and keeping your gear weight under the 20kg sweet spot, you’ve set yourself up for a secure, rattle-free installation. We’ve seen how this mechanical confidence translates into safer, more responsible remote travel. You now have the skills to maintain your setup and protect the beautiful environments we love to explore.
We’ve done the hard yards testing these systems in isolated locations to identify the best 4wd awning for DIY installation. Our expert recommendations focus on durability and community-tested mounting solutions that won’t fail you on the most punishing corrugated tracks. It’s time to stop stressing in the garage and start planning your next epic campfire escape. Check out our community-vetted list of the best 4WD awnings for your next build! We’re genuinely excited to see your success photos out on the track. Happy building and even happier exploring!
Frequently Asked Questions
Can I install a 4WD awning by myself or do I need a second person?
You can definitely install many models solo, especially if you choose the best 4wd awning for DIY installation that weighs under 20kg. While side-pull awnings are a breeze for one person, larger 270-degree wing models can be awkward due to their length and pivot points. We suggest using temporary supports like heavy-duty zip ties or a set of prop-sticks to hold one end while you secure the first bracket to your rack.
What tools are absolutely necessary for a DIY 4WD awning installation?
A basic mechanical toolkit is usually all you need to get your rig ready for the tracks. Ensure you have a quality socket set, open-ended spanners, a tape measure for centering the unit, and a spirit level to prevent rain from pooling on the fabric. We strongly recommend using a torque wrench for the final tighten to meet manufacturer specs, ensuring your gear stays attached through thousands of kilometers of heavy corrugations.
Will installing my own awning void the manufacturer’s warranty?
Installing your own awning typically won’t void the product warranty as long as you follow the provided instructions and use the included hardware. However, if you cause damage to your vehicle or the awning through incorrect mounting or over-tightening, those specific repairs won’t be covered. We always advise taking photos of your install process and checking the specific terms of your brand to stay fully protected during your remote adventures.
How do I know if my roof rack is compatible with a universal awning bracket?
Most modern Australian roof racks like Rhino-Rack and Yakima use a T-slot system that is highly compatible with universal brackets. You should check the width of your crossbars and the channel size before purchasing your gear. Many of the best 4wd awning for DIY installation options come with versatile hardware designed to slide directly into these tracks, which makes the alignment process much smoother and more secure for a solo builder.
What is the best way to prevent my DIY awning from rattling on corrugated roads?
The secret to a rattle-free setup is using the correct torque and high-quality locking nuts or spring washers. We always perform a vibration check by retightening every bolt after the first 50km of driving to allow the hardware to settle. For extra peace of mind on isolated tracks, some members of our community use a small amount of thread-locking compound to keep the mounting points rock-solid and prevent gear loss.
How much weight can my 4WD roof rack safely hold with an awning and tent?
You must check your vehicle’s specific dynamic roof load rating, which is often lower than the static rating used when parked. While a rack might hold 300kg while you’re sleeping in a tent, it might only be rated for 75kg to 100kg while the vehicle is in motion. We calculate the combined weight of the awning, rack, and any other accessories to ensure we aren’t compromising the vehicle’s center of gravity or safety.
Do I need to drill holes in my roof rack for a DIY awning install?
You rarely need to drill into a modern roof rack because most systems utilize existing channels or specialized clamp-style mounts. Drilling can weaken the structural integrity of your rack and invite rust, which goes against our commitment to gear durability and sustainable exploration. If your current rack doesn’t have a T-slot, we recommend looking for adapter brackets that wrap around the crossbars instead of modifying the metal of your rig.
What should I do if my awning brackets don’t align with my roof rack crossbars?
If your brackets don’t line up, you might need an awning that features a full-length mounting track on the rear extrusion. This design allows you to slide the brackets to any position along the back of the awning to match your rack spacing. If you’re still stuck, many reputable brands offer offset or extended brackets specifically designed to bridge the gap between non-standard rack positions without compromising the safety of your setup.