Did you know that two adults sleeping in a roof top tent can exhale and perspire up to two litres of water in a single night? If you’ve woken up to a damp mattress, you’re likely already troubleshooting a leaking roof top tent in your head, wondering if your gear has finally failed. We’ve all been there, staring at a mysterious wet patch while the rain hammers down on the fly. It’s a stressful moment for any member of our community, especially when you’re worried about mould ruining a significant investment.
We understand that your tent is more than just fabric; it’s your home on the tracks. Whether you’re dealing with condensation, failing seam tape, or a saturated rainfly, we’ll show you how to accurately locate and repair the issue. In this guide, we’ll walk through the garden hose test, explain the difference between urethane and silicone sealants, and share the best ways to restore your weatherproofing using modern PFAS-free treatments. You’ll gain the confidence to maintain your gear for years of rugged Australian exploration, ensuring your next remote adventure stays bone-dry.
Key Takeaways
- Master the art of troubleshooting a leaking roof top tent by distinguishing between internal condensation and external moisture ingress using the simple “Tissue Paper Test.”
- Learn the precise “Bottom-Up” garden hose method to isolate specific leak sources without masking lower entry points with runoff.
- Identify the correct chemical sealants for your specific tent fabric, ensuring you don’t mix incompatible polyurethane and silicone treatments.
- Extend the life of your gear and reduce environmental impact by applying modern, PFAS-free DWR coatings every 6 to 12 months.
- Build a seasonal maintenance routine that keeps your seams tight and zippers flowing, providing total peace of mind for your next remote Australian adventure.
Table of Contents
Is Your Roof Top Tent Leaking or Is It Just Condensation?
Waking up to a damp sleeping bag is a frustrating rite of passage for many in our community. Before you assume your canvas has failed, we need to look at the physics of small spaces. When you begin troubleshooting a leaking roof top tent, your first task is to determine if the water is coming from the clouds or from your own breath. Because an average adult exhales and perspires between 0.5 and 1.0 litre of water vapor overnight, a couple sharing a tent can easily generate two litres of moisture. In the confined space of an RTT, that vapor has nowhere to go but onto your cold walls and floor.
To identify the culprit, we use the “Tissue Paper Test.” Before you head out for the day, press a dry tissue against different areas of the internal fabric. If the entire ceiling feels uniformly damp or “sweaty,” you are dealing with condensation. However, if the moisture is concentrated in one localized spot, or if you see distinct staining and dripping during a downpour, you’ve found a genuine leak. Genuine leaks often track along the seams or near the zippers where durable water repellent (DWR) coatings may have degraded over time.
Understanding the Dew Point in RTTs
Condensation occurs when warm, moist air hits a cold surface. This is why hardshell tents, particularly those with aluminum bases, often suffer more than softshell versions. The metal acts as a heat sink, pulling warmth away and causing immediate moisture beads to form under your mattress. We’ve found that installing anti-condensation mats is the most effective solution. These mesh spacers, which typically retail between A$49 and A$178 in Australia, create a vital air gap that allows moisture to evaporate rather than pooling under your bedding. If you find the dampness is persistent despite these fixes, it might be time to check our latest reviews on better-ventilated roof top tents to see if an upgrade is your best path forward.
Quick Fixes for Condensation Issues
The secret to a dry night is aggressive ventilation. We always recommend creating a “cross-breeze” by cracking at least two opposite windows, even if it’s chilly outside. Moving air carries that moisture out before it can settle. In stagnant, humid conditions, a small 12V fan can be a total game-changer for internal airflow. Most importantly, never pack your tent away while it’s still damp. If you have to move camp in the rain, make it a priority to open the tent fully as soon as the sun comes out. Trapping that moisture inside is a recipe for mould and mildew, which can ruin an expensive tent faster than any structural leak ever will.
Common Leak Points in Roof Top Tents
Once you’ve ruled out the process of condensation as the source of your dampness, it’s time to hunt for structural vulnerabilities. Troubleshooting a leaking roof top tent requires a methodical eye for detail. Most leaks don’t happen in the middle of a panel; they occur where the fabric is punctured, stressed, or joined. Understanding these failure points helps you extend the life of your equipment and prevents the heartbreak of a ruined expedition.
Seams and Stitching Vulnerabilities
The seams are the front line of your tent’s weatherproofing. Over time, the factory-applied seam tape can begin to lift or turn “milky” in appearance. This is a clear sign that the adhesive has failed. High-stress corners, where the tent poles put the most tension on the fabric, are usually the first places to show wear. In the harsh Australian sun, UV radiation can also degrade the stitching thread itself, causing it to become brittle and snap. When this happens, water wicks through the needle holes and onto your bedding. Keeping an eye on these joins is essential for any long-term gear maintenance strategy.
Zippers and Hardware Seals
Zippers are another common entry point. While many premium tents use water-resistant zippers, they aren’t totally waterproof. Dirt and red dust from the outback can get trapped in the teeth, creating tiny gaps that allow water to seep through via capillary action. Check the “zipper garage”, that little flap of fabric where the zipper terminates, as these often get folded incorrectly, funneling rain straight inside. For those of us with hardshell tents, the rubber perimeter seals can perish or flatten over time. If the shell doesn’t compress the seal perfectly, wind-driven rain will find its way into the base of the tent while you’re driving.
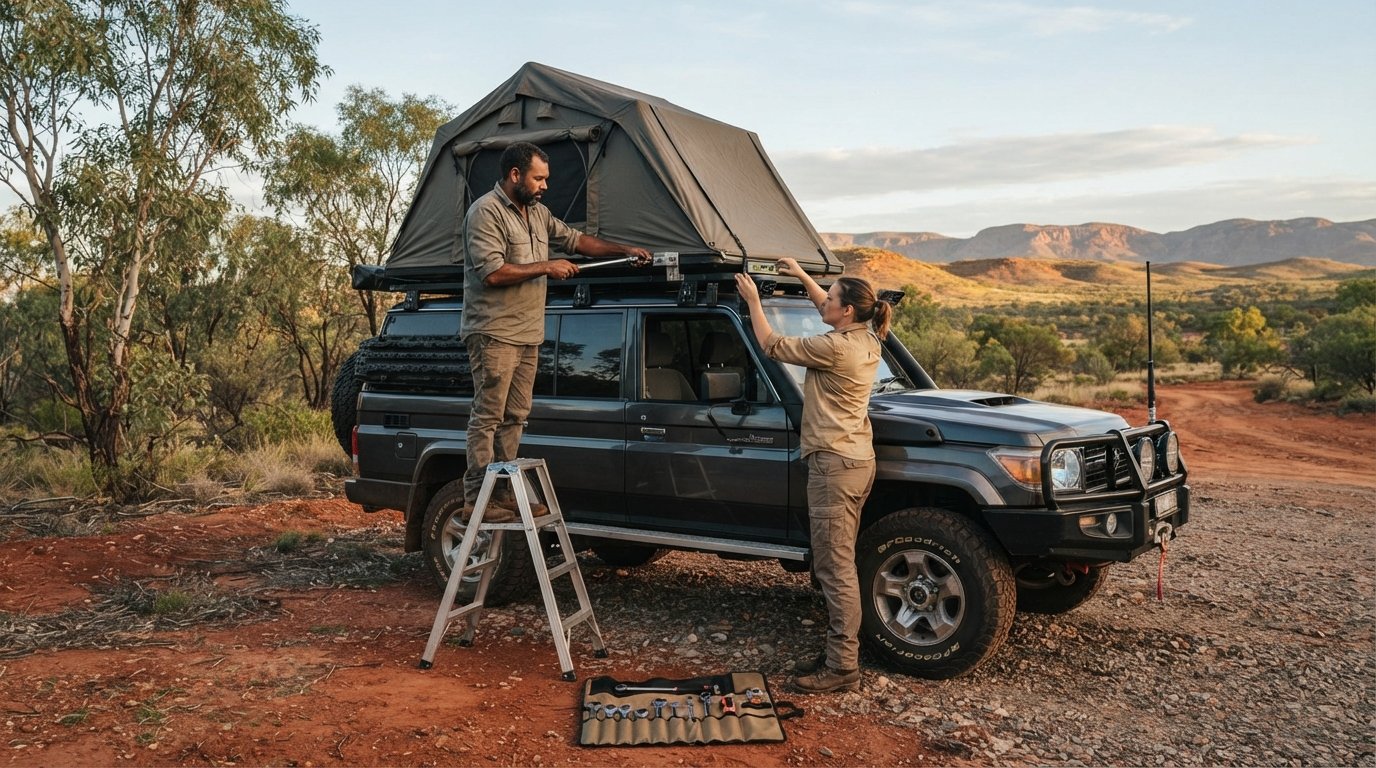
Don’t overlook the structural points where the fabric meets the mounting base. Vibrations from corrugated roads can loosen the bolts that secure the tent body to the floor, creating small gaps for water to enter from below. If you find that your current setup is consistently failing despite your best efforts, you might want to browse our roof top tents reviews to see which models offer superior weather sealing for Australian conditions. Repairing gear is always our first choice for the environment, but knowing when a tent has reached its limit is part of being a responsible mentor in the community.
The Garden Hose Test: Finding the Source
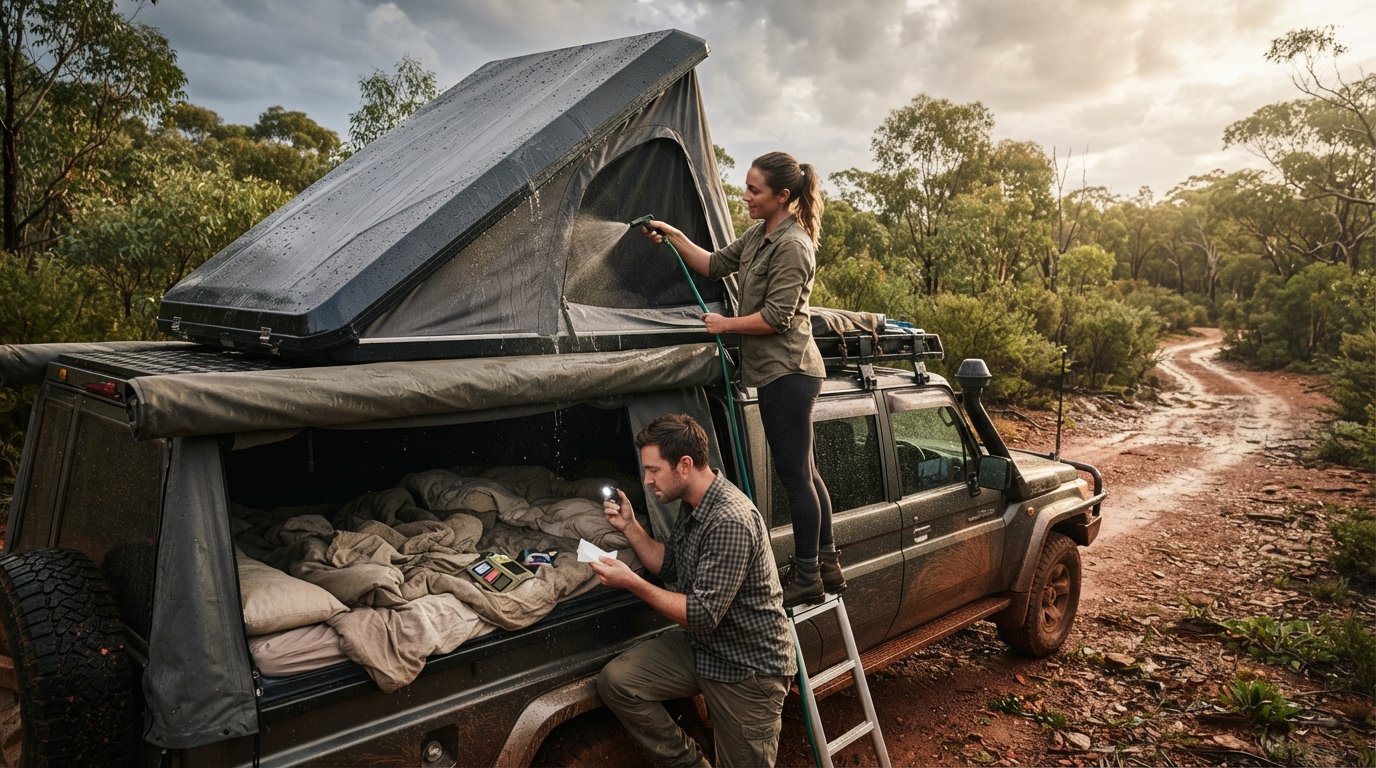
Once you’ve cleared out the gear and confirmed it isn’t just condensation, it’s time for some detective work. We call this the “Garden Hose Test.” It’s the most reliable way to simulate a downpour in a controlled environment. Troubleshooting a leaking roof top tent requires patience; you can’t just blast the canvas and hope for the best. You need a methodical approach to isolate exactly where the water is entering your sanctuary. Before you start, strip the tent completely. Remove the mattress, pillows, and any LED strips. Not only does this protect your bedding from accidental soakings, but it also gives you a clear view of the bare floor and internal seams.
The golden rule of leak detection is the “Bottom-Up” method. We always start at the lowest points of the tent—the hinges, mounting bolts, and lower window zippers—and work our way up to the peak over 15 to 20 minutes. If you start at the top, water running down the fabric will mask lower entry points, leading to false positives. Have a partner sit inside the tent with a bright torch and some masking tape while you manage the hose. As they spot a drip or a damp patch, they can mark the exact spot with tape. This makes the eventual repair much easier once the fabric is dry.
Step-by-Step Diagnostic Protocol
Begin by testing the main tent body without the rainfly attached if your model allows it. Use a low-pressure “shower” setting on your hose nozzle to mimic steady rain. Focus your stream on individual seams for at least two minutes each. For more detailed seam sealing and re-waterproofing techniques, industry experts suggest looking for “wicking,” where water travels along the thread into the interior. After the main body is tested, install the rainfly and repeat the process. Don’t forget to angle the spray horizontally to simulate wind-driven rain hitting the zipper flaps. This often reveals gaps in the “zipper garages” that vertical rain won’t trigger.
Safety and Setup for Testing
Ensure your vehicle is parked on level ground before you begin. An unlevel tent can cause water to pool in unnatural areas, giving you an inaccurate reading of how the tent performs in the wild. We must warn you: never use a high-pressure washer. The intense pressure can actually tear the fabric fibres or strip away the factory-applied coatings. Once your investigation is complete, leave the tent open in the sun until it’s bone-dry. Packing away a wet tent after troubleshooting a leaking roof top tent is a surefire way to start a mould colony. If your test reveals that the canvas is beyond simple patches, it might be time to check our latest roof top tents recommendations to find a more durable replacement for your setup.
Effective Repair Techniques for a Dry Night
Once you’ve finished troubleshooting a leaking roof top tent and marked your target areas, it’s time to get your hands dirty. We believe in keeping high-quality gear on the road rather than in the landfill; it’s better for your wallet and the environment. Most repairs are straightforward if you have the right specialized adhesives and a bit of patience. Before you start, ensure the fabric is completely dry and free of outback dust. A clean surface is the difference between a permanent fix and a patch that peels off during the first storm.
For structural tears or pinholes caused by stray branches, we recommend using Gear Aid Tenacious Tape. These patches retail between A$6.95 and A$12.99 and provide a flexible, waterproof seal without the need for stitching. If your zippers are wicking moisture, clean the teeth with a soft brush and apply a specialized zipper wax. This lubricates the track and helps the fabric flaps sit tighter against the elements, preventing wind-driven rain from creeping in.
Seam Sealing Like a Professional
The most important rule of seam repair is fabric compatibility. You must never mix sealants. If your tent uses polyurethane-coated fabrics or poly-cotton canvas, reach for a urethane sealant like Seam Grip WP, which costs about A$9.95 to A$12.95. If you have a silicone-treated fly, you’ll need a silicone-based sealer like Seam Grip SIL (A$10.00 to A$13.00), as urethane won’t stick to silicone. Start by cleaning the old, flaky residue with isopropyl alcohol; this is your best friend for surface prep. Apply the sealer to the inside of the tent for a cleaner look, and allow it to cure for 8 to 12 hours in a shaded, dust-free area. Avoid high temperatures during curing, as extreme heat can cause the bond to become brittle.
Restoring the DWR Coating
If your rainfly is “wetting out” rather than shedding water, your Durable Water Repellent (DWR) coating has likely failed. As we move into 2026, our community is shifting toward PFC-free and PFAS-free waterproofing agents to protect our waterways. We recommend using a water-based, spray-on treatment like Nikwax Tent & Gear SolarProof, which retails for approximately A$19.95. These modern formulas provide excellent water repellency and UV protection without the harsh fluorocarbons found in older products.
Apply the spray evenly to the damp exterior fabric and wipe away any drips. You’ll know the coating is restored when water performs the “beading test,” rolling off the surface like marbles. Because these eco-friendly coatings wear out faster under the intense Australian sun, we suggest reproofing your gear every 6 to 12 months of active use. If your tent fabric is too degraded for a simple spray-on fix, it might be more cost-effective to explore our latest roof top tent reviews for a durable, expedition-ready replacement.
Long-Term Maintenance and When to Upgrade
Keeping your gear in peak condition is a responsibility we all share as part of the outdoor community. While troubleshooting a leaking roof top tent often leads to a successful DIY repair, every piece of equipment eventually reaches its sunset. We always advocate for the “repair first” mindset to minimize our environmental footprint. However, a tent that can no longer guarantee a dry night is more than just an inconvenience; it’s a risk to your health and comfort in remote locations. If you find that your repairs are becoming a monthly ritual, it’s time to evaluate the structural integrity of your shelter.
Identifying when a leak is structural rather than a simple maintenance issue is key. Look for signs of “fabric rot,” where black mildew spots have eaten into the core fibres of the poly-cotton canvas. If the fabric feels brittle or tears easily between your fingers, the UV damage is terminal. Similarly, if the aluminum baseboard is warped or the internal frame hinges are binding, the tent’s ability to maintain a proper tensioned seal is compromised. Replacing a rainfly might cost between A$150 and A$350, but if the main body is failing, a full upgrade is often the more cost-effective path in the long run compared to constant patching.
The Annual Waterproofing Audit
We recommend performing a comprehensive audit at the start of every camping season. This goes beyond just checking for holes. Inspect your mounting hardware for signs of stress or vibration-induced loosening from those long corrugated tracks. Lubricate your hinges with a dry silicone spray to prevent binding, and check that your transit cover is still 100% waterproof. Correct storage is also vital; never store your RTT in a damp garage. Ensure it’s bone-dry and stored in a cool, ventilated area to prevent the waterproof coatings from breaking down prematurely during the off-season. This simple routine can add years to your gear’s lifespan.
Choosing Your Next Roof Top Tent
When the time comes to retire your old faithful, use our research to make an informed choice. Look specifically at the “hydrostatic head” (HH) rating in new product specs. A quality expedition tent should offer a minimum of 2,000mm to 3,000mm HH, with premium flys reaching up to 5,000mm for extreme conditions. We’ve noticed a significant shift toward hardshell models, which now capture about 46% of the market. These offer superior long-term weather resistance and can withstand the battering of Australian coastal winds much better than traditional softshells. If you’re ready to make the switch, check out our latest roof top tent reviews for your next upgrade. We’ve tested the best on the market to ensure your next investment keeps you high, dry, and ready for adventure.
Gear Up for Bone-Dry Expeditions
We’ve walked through the essential transition from waking up damp to mastering your tent’s weatherproofing. By using the methodical “Bottom-Up” hose test and choosing compatible, PFC-free sealants, you’re not just fixing a leak; you’re actively extending the life of your gear. Successfully troubleshooting a leaking roof top tent is a vital skill for any self-reliant explorer. It ensures that your home on the tracks remains a reliable sanctuary against the harshest Australian storms while keeping unnecessary waste out of our environment.
Our commitment to sustainable gear longevity and community-vetted repair tips helps you stay out longer and explore further. However, if your current canvas has reached the end of its journey despite your best efforts, we’re here to guide your next move. Explore our expert Roof Top Tent reviews to find your next dry shelter and benefit from our rigorous gear testing in remote environments. Keep those zippers waxed and your seams tight! We’ll see you out on the tracks, high, dry, and ready for the next spectacular sunrise.
Frequently Asked Questions
Is it worth repairing an old roof top tent that leaks?
Repairing your gear is almost always worth the effort if the structural frame remains sound and the canvas isn’t brittle. It aligns with our community focus on sustainability and gear longevity. A simple A$12 tube of sealant can save you from spending A$2,000 on a new unit. However, if the fabric is sun-fried and tears under light pressure, it’s time to retire the unit. Check our latest reviews for a durable replacement.
What is the best seam sealer for a canvas roof top tent?
The best sealer depends entirely on your fabric’s specific coating. For most poly-cotton canvas or polyester tents, a urethane-based sealer like Seam Grip WP is the industry standard. If your tent features a silicone-treated rainfly, you must use a dedicated silicone sealer instead. Mixing these two will result in the adhesive peeling off. Always clean the area with isopropyl alcohol first to ensure a permanent, professional-grade bond.
Can I use a pressure washer to clean my roof top tent?
We strongly advise against using pressure washers on any tent fabric. The high-velocity water can strip away your durable water repellent (DWR) coatings and force its way through the weave, permanently damaging the fibers. Stick to a soft brush, a garden hose on a low-pressure shower setting, and a pH-neutral soap. This gentle approach keeps your equipment in peak condition without compromising its structural weatherproofing or longevity.
How often should I re-waterproof my RTT?
We recommend re-waterproofing your tent every 6 to 12 months if you’re a frequent explorer. The harsh Australian sun degrades protective coatings faster than in cooler climates. You’ll know it’s time when water stops beading and begins to soak into the fabric. Routine maintenance is a core part of troubleshooting a leaking roof top tent before the next big storm hits. Use PFC-free sprays to minimize your environmental impact.
Does my roof top tent warranty cover leaks?
Most manufacturer warranties cover defects in craftsmanship, such as failing seam tape or stitching errors, for about 24 months. However, they rarely cover leaks caused by UV degradation, mould, or improper storage. They also explicitly exclude condensation issues. It’s important to read your specific policy before making a claim. If your warranty has expired, our community-vetted repair tips can help you restore your tent’s performance for many more seasons of remote travel.
Can I use silicone spray from the hardware store on my tent fabric?
Avoid generic hardware store silicone sprays as they can interfere with the breathability of your fabric and may react poorly with factory coatings. Specialized outdoor gear sprays are formulated to be water-based and PFAS-free, ensuring they don’t damage the technical fibers of your RTT. Using the wrong chemical can lead to a sticky residue that attracts outback dust and eventually makes troubleshooting a leaking roof top tent even more difficult.
What happens if I fold my tent while it’s still damp?
Folding a damp tent is the fastest way to ruin your investment. Trapped moisture creates a perfect breeding ground for mould and mildew, which can eat through the canvas fibers in just a few weeks. If you must pack up in the rain, make it your top priority to open the tent and dry it completely as soon as you reach camp or get home. Prevention is always easier than scrubbing out stubborn mould spots.
Why is water coming through the floor of my roof top tent?
Moisture on the floor is frequently caused by warm body heat meeting a cold aluminum base, creating a pool under your mattress. This is often misdiagnosed as an external leak. If it’s a genuine leak, check the mounting bolts that secure the fabric to the base. Corrugated roads can loosen these fasteners, allowing road spray to enter from below. Installing an anti-condensation mat is the best way to keep your floor bone-dry.