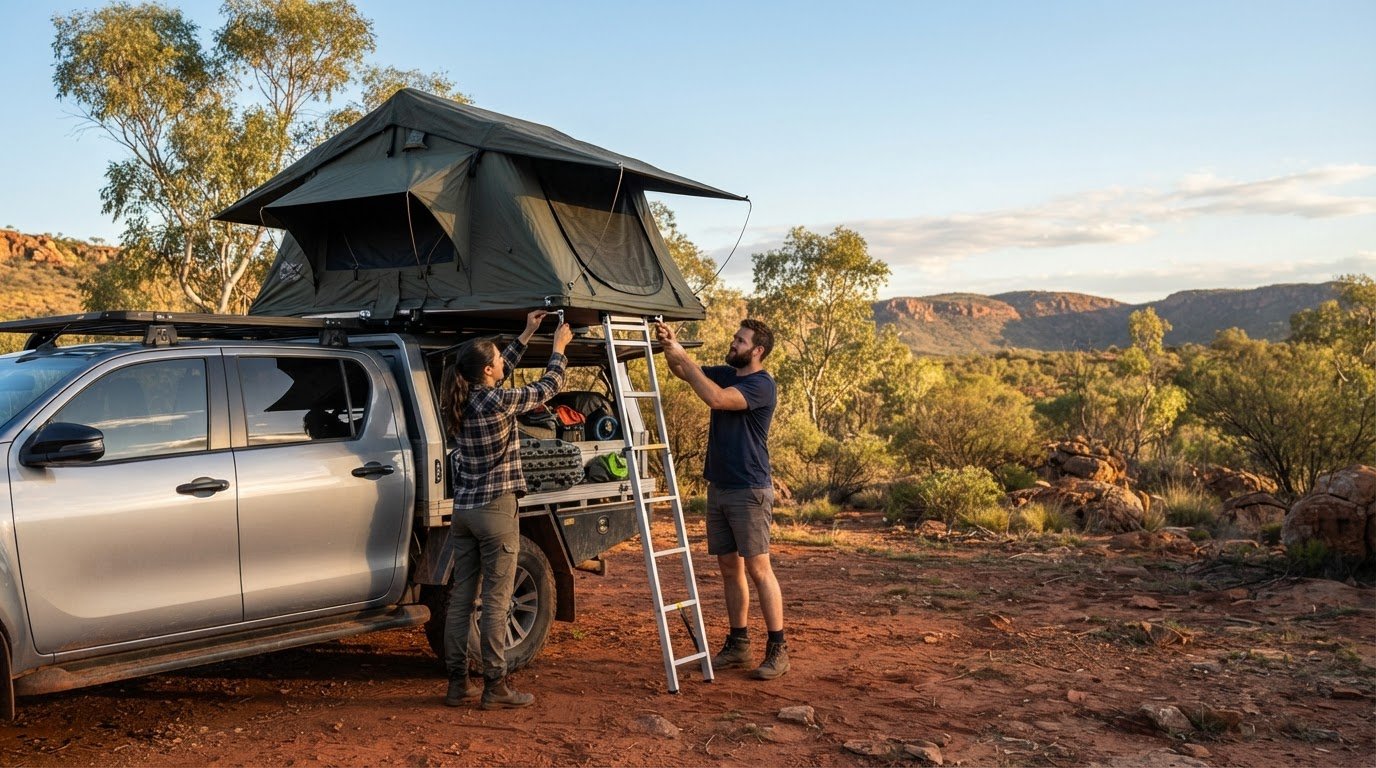
What are the best roof top tent ladder upgrades for a more comfortable climb? Replacing the whole ladder may not be necessary. If narrow rungs are the problem, a wider step or softer rung cover could help, but neither will solve every issue with fit, footing or stability. The right choice starts with identifying what you want to change.
In this guide, we compare common upgrade options and explain how to weigh comfort against compatibility, ladder reach and storage at camp. Before choosing, check the upgrade against your ladder, vehicle height and preferred setup. We’ll also cover practical use and care for Australian trips, with responsible outdoor habits in mind.
We look at rung covers, bolt-on steps, replacement or extended telescopic ladders, and stair-style systems, including the trade-offs of each. A comfortable step is only useful if the ladder fits and sits as intended, so focus on fit, footing and everyday use rather than broad product claims. Adventurerz shares outdoor gear guides and recommendations to help you make a considered choice and tread lightly while exploring.
Key Takeaways
- Identify whether your main concern is narrow rungs, grip, ladder reach or support before comparing upgrades.
- Compare wider step attachments, grip additions and replacement components by what each is designed to address, and what it may leave unchanged.
- Check ladder type, rung shape and contact points against the upgrade’s fitting instructions before choosing among the best roof top tent ladder upgrades.
- Follow the maker’s installation guidance, inspect the ladder before climbing and set it on suitable ground with a clear route.
- Choose an option that suits your setup and priority, then review its use and care instructions before heading out.
Table of Contents
- What Are Rooftop Tent Ladder Upgrades, and What Problem Do They Solve?
- Rooftop Tent Ladder Upgrade Types: Compare Steps, Grip, and Support
- How to Check Rooftop Tent Ladder Upgrade Compatibility
- Install and Use Ladder Upgrades with Care at Camp
- Choose a Rooftop Tent Ladder Upgrade That Fits Your Setup
What Are Rooftop Tent Ladder Upgrades, and What Problem Do They Solve?
A rooftop tent ladder upgrade is an accessory or modification intended to address a particular concern when using the ladder, such as rung comfort, surface feel or how the ladder meets the ground. It may change one aspect of the climb, but it doesn’t automatically make every ladder safer or more stable.
That distinction matters. Wider step attachments can increase the area your foot contacts, while a grip addition may change the feel of a rung’s surface. A replacement or support component is intended to address a different need. These options aren’t interchangeable, and none can correct a ladder that’s damaged, incorrectly set up or placed on unsuitable ground.
Start with the problem you actually notice rather than choosing based on a product’s broad claims. General types of ladders and safety guidance provides useful background, but a rooftop tent ladder still needs to be used according to its maker’s instructions and in the context of your camp setup. The best roof top tent ladder upgrades for one setup may not suit another.
Which climbing frustrations might an upgrade address?
Separate three common concerns. Narrow-feeling rungs can make each step feel concentrated underfoot, while uncomfortable footing describes how a rung feels during a climb. Neither experience alone proves the ladder is defective. Ladder movement is a separate concern: first assess the ladder’s placement and the ground rather than assuming an accessory will solve it.
Ask yourself what you want to change: more contact underfoot, a different surface feel, or better support for your particular setup? Naming the issue makes comparisons more useful. It also helps you avoid adding an accessory that doesn’t address the problem you notice.
What ladder upgrades can, and cannot, change
Depending on its design, an accessory may alter the rung’s contact area or surface feel. The result depends on whether it fits your ladder, is installed as instructed and is used with a ladder in suitable condition. Check the accessory’s stated compatibility and fitting instructions rather than assuming a similar-looking rung will work.
An upgrade doesn’t fix damage, unsuitable ladder length, poor placement or unstable ground. It also can’t guarantee secure footing or prevent falls. Before climbing, assess the whole setup, including the ladder and the surface supporting it. If the ladder appears damaged or won’t sit properly, don’t rely on an add-on to make it suitable for use.
Rooftop Tent Ladder Upgrade Types: Compare Steps, Grip, and Support
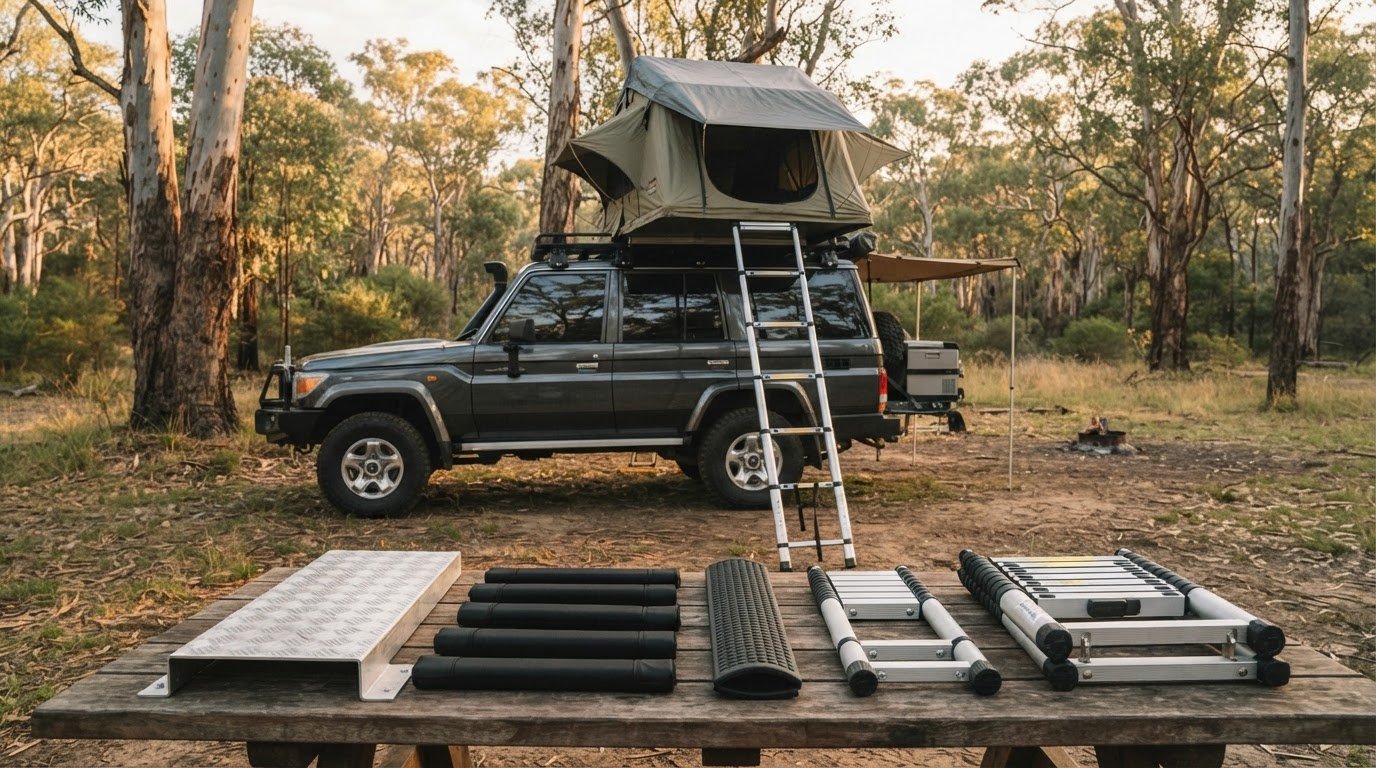
Ladder upgrades address different concerns, so compare the intended change rather than treating every accessory as a safety improvement. A wider step attachment changes the surface available to your foot; a grip addition changes how a rung feels; a replacement or support component may address ladder fit or support. None necessarily changes the ladder’s reach, condition or suitability for a particular campsite.
| Upgrade type | Intended use | What it may not change |
|---|---|---|
| Wider step attachment | Provides a broader area for foot contact on compatible rungs. | Doesn’t automatically alter ladder angle, reach or ground stability. |
| Grip addition | Changes the rung’s surface feel or adds a grip-focused layer. | Doesn’t necessarily widen the step or stabilise the ladder. |
| Replacement or support component | Replaces a compatible ladder part or supports a particular setup. | Doesn’t correct unrelated damage or poor placement. |
Use the table as a starting point, not a performance guarantee. A component’s effect depends on its design and fit. Before relying on product claims, check the manufacturer’s information for materials, dimensions, load limits, compatibility and performance. General advice from the US Occupational Safety and Health Administration, including its ladder safety standards, is not an Australian rooftop tent rule, but it reinforces the value of checking equipment and following its instructions.
Wider steps for more foot contact
A broader stepping surface is intended to spread contact across more of your foot than a narrow rung. That may appeal if the rung feels uncomfortable, but comfort is personal. Treat claims about a specific product as the maker’s claims rather than assuming every design will feel the same. Added width can also affect how the ladder folds, telescopes, packs or clears nearby surfaces. Check these details against the accessory instructions and your tent’s storage arrangement.
Grip additions and ladder support components
Grip-focused additions differ from wider steps: they may change the surface feel without increasing its width. Don’t assume a grip accessory is suitable for wet or muddy use unless the manufacturer specifically supports that claim. Replacement or support components need to match the ladder and setup they’re designed for. For context on ladder styles and fit, our rooftop tent guide can help you consider how tent format relates to the ladder you use.
As you compare the best roof top tent ladder upgrades, keep the choice tied to your actual priority. A wider step won’t necessarily address movement; a grip addition won’t necessarily provide more foot contact; and a replacement part only makes sense if it matches your ladder. Confirm the fitting instructions, then consider how the addition affects storage and use at camp. Adventurerz’s outdoor gear guides and recommendations help readers compare equipment with practical use in mind, so you can choose thoughtfully, pack what serves the trip and leave campsites in good condition.
How to Check Rooftop Tent Ladder Upgrade Compatibility
A ladder accessory can look like a close match and still interfere with a rung, locking point or packed ladder. Work through the fit in order: identify your ladder, note the relevant contact points, then compare them with the accessory maker’s instructions. The rooftop tent guide can help you consider how tent format and ladder design relate, but the accessory’s own fit information should guide your choice.
- Identify the ladder. Note the tent and ladder make or model if known, and whether the ladder is telescopic, folding or another format. Also note how it attaches to the tent. Similar-looking ladders can differ in rung layout and operating design, so don’t use appearance alone to judge compatibility.
- Inspect the rungs. Look at their shape and orientation, including whether the surface is flat, rounded, angled or otherwise shaped. Check for existing covers, fittings or damage that could affect how an attachment sits. Don’t assume an accessory designed for one rung profile will fit another.
- Measure the relevant contact points. Record rung width and depth, plus the attachment area where the accessory is intended to meet the ladder. Take the measurements specified in the maker’s instructions, using the same points described there. Product-specific dimensions are not universal ladder-selection rules.
- Compare the fitting instructions. Match your ladder and measurements with the stated compatibility, attachment method and installation steps. Then consider clearance, ladder movement and packed storage. The fitted ladder should still fold, slide, attach and stow as intended by its maker.
What to measure before choosing an upgrade
Measure the rung itself and the area an attachment will cover or connect to. Depending on the accessory, that may mean checking rung shape, width, depth and available attachment space. Keep a written note or photo of the measurements to compare with the specific fitting guide. A dimension published for another brand or accessory is not proof of compatibility with yours.
Check attachment, clearance, and packed storage
Fit affects more than whether an accessory can be placed on a rung. Consider whether it obstructs a joint, locking feature or the ladder’s path as sections fold or slide. Check whether the upgraded ladder still clears the tent and can be stowed in its usual position. If an attachment shifts, obstructs movement or appears damaged, stop using it and follow the maker’s instructions before the next climb.
Before settling on one of the best roof top tent ladder upgrades, assess the ladder after fitting the accessory according to its instructions. Confirm that the attachment stays in place and the ladder operates as intended. If the fit is uncertain or compromises normal movement, don’t force it. Choose an option specified for your ladder instead.
Install and Use Ladder Upgrades with Care at Camp
Even a compatible upgrade needs a careful fit and regular checks. Follow the accessory maker’s installation instructions along with the ladder manufacturer’s guidance, and don’t improvise fastening methods. Before every climb, inspect the ladder and its attachments. A component that looks secure at home can shift during transport or after a dusty, muddy trip.
At camp, place the ladder as instructed on firm, suitable ground and check that it sits as intended before climbing. Keep the route clear of gear, guy lines and other obstacles. If the surface is sloped, soft or uneven, reassess the position rather than relying on an accessory to compensate. Careful setup reduces avoidable problems, but no upgrade can make every site or climb risk-free.
A simple post-installation check
After fitting the accessory, check each attachment against its instructions. Make sure no component moves unexpectedly, then open, close and store the ladder as directed. Confirm that the upgrade doesn’t obstruct a sliding section, hinge, lock or normal contact point. Before each use, look for looseness, damage or debris that could affect the fit.
- Check that attachments remain fitted as instructed, including after transport.
- Confirm the ladder opens and closes without catching or obstruction.
- Set it on suitable ground, then check that the route up is clear.
- Don’t climb if a component is loose or damaged; follow the maker’s guidance before using it again.
Take extra care after driving on dusty tracks or through sand and mud. Debris can collect around attachment points or moving sections, so inspect these areas before the next climb. If anything shifts, stop and address it according to the product instructions rather than tightening or modifying it by guesswork.
Care for upgrades after outdoor trips
Clean an upgrade using the care instructions for its specific materials. Remove dirt and debris without assuming that a method suitable for one attachment is suitable for another. If the maker directs you to dry the component before packing, allow it to dry as instructed. Store the ladder and accessory in the recommended position so parts aren’t forced against one another or caught during transport.
Build these checks into your camp routine: inspect before climbing, recheck after a change in conditions or transport, and clean and store gear according to its maker’s directions. That steady approach helps our outdoor community look after equipment and avoid carrying damage from one trip into the next. For more context on choosing a tent and setup, explore our rooftop tent guide.
Choose a Rooftop Tent Ladder Upgrade That Fits Your Setup
There’s no single upgrade that suits every rooftop tent or camp routine. Make the choice in sequence: identify the problem you want to address, confirm the accessory fits your ladder, weigh its benefits against added bulk or storage limits, then review the fitting and use instructions. This keeps the decision grounded in your setup, not a broad claim that one option is best for everyone.
- Name your priority. Is the main issue rung comfort, surface feel, ladder reach or support? If the current ladder works for your needs, you may not need an aftermarket accessory at all.
- Confirm compatibility. Match your ladder and rung details with the accessory’s specific fitting information. Don’t assume that a product suitable for one ladder will fit another that looks similar.
- Weigh the trade-offs. Consider whether a wider or covered rung affects packing, folding or storage, and whether the change addresses your actual concern.
- Review use guidance. Read the accessory and ladder instructions, including fitting, inspection, care and any stated limitations.
Match the upgrade to your camping habits
Think about how often you use the tent and how the ladder travels between camps. An attachment that adds comfort may be worthwhile for frequent climbs, but added width or bulk could matter if the ladder needs to fold or stow compactly. If your main concern is grip, a wider step may not be the right match. Consider your routine, available storage and verified compatibility together.
For example, a camper who finds narrow rungs uncomfortable might compare a wider-step attachment with a grip-focused option, then check which one fits and packs as required. Someone whose ladder already feels comfortable may have no reason to add either. The goal is a considered fit, not more gear for its own sake.
Use gear reviews to make a more informed choice
Clear reviews can help compare intended uses, specifications, limitations and manufacturer claims across different upgrade types. Separate claims made by a product’s maker from findings supported by independent testing. If a review doesn’t explain how a claim was assessed, treat it as a claim rather than proof of performance. Check product-specific fit and installation details against the manufacturer’s current instructions before deciding.
Adventurerz publishes outdoor gear guides and recommendations for Australian adventurers, helping readers compare equipment and plan outdoor experiences. Our rooftop tent guide can also help you explore tent formats as you consider your wider setup. Choose an upgrade only when it addresses a real need, fits your ladder and suits the way you camp. That’s a practical way to travel thoughtfully and carry only what serves the trip.
Make Your Next Camp Setup More Intentional
Let your own trips guide the next gear decision. Notice what feels comfortable, what takes extra time to pack, and whether an accessory earns its place in your setup. That small habit can help you avoid buying add-ons just because they’re popular and keep your kit purposeful for the journeys ahead.
Good preparation isn’t about adding more equipment. It’s about choosing gear that fits your vehicle, tent and camping habits, then using it with care. Keep learning as your adventures change, and make room for lower-impact choices that respect the places we’re lucky enough to explore.
For your next equipment decision, browse Adventurerz’s regularly updated reviews and rankings, built around practical outdoor advice and responsible travel. Explore our outdoor gear guides for help comparing equipment and inspiration for the road ahead. The best roof top tent ladder upgrades are the ones that make sense for your setup, so choose thoughtfully and enjoy the climb to your next camp.
Frequently Asked Questions
Can rooftop tent ladder upgrades be used with any footwear?
Not necessarily, because footwear and step design both affect how a climb feels. A wide, flat sole may sit differently on a narrow rung than a flexible shoe, and bare feet can feel hard surfaces more sharply. The best roof top tent ladder upgrades don’t guarantee grip with every shoe or surface. Choose footwear suited to the conditions, place each step deliberately, and follow the ladder and accessory makers’ guidance.
Should a rooftop tent ladder upgrade stay attached while driving?
Only leave an accessory fitted for travel if its maker’s instructions say it can remain attached during transport. A component that seems secure at camp may shift with vehicle movement or interfere with the ladder’s packed position. Before driving, check the accessory guidance and secure the ladder as directed. If the instructions call for removal, stow the part safely so it can’t move around or become damaged in transit.
How should I clean rooftop tent ladder accessories after a dusty or muddy trip?
Follow the care guidance for the specific accessory, since cleaning requirements can vary by product and material. After a dusty or muddy trip, check around attachment points and moving sections for trapped grit or debris. Use only the cleaning approach recommended by the maker, then dry and store the accessory as instructed. Don’t assume a method that worked for another ladder add-on is suitable for yours.
What should I check on a rooftop tent ladder before climbing?
Look over the ladder for visible damage, then check that fitted accessories are secure and that no part appears loose or obstructs normal movement. Confirm the ladder is positioned as its maker directs and that the ground beneath it is suitable. Clear bags, guy lines and other items from the route. If something seems damaged or out of place, pause and follow the manufacturer’s instructions before climbing.
Can children climb a rooftop tent ladder with an upgrade fitted?
An upgrade doesn’t replace adult supervision or the ladder maker’s age and use guidance. Before allowing a child to climb, check that the ladder and fitted accessory are intended for the setup and that instructions permit the use. Stay close enough to supervise, keep the route clear, and discourage rushing or climbing while carrying loose items. If the guidance doesn’t support a child’s use, don’t rely on an accessory to change that.
How can I tell when a rooftop tent ladder accessory needs attention?
Look for visible damage, looseness, unexpected movement or any change that affects how the ladder opens, closes or packs away. Dirt or debris around a fitting can also make it harder to assess whether the attachment is seated as intended. Stop using the accessory if it appears damaged or interferes with ladder movement. Follow the maker’s care or repair guidance rather than improvising a fix.