A light kit’s brand name alone won’t tell you whether it will work in your roof top tent. The most practical 12v lighting ideas for inside a roof top tent start with dimmable 12V LED lighting, powered by a suitable supply. For kits from different brands, match the voltage and make sure the connectors and dimmer or controller are compatible.
A simple setup can provide enough light to get organised without making the whole tent glaringly bright. Dimmable LEDs let you adjust the glow for reading, winding down or finding gear, while waterproof or flexible strips can suit different mounting points and conditions.
Choose a power source, fuse and switch, then plan how to mount the lights and compare strip styles for your tent interior. USB charging can also fit into the setup. Aim for useful light at camp without putting unnecessary strain on your battery.
Key Takeaways
- Choose a power source that suits your lighting load, and fuse the circuit appropriately. If wiring without a 12V Control Box, the materials list calls for a 10 A fuse and fuse holder.
- Plan your light’s position before applying adhesive Velcro or LED strips, since strip lighting can adhere firmly and be difficult to remove.
- Compare single-colour, dual-colour, waterproof and flexible strips to suit your tent layout and how you use light at camp.
- Look for compatible 12V lighting components, including the connectors and dimmer, to build a setup that works together.
- Use dimming to adjust the tent’s brightness, and consider softer amber light for a more comfortable glow at night.
Table of Contents
Fusing and switching the power supply
Dimmable 12V LED strips or bars suit a tent interior because you can adjust their brightness. Strips give fixed, spread-out light; portable lanterns suit flexible placement, while overnight battery capacity depends on light wattage and hours used.
-
Check Light Ratings and Power Draw
Read each light’s voltage, wattage and IP rating before choosing a mounting location. Select a 12V light, then add the connected lights’ power draw and compare it with the supply’s stated limit. For overnight capacity, multiply the total draw by the hours you plan to use the lights; a larger load or longer evening needs more stored energy. An IP rating helps you compare protection for the conditions around your tent.
-
Install a Quick-Connect Power Lead
Choose a lead that matches the light kit’s connectors and the power source, then route it clear of moving tent hinges and pinch points. The described Anderson Connector to DC Plug cable is 14AWG and 6.5 FT long (2 Meters), so check that its connectors suit your setup before connecting. Keep the cable supported and avoid sharp edges; a quick disconnect makes it easier to separate the light circuit when packing.
-
Add Fusing and Switching
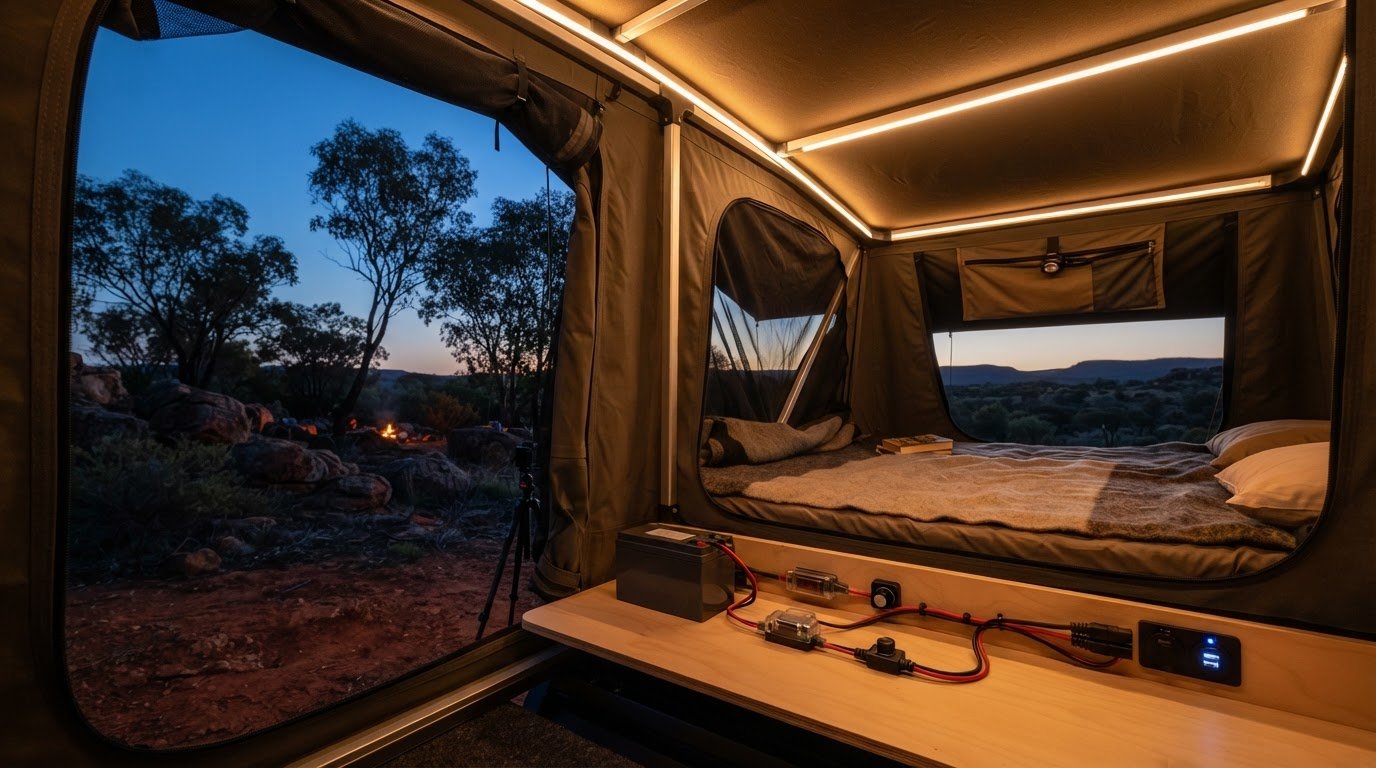
Remove the fuse before electrical work so the circuit isn’t live. In the listed materials, a 10 A fuse and fuse holder are used when a 12V Control Box isn’t fitted; that control box is optional. Follow the wiring instructions: red is positive and black is negative. Add a switch where you can reach it from inside the tent, and keep the combined light load within the power source’s stated limit.
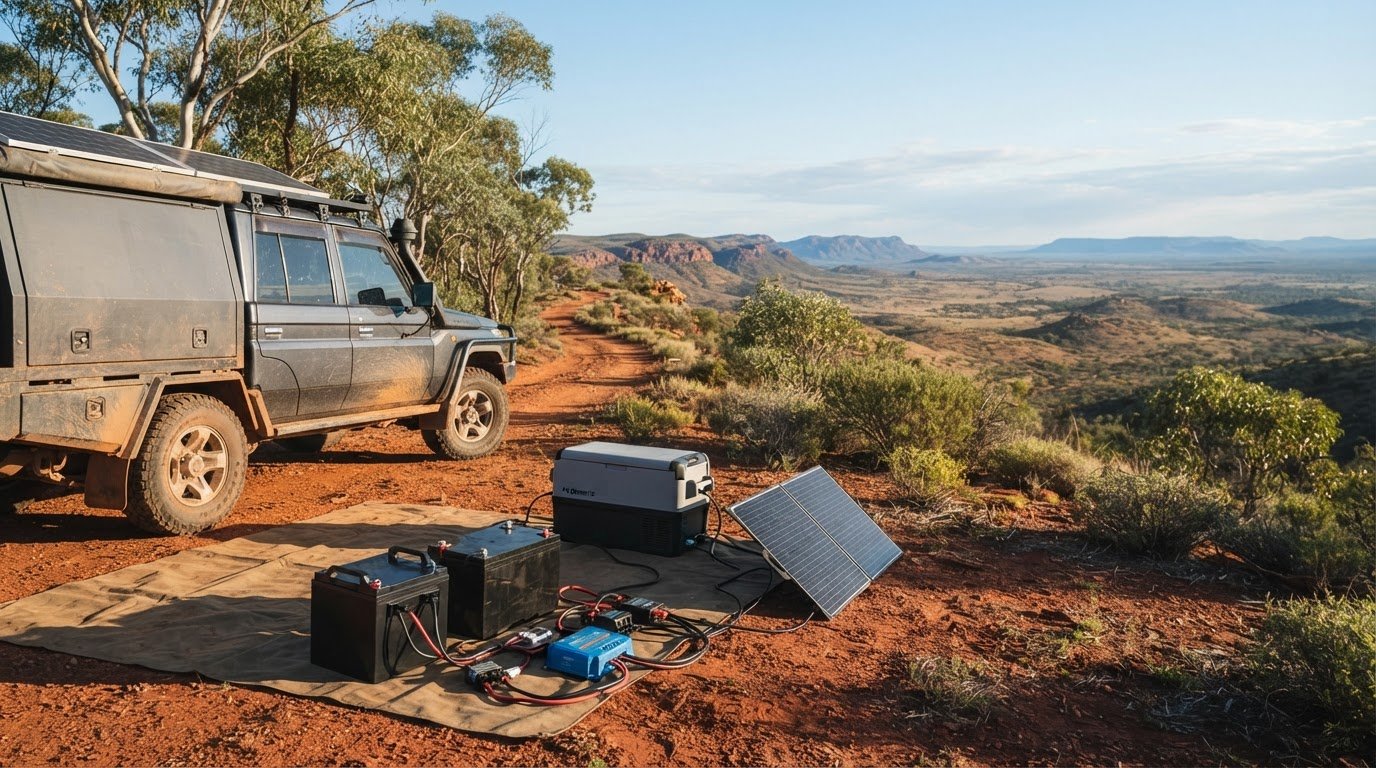
- Choose the supply around how you camp. A factory-fitted vehicle socket is rated at about 120 watts and 10 amps, but connected lights can overload it if their combined ratings exceed its limit. Pushing a plug’s power consumption to its limit can cause heating, potentially damaging equipment or creating danger. A second battery can power camp equipment separately from the starter battery and charge while the engine runs.
- Use a portable power pack or station when you want lighting independent of the vehicle socket. Charge it from mains power before departure, top it up with solar panels, or charge it from the vehicle while travelling. A light-bar kit can provide 1-3 days of continuous lighting from a deep-cycle auxiliary battery, but actual runtime depends on the kit and battery. Compare tent layouts and fit considerations in these roof top tent reviews and recommendations before planning cable routing.
Mounting a camp light with adhesive Velcro
Position lights along a roof edge or upper sidewall, angled down towards bedding rather than directly at faces. This keeps the light out of your line of sight while illuminating the tent floor and gear.
- Choose the mounting surface before applying adhesive Velcro. For example, place a removable light bar along a tent seam or beside the entrance, clear of zips, hinges and packed bedding. Check the position while sitting and lying down. A light shining directly into your eyes can make reading and settling in uncomfortable.
- Prepare the surface before applying the adhesive backing. Wipe a smooth, compatible panel clean and let it dry fully before pressing on the Velcro. Avoid dusty fabric, damp canvas and surfaces that flex sharply, as poor contact can let the light come loose. Follow the adhesive’s application directions and allow it to bond before attaching the light.
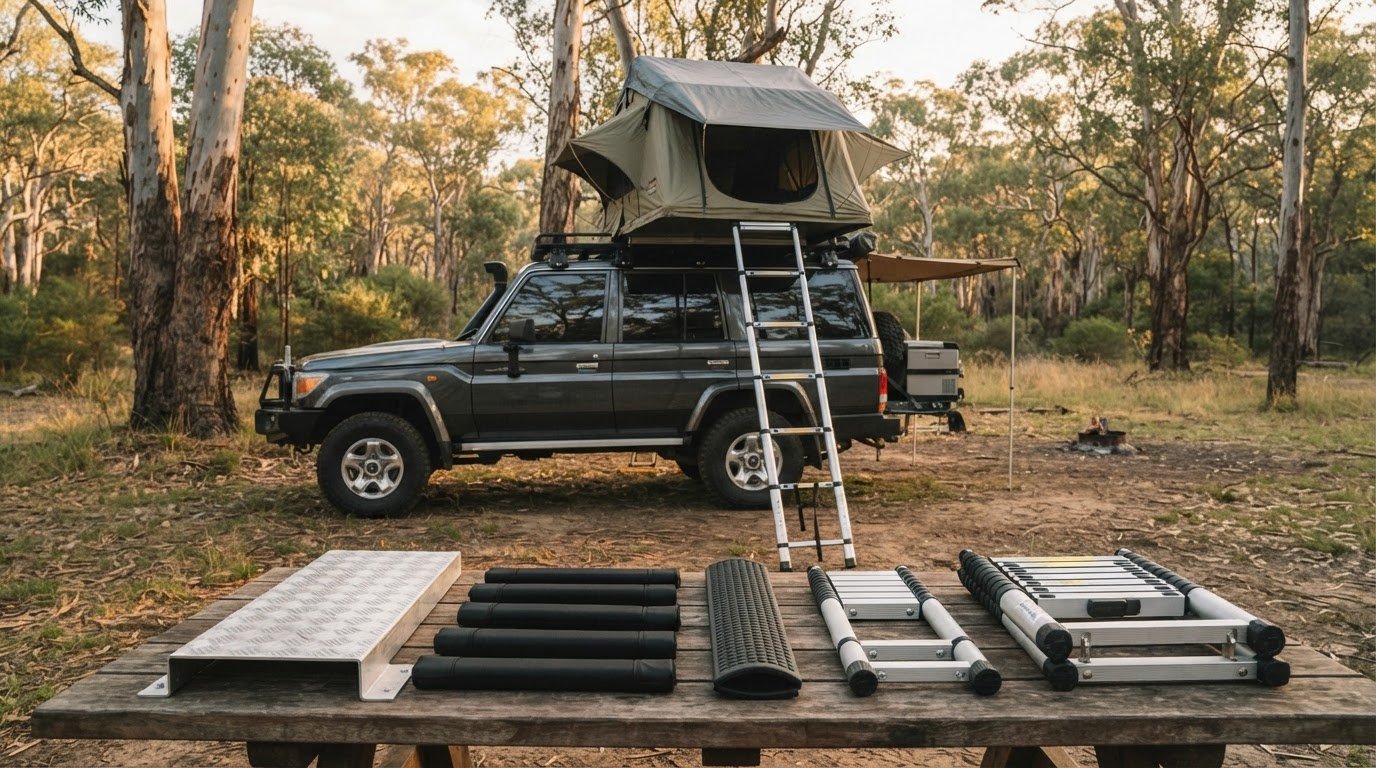
- Use a removable mounting method when you need to take the light down for travel. Adhesive LED strips can attach firmly to an awning or 4WD surface, but they aren’t easily removed. For a camp light you’ll reposition, attach the Velcro’s adhesive side to a suitable smooth backing, then secure the matching side to the light’s casing. Don’t stick adhesive straight onto tent fabric.
- Secure lights to tent or awning poles with pole wraps or reusable straps. Run the light along the pole rather than across an entryway, and keep its cable clear of joints that fold during pack-down. For an awning, mount the strip beneath the outer edge and direct it towards the campsite, not nearby tents or people.
- Keep the power lead short and direct where practical. Voltage drop can reduce the voltage reaching a light, particularly with a long or undersized cable. The effect depends on cable length, conductor size and current draw. Avoid tightly coiling excess cable beside a light, and support connectors rather than letting them hang from the strip.
- Test the complete setup before packing for an Australian trip. Open and close the tent, check that the light stays attached, then switch it on from your usual sleeping position. Inspect the awning mount after extending and retracting the awning. If an adhesive light strip is too firmly attached, choose a pole-mounted or Velcro-secured light instead.
Single-colour, dual-colour, waterproof and flexible strips
- Choose the light colour to suit your main tent tasks. A single-colour strip keeps things simple for finding gear or reading. A dual-colour strip offers more flexibility, such as bright white for sorting equipment and amber for winding down. Amber lighting is generally easier on the eyes at night than bright white. Check that the controller supports the colours and dimming features you want.
- Match the strip’s voltage to the power supply before buying or wiring it. The LED strip lights described for rooftop tent projects operate on 12V, so look for a compatible 12V strip. Compare the strip’s connector and controller with your existing setup, too. A voltage match alone doesn’t guarantee different brands’ plugs or controls will connect or operate together.
- Measure the route before cutting a flexible strip. LED strip lighting can be cut at intervals of about 10 centimetres, so plan the length around those marked cut points. For example, measure a run beside the tent ceiling, then choose the nearest suitable marked point. Cut only where the strip indicates; cutting through an LED or circuit section can stop that section working.
- Choose a waterproof strip based on where you’ll mount it and the exposure it may face. A sheltered tent interior has different conditions from an awning edge exposed to rain and wind. Read the product’s IP rating to understand the protection it describes, and don’t assume that rating makes the strip suitable for every kind of water exposure. Protect joins and cut ends with compatible fittings.
- Use a flexible strip to follow a gentle curve along a tent wall or roof edge. Check its minimum bend guidance, and avoid creasing or twisting it around corners. A straight run is usually easier to mount and route. Keep lights clear of zips, folding seams and places where bedding or stored gear could press against the LEDs.
- Test the strip and controller before fixing the full run in place. Try each colour mode, adjust the brightness if supported, and check that the connectors fit securely. Position the strip so light spreads across the tent without shining directly into your eyes. For an awning, aim the light towards the campsite and keep cables clear of moving parts.
Benefits of integrated LED strip lighting for touring
- Plan a fixed light route around how you use the rooftop tent. A strip along the ceiling edge can spread light across bedding and storage, while a separate bar near the entry can illuminate boots and bags. Fixed lights stay where you need them, so you won’t have to move a loose lantern between tasks.
- Choose a layout that fits the tent’s interior rather than adding light without a plan. Short bars can suit a compact sleeping area, while longer strips can run beside a broader roof panel. Camping light bars start at 25 cm and reach 100 cm, giving touring setups options for targeted or wider coverage.
- Use more than one light position to reduce dark corners. For example, a bar above the entry can illuminate the floor, while a strip along the opposite side lights up gear. A camping light-bar kit can include up to five bars, so plan their positions before mounting and keep each one clear of zips and folding panels.
- Connect tent and awning lighting to match your camp routine. An integrated tent strip handles indoor tasks, while a separate awning run can light cooking or packing outside. For most awning lighting setups, a 60cm or 90cm strip is recommended. Aim it at the work area, not directly toward neighbouring campsites or passing travellers.
- Place controls within reach of your sleeping position. An accessible switch makes it easier to turn off the tent lights before settling down, while a dimmer lets you adjust brightness for reading or finding a headtorch. Keep the control and cable route clear of bedding, door openings and the tent’s folding mechanism.
- Build your touring setup around the gear you already carry. A fixed LED strip can provide consistent light inside the tent, while a portable lantern remains useful outside or during setup. This way, the indoor light can stay mounted while you move a separate lamp around the campsite as evening tasks change.
- Test the complete arrangement during a practice setup before a longer Australian trip. Open and close the tent, check that the strips don’t catch on fabric, and confirm that each area is lit for its intended task. Planning the layout helps avoid unnecessary extra lights and keeps the campsite tidier when you pack up.
Dimmable LED lighting inside a rooftop tent
- Choose dimmable LED strips designed to operate on 12V. A dimmer lets you adjust brightness for different tent activities, from sorting gear to reading before sleep. Check that the strip, dimmer and power supply are compatible; matching voltage alone doesn’t guarantee that separate controls and connectors will work together.
- Position the dimmer where you can reach it from your sleeping area, such as near the entrance or beside the bed, away from zips and folding seams. Test the switch while sitting and lying down. Easy access lets you lower the light without reaching across bedding or disturbing a tent mate.
- Adjust brightness to suit the task. Turn the strip up while arranging equipment, then dim it for reading or settling in. A lower setting can make light feel less harsh in a compact tent. Test the light against pale and dark bedding, as fabric colour affects how bright the interior appears.
- Consider amber lighting for evening use. It is generally easier on the eyes at night than bright white light. If your setup has dual-colour LEDs, switch to amber when winding down and use white for tasks that need clearer detail. Try both modes inside the tent before choosing your preferred setting.
- Plan USB charging separately from the lighting controls. A rooftop tent setup can combine dimmable LEDs with USB outlets for charging phones and tablets. Place outlets where cables won’t cross the sleeping area or catch during pack-down. Keep the light switch separate from charging connections, so you can control the lighting without unplugging devices.
- Check the complete setup before a touring trip. Turn the lights on, move the dimmer through its range, and confirm that every strip responds as expected. Test USB outlets with the devices you intend to charge. Then fold and reopen the tent, watching for pinched cables, obstructed switches or lights that shine directly into the sleeper’s eyes. These 12v lighting ideas for inside a roof top tent work best when you adapt the controls and brightness to your routine.
For an integrated setup, compare rooftop tent reviews and recommendations to consider how each tent’s interior layout could suit your planned light placement. Use these 12v lighting ideas for inside a roof top tent as a guide when planning your own arrangement.
Adventurerz: Roof top tents reviews and recommendations
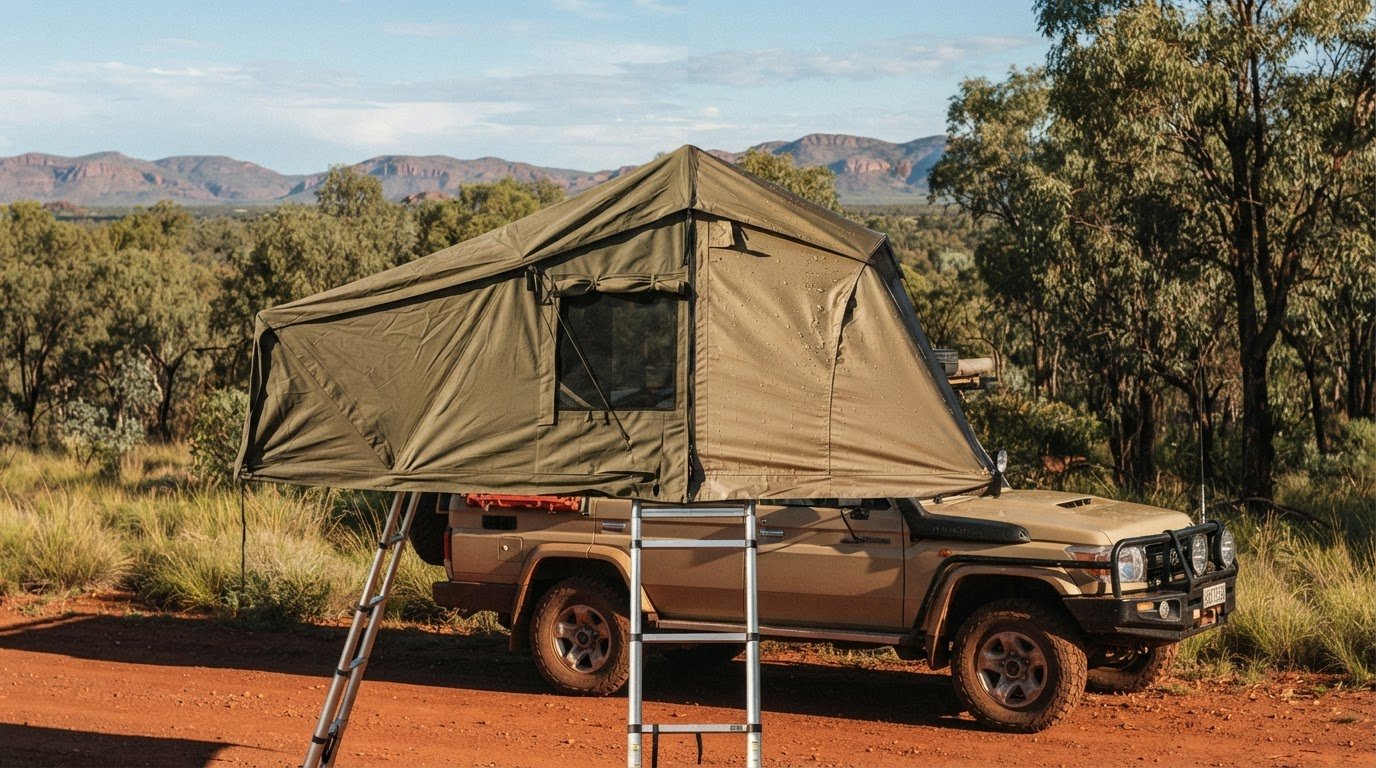
Adventurerz offers roof top tent reviews and recommendations to help you compare options for your touring setup. If you’re choosing a tent to pair with dimmable lighting, consider how its interior layout, usable space and access points may affect where lights and controls can sit. For a broader camp setup, Adventurerz also covers 4WD awnings and camping equipment, helping you weigh how your shelter and gear work together.
Use Adventurerz resources to plan a new setup or refine the one you already have. Explore gear guides and outdoor advice at adventurerz.com.
Make your next camp setup your own
Your lighting plan can grow with the way you travel. Start with the tasks you do most inside the tent, then refine the layout after using it at camp. These 12v lighting ideas for inside a roof top tent are a starting point, not a fixed formula: your tent layout, touring habits and preferred evening routine should guide the final setup.
As you plan the rest of your kit, Adventurerz offers roof top tent reviews and recommendations, alongside reviews and recommendations for 4WD awnings and camping equipment. Use those resources to think about how shelter, storage and lighting work together on Australian trips, whether you’re preparing for a short getaway or a longer remote journey.
Ready to explore your options? Contact Adventurerz about tent lighting and keep shaping a camp setup that suits your next adventure. A little thoughtful planning can make evenings outdoors feel more comfortable and more your own.
Frequently Asked Questions
Are light kits compatible across different brands?
They can be compatible, but the brand name alone doesn’t establish a match. Compare the kit’s voltage, connector type, controller and dimmer requirements with your power supply and other components. For example, two strips may both use 12V yet have connectors that don’t fit the same lead. Check the wiring diagram and product labels together before joining parts, and keep the combined load within the power source’s stated limit.
White or Orange Lights?
Choose white for tasks that need clear detail, such as sorting gear or reading a map. Orange or amber light is generally easier on the eyes at night, making it a useful choice for winding down inside the tent. If you’re choosing a dual-colour light, try both settings in your sleeping space. Tent fabric and reflective surfaces can change how each colour looks and feels.
How many lumens are suitable for lighting a rooftop tent?
There isn’t one lumen figure that suits every rooftop tent. Useful brightness depends on the tent’s interior size, light placement, diffuser and intended task. Compare the lumen ratings of lights you’re considering, then decide whether one evenly spread source or smaller task lights will suit your layout. A bright beam aimed at your pillow can feel harsher than softer light directed towards a wall or ceiling.
What are the best rechargeable and USB 12V tent lights in Australia?
The best option depends on whether you want a self-contained rechargeable lamp or a fixed 12V light with USB charging nearby. Compare light output controls, charging connections, mounting style and the maker’s stated runtime. For a fixed setup, check that the light and power source match. Adventurerz offers camping equipment reviews and recommendations to help Australian campers compare gear categories, but doesn’t sell physical equipment.
How can you install 12V LED lighting in a rooftop tent without drilling?
Use removable mounting methods instead of making holes: secure a light bar with suitable adhesive Velcro, or attach it to a pole with a reusable wrap or strap. Test the position first, keeping the light clear of zips, folding seams and hinge paths. Adhesive LED strips can bond firmly to surfaces and may be difficult to remove, so use them only where you intend to leave them.
How much power do 12V LED strip lights use per hour?
Check the strip’s wattage label; its watt rating indicates power draw while operating, not a universal hourly amount. For energy used over an hour, multiply watts by operating hours; at 12V, divide watts by 12 to estimate current in amps. Dimming can reduce consumption, while brighter settings and longer strips generally draw more. Use the actual strip specification when estimating battery use.
What safety precautions apply to 12V wiring and batteries in a rooftop tent?
Disconnect power and remove the fuse before electrical work. Follow the tent wiring instructions: red is positive and black is negative. Without a 12V Control Box, the listed materials specify a 10 A fuse and fuse holder. Keep wiring clear of hinges and sharp edges, and don’t exceed the socket’s stated limit. A separate auxiliary battery can power camp equipment without risking the starter battery.
How much do rooftop tent lighting options cost in Australia?
Prices for rooftop tent lighting in Australia typically range from $20 for basic USB LED strips up to $150 or more for comprehensive, dimmable dual-colour lighting kits with integrated control boxes. The final cost depends on the quality of materials, length of the LED strips, whether the system includes wireless remote controls, and if you need to purchase a portable power station or auxiliary battery separately.