To reduce wind noise in a soft shell RTT, secure loose straps and fabric, check for missing rubber stoppers at the ends of the roof rack, and test whether a wind fairing or a change in tent position alters the airflow. A bulky packed tent can add drag, but the rack and its fittings may contribute too. Isolate the source instead of assuming the tent is the only cause.
If you’re wondering how to reduce wind noise in a soft shell RTT, start with a few simple checks before changing your gear. The right fix depends on where the airflow catches, so small, methodical adjustments can reveal more than replacing equipment straight away.
This guide explains how to reduce wind noise in a soft shell RTT by checking tent drag, rack turbulence, fairings and setup. You’ll learn what to try first and when another rooftop tent format may be worth considering, so you can make a considered change and focus on the journey ahead.
Key Takeaways
- Trace the noise to the tent, rack or loose fittings before changing your setup; the source can affect which fix is useful.
- Compare tent position and airflow disruption methods to see whether they reduce turbulence around the roof rack.
- Check the cover’s tension and secure straps, buckles and loose fabric to prevent flapping while travelling.
- Consider a wind fairing as an option for redirecting airflow, while keeping your rack and tent arrangement in mind.
- If the noise persists, use rooftop tent reviews and recommendations to compare formats and find a setup that better suits your touring needs.
Table of Contents
- Getting help when noise persists
- Soft-shell rooftop tent drag and wind noise at highway speed
- Using wind fairings to deflect airflow
- How can I tension and secure a soft-shell RTT cover to stop flapping?
- How should RTT straps, buckles and loose fabric be secured for highway driving?
- Adventurerz: Roof top tents reviews and recommendations
Getting help when noise persists
With the vehicle parked, check for loose poles, hinges and mounting hardware. Gently move each component by hand, then inspect clamps and fasteners for movement, contact marks or loose connections.
A noise that remains after a careful setup check needs diagnosis, not guesswork. Note the speed, wind direction and sound location; one traveler reported rooftop-tent noise during a long highway trip, while another owner found it changed with tent orientation.
For a practical demonstration of roof-rack noise checks, watch this video:
Change one variable at a time so each road test gives you useful evidence. If the sound stops after you remove the tent, the tent or its interaction with the rack is implicated. If it remains, inspect the rack, rails and exposed fittings. Note each change and its result.
Use this sequence to narrow down the source:
- With the vehicle stationary, check poles, hinges, clamps and mounting hardware for movement or rubbing.
- Inspect rack-rail ends and confirm rubber stoppers are present; missing stoppers can cause whistling.
- Secure loose fabric and straps, then test the vehicle without changing tent position.
- Adjust the tent’s position only after checking the mounting points, and compare the sound on the same route.
Position can matter. A Jeep JKU owner described a 48-inch tent side facing forward, although the opening faced backwards. Another owner estimated an 8-inch overhang beyond the rack’s rear bar. These examples show why orientation and overhang belong in the inspection, not just the tent’s front-to-back label.
Match the symptom to a likely source. A persistent rattle points to movement; a whistle suggests airflow around a gap or rail end. A broad rushing sound may involve the tent’s profile or position.
| Option | Best clue | Next step |
|---|---|---|
| Hardware inspection | Rattle or contact marks | Check each joint and mount |
| Rail-end check | Whistling near rack | Inspect rubber stoppers |
| Position test | Noise changes with orientation | Compare one adjustment at a time |
Start with a stationary hardware check, then use the sound and your road-test notes to choose between inspecting the rack, adjusting airflow or changing the tent’s position.
One forum poster said the highway noise stopped after removing the rooftop tent. That makes the tent, or its interaction with the rack, a stronger lead than a noise that continues with the tent off, but it doesn’t identify a specific part. Treat removal as a comparison, not a confirmed fix. Note the conditions during the quiet drive, and avoid changing several things before checking whether the sound returns after refitting the tent.
After refitting the tent, check that it sits securely and nothing touches or moves against the rack. If the noise returns, compare the setup with your notes from the quiet drive and make one adjustment at a time. A change in sound can help narrow down the cause; no change suggests inspecting another part of the mounting arrangement. If the source remains unclear, have a qualified rack or vehicle professional inspect the setup rather than continuing to guess. When shopping for gear upgrades with Adventurerz, always ensure your installation matches your specific vehicle and rack configuration to minimize unwanted wind resistance.
Soft-shell rooftop tent drag and wind noise at highway speed
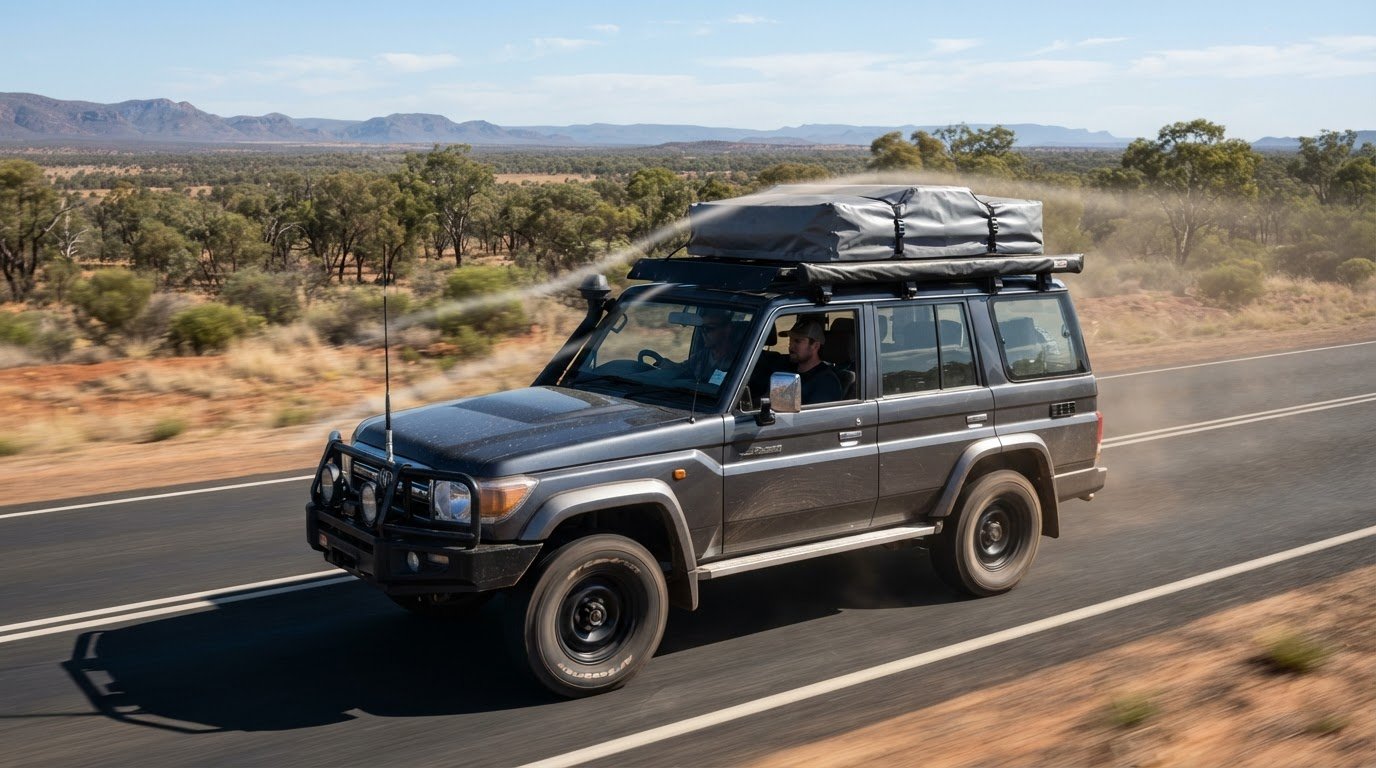
A packed soft-shell RTT has a bulky, rectangular profile that can increase drag and disturb airflow around the windscreen and rack. Compare its shape, mounting position and securement, as each can affect highway noise.
Wind noise depends on the setup, not just the tent category. A soft-shell tent has a bulky packed profile; noise from a hard-shell tent depends on its shape, position and interaction with the rack.
Cover Tension and Strap Security
Tightening the cover and securing the straps directly addresses flapping fabric and loose hardware. It won’t change the tent’s overall profile or redirect airflow like a fairing. Before driving, close the cover evenly, fasten every buckle and secure loose strap ends so they can’t flutter or hit the rack.
Inspect the cover after packing the tent. Uneven tension can leave a loose edge that catches the airflow. This is a useful first check, but it won’t eliminate turbulence caused by the tent’s shape or position.
Risks of Noisy or Poorly Secured Tents
Noise can make conversation and changes in the vehicle harder to hear, while a loose strap or fitting may flap against the rack. A poorly secured tent can shift, strain its mounts and create a hazard for other road users.
Pull over somewhere safe if the sound changes suddenly or a fitting looks loose. Don’t dismiss a loud rattle as an annoyance; inspect the mounting points and securement before continuing.
For Australian roof loading, typical soft-shell tents weigh 40 to 65 kilograms, while hard-shell tents weigh 45 to 95 kilograms. Roof racks usually add 15 to 25 kilograms, and the dynamic roof-load rating for most Australian 4WDs is 75 to 100 kilograms. Compare the combined load with the vehicle and rack specifications, including other gear carried on the roof.
Wind noise is only one factor in choosing a tent. For a useful comparison of formats, review roof top tents alongside your vehicle’s roof-load limits.
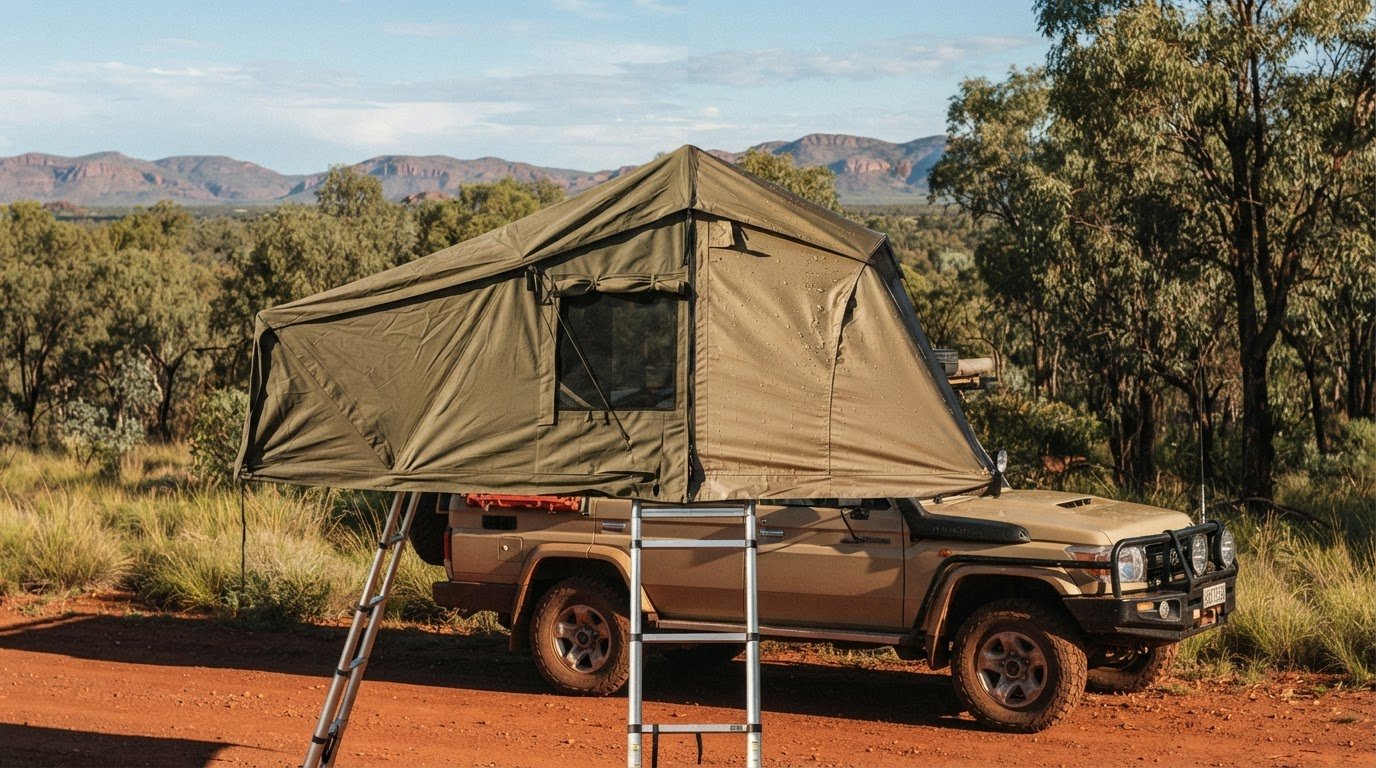
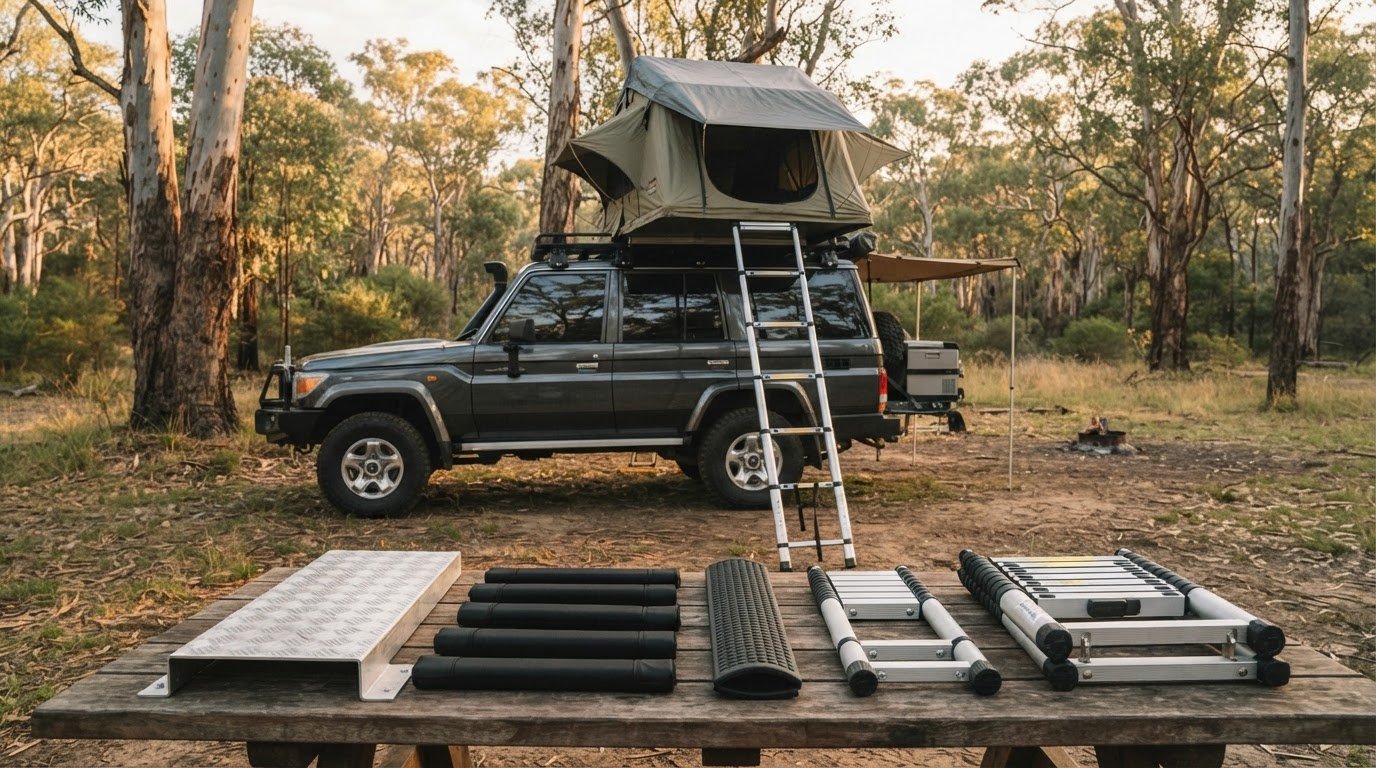
The ladder, windows and vents can affect airflow around a soft-shell RTT. A protruding or loose ladder gives air another edge to catch; fabric around open windows or vents can also move and change the sound. Secure the ladder for travel and tidy loose fabric edges.
There’s no single wind-speed figure that defines safe rooftop-tent use across Australia. Gusts, exposure, shelter and setup all matter. An exposed campsite can have different conditions from a sheltered spot, even nearby.
At highway speed, first check the cover, straps and mounting points. If everything is secure but the rushing noise remains, tent drag or rack airflow may be the bigger contributor. Test one adjustment at a time to see what helps.
Using wind fairings to deflect airflow
A wind fairing changes how air reaches the rack and tent, while straps and covers control loose fabric. First work out whether the sound comes from turbulent airflow or flapping material, then choose the relevant fix.
A fitted cover or storm straps can reduce fabric flapping by holding loose edges in place. They won’t redirect airflow around the tent, so a fairing addresses a different source of highway noise.
At camp, park with the rooftop tent’s hard shell facing into the wind to deflect gusts. This helps manage wind exposure while parked, rather than airflow around a moving vehicle.
Follow the tent and rack manufacturers’ instructions when choosing compatible accessories or changing the setup. Their fitment guidance can help you avoid blocking the tent’s opening mechanism or interfering with mounting hardware.
A specific example is the large Rhino-Rack Pioneer Wind Fairing, model RWFL. It fits platforms 1426 mm wide and weighs 1.3 kg. Match the fairing dimensions to your rack platform before considering whether its placement can redirect air ahead of the tent.
Fit and placement matter. A fairing should sit in front of the area where airflow meets the rack or tent, without blocking required access or contacting fabric. Inspect the mounts after installation, then compare the sound with the fairing fitted and removed.
Run a controlled test instead of changing several parts at once:
- Secure the RTT cover, straps and loose fabric first.
- Record where the noise seems loudest, such as near the rack or tent edge.
- Fit a compatible fairing and repeat the same route at a similar speed.
- Remove or reposition the fairing for a comparison, changing only one factor.
A fairing is most relevant when the cover is secure but rushing or whistling persists around the rack. If a strap still flaps, secure it first; otherwise, the fairing test won’t isolate the effect of changing airflow.
Fairing shape and rack layout influence how air moves around a packed soft-shell tent. A 3-metre tie-down strap twisted into a spiral between rack uprights is another airflow-disruption experiment, but it serves a different role from a fitted fairing. Keep every temporary setup secure and compare results carefully.
Try a fairing when airflow noise remains after securing the fabric and checking fitment. At camp, orient the hard shell into the wind to manage gusts; on the highway, test rack airflow by making one change at a time.
How can I tension and secure a soft-shell RTT cover to stop flapping?
Park the RTT and close the cover fully. Follow the tent manufacturer’s fitting instructions, then check that the cover sits evenly over the packed tent. A loose corner or raised edge can catch air and flap, while uneven tension can leave another section slack. Aim for a smooth, secure fit without forcing buckles or stretching the fabric.
Check the cover methodically rather than tightening one strap as much as possible. At each fastening point, inspect the buckle, strap path and cover edge. If one side is taut while the opposite edge sags, redistribute the tension. A balanced fit helps stop a loose panel lifting into the airflow.
- Park on level ground and close the RTT cover according to its instructions.
- Seat each buckle fully, then draw its strap snug against the packed tent.
- Move around the cover and compare tension across opposite sides.
- Tuck away loose strap tails so they can’t whip against the cover or rack.
- Press gently along the cover edges and refasten any section that lifts.
Don’t pull a strap until the fabric strains or the buckle twists. The aim is to remove slack, not crush the tent or distort its cover. If a buckle won’t sit straight, release the tension and correct the strap path before fastening it again. Follow the tent maker’s instructions if the cover has a specific closing sequence.
Look for spots where fabric can flap, not just loose buckles. Inspect corners, seams and the area around the opening, where folds can leave fabric exposed. Smooth any folded edge and check that it stays in place when the cover is closed. Attend to a worn or damaged strap before travel; extra tension won’t fix a failed fastening.
Once the cover is secure, check each strap tail and buckle by hand. Gently move the packed tent and look for cover movement, rattling hardware or loose material touching the rack. If anything shifts while parked, correct it before driving. Keep this check separate from airflow adjustments so you can tell whether better cover tension changed the sound.
For a road test, choose a familiar route and listen for flapping after completing the initial checks. If the noise continues, pull over safely and inspect the same edges again. A cover that stays smooth while parked but flaps at speed may be catching airflow at a particular corner. Adjust one fastening point at a time and compare the result. Avoid improvised tie-downs that could rub against fabric or interfere with the RTT’s mounting hardware.
How should RTT straps, buckles and loose fabric be secured for highway driving?
Incorrect installation is the most common cause of noisy roof racks. Before a highway trip, treat every RTT strap, buckle and loose fabric edge as a separate inspection point. A secure cover can still make noise if a strap tail lashes against the rack or a buckle sits crooked.
Start with the tent closed and packed according to its instructions. Trace each strap from its anchor to its buckle, checking that it lies flat and follows the intended path. Seat each buckle fully, then remove slack without over-tightening. A twisted strap can wear unevenly or pull the buckle out of alignment.
- Check the strap anchors for secure attachment and visible damage.
- Fasten each buckle and confirm its halves sit together properly.
- Pull loose strap tails through their retainers or secure them against the strap.
- Fold loose fabric away from exposed airflow, rack bars and moving hardware.
- Walk around the vehicle and repeat the inspection from every side.
Pay particular attention to strap tails near the front and sides of the tent. Airflow can lift an unsecured end, making it whip against the cover or rack. Tuck it neatly without trapping fabric in a buckle. If the tail keeps escaping, use the tent’s intended retention point rather than tying it around another fitting.
Check contact points too. A buckle resting against a rack bar can tap or rattle as the vehicle moves. Reposition the strap within its designed route so the hardware sits clear while the tent remains firmly secured. Don’t remove or bypass a fastening point to silence the noise.
Inspect loose fabric around the cover corners, seams and closure. Smooth any exposed flap, then make sure zips or other closures are fully engaged. Keep excess fabric clear of the mounting hardware and rack so it doesn’t prevent a stable fit. Follow the tent maker’s instructions if the closure has a specific order.
Once the setup looks tidy, firmly check each accessible strap and buckle by hand. If anything shifts, correct it before driving. If a new flapping or rattling sound starts on the road, pull over safely and inspect the same points. Instead of tightening everything at random, check for a changed strap position that could reveal the source.
Use this inspection alongside guidance for your RTT setup. Compare rooftop tent setups to consider how tent design and mounting arrangements affect your touring choices.
After a final walk-around, keep the tent’s intended strap routing and retainers in place. The aim is to stop loose ends or hardware from shifting, not to alter the fastening arrangement. If the sound remains after these checks, one forum member suggested reducing speed or driving in the slipstream behind a semi-trailer.
Treat that as a suggestion, not a reason to leave a fastening issue unchecked. If a new sound starts or anything seems displaced, pull over safely and inspect the relevant anchor, buckle or fabric edge. Correct the problem before continuing, and keep the tent secured according to its fitting instructions.
Adventurerz: Roof top tents reviews and recommendations
Adventurerz publishes roof top tent reviews and recommendations to help you compare tent formats, mounting considerations and features relevant to touring. Use these guides when weighing whether to adjust your current setup or choose a different tent for your Australian trips.
Use the information alongside your vehicle’s roof-load limits and the tent manufacturer’s fitting instructions. Comparing rooftop tent options can help you focus on practical factors such as packed shape, setup and how each tent suits your travel style. Adventurerz also covers 4wd awnings, camping equipment and hiking equipment, helping us plan thoughtfully for time outdoors.
Visit adventurerz.com to explore rooftop tent reviews and recommendations.
Make your next setup choice with confidence
Let your next trip guide your gear decisions. Before changing your setup, consider what matters most to your crew: a quieter cabin, a compact roof profile or an easy transition from highway to camp. That priority gives you a clearer basis for comparing options and helps you avoid replacing equipment without a reason.
If you’re deciding how to reduce wind noise in a soft shell RTT over the long term, consider whether your current tent suits the way you travel. Adventurerz shares roof top tent reviews and recommendations, alongside 4wd awnings and camping equipment reviews and recommendations, to support practical choices for Australian adventures.
Explore the guides, compare your options, and choose the next step that fits your vehicle and touring plans. Contact Adventurerz for help finding relevant outdoor guidance.
Keep exploring thoughtfully, and enjoy the quieter moments on the road ahead.
Frequently Asked Questions
What causes wind noise in a soft-shell rooftop tent?
Wind noise usually comes from disturbed airflow or parts vibrating as air passes the vehicle. A packed tent changes the airflow over the roof, while a loose cover edge, strap, rack fitting or missing rail-end stopper can cause flapping or whistling. To work out how to reduce wind noise in a soft shell RTT, note whether the sound is a rush, whistle or rattle, since each points to a different possible source.