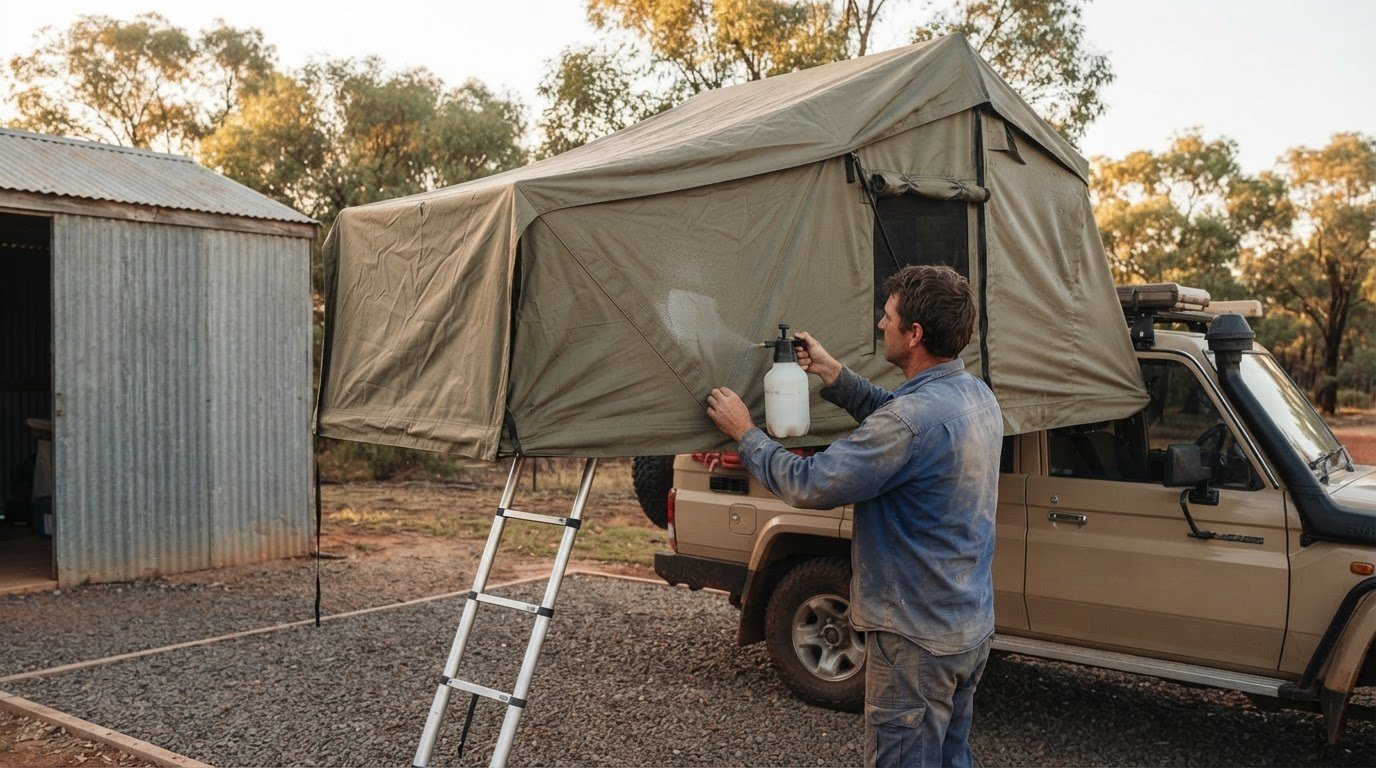
You may not need a chemical treatment to make a canvas roof top tent weather-ready. Seasoning means wetting new canvas and letting it dry so the stitching constricts. Re-waterproofing a canvas roof top tent means applying a suitable proofing treatment to dry fabric when its water resistance needs restoring.
It’s easy to assume that any damp patch calls for more waterproofing, but moisture can also come from condensation or water entering through openings. Newly seasoned canvas may also need time to dry thoroughly before you can tell how well it sheds rain.
We’ll explain what seasoning does, how it differs from chemical waterproofing, and how to protect canvas from sun, dirt and damp storage. You’ll also learn how to assess whether a proofing treatment is needed, apply it carefully and store your tent dry between trips. This helps you keep your gear ready for Australian conditions without treating the canvas unnecessarily.
Key Takeaways
- Learn how seasoning helps new canvas shed water and why it differs from applying a chemical proofing treatment.
- Let canvas dry completely before applying waterproofing treatment, then test a small area once the treatment has dried or cured.
- Reduce wear by limiting exposure to sun, dirt and rubbing, and set the tent roof so water can run off instead of pooling.
- Store the tent only when it’s fully dry to help prevent mould from developing in packed fabric.
- Before reproofing, look for signs of water passing through the canvas and consider whether condensation or an opening could explain the moisture.
Table of Contents
What Does Seasoning and Waterproofing Canvas Mean?
Seasoning uses water and drying to help new canvas stitching constrict; chemical waterproofing adds a treatment. For an older tent, re-waterproofing a canvas roof top tent means treating clean, completely dry fabric when its water repellency needs attention.
Prepare the Canvas for Treatment
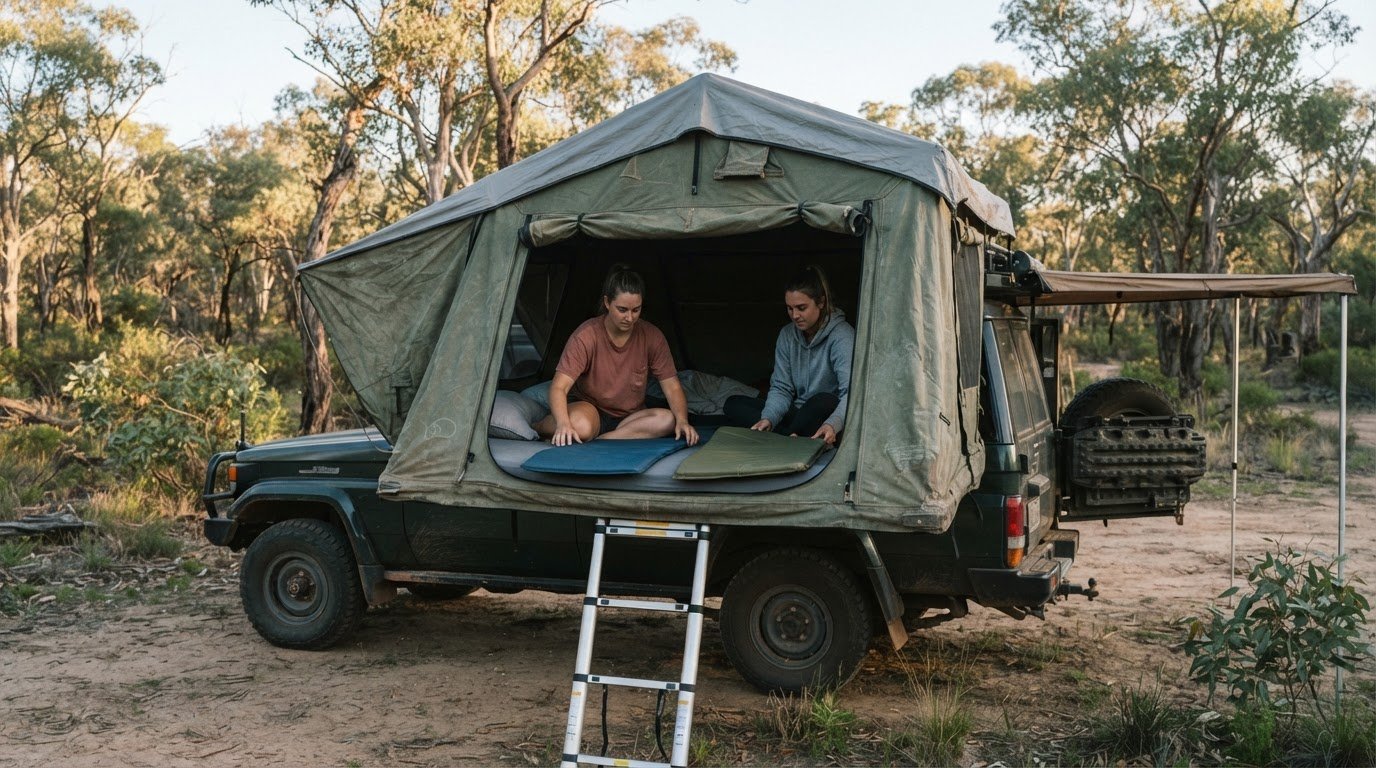
Set up the tent and clean the canvas before applying any treatment. Remove dirt that could prevent even coverage, then let the fabric dry completely. Never apply waterproofing treatment to wet canvas. To season new canvas, wet it thoroughly and let it dry while the tent remains pitched. Some procedures recommend a third soak.
Assess Whether Chemical Treatment Is Appropriate
Check how water behaves on the canvas before applying a coating. If it beads and runs off, extra treatment may be unnecessary. If it soaks into clean, dry fabric, a canvas-compatible product may help. Seasoning and chemical proofing aren’t interchangeable: seasoning helps stitching constrict, while a treatment adds water repellency. Consider the tent’s care instructions and existing finish before choosing.
- Choose a dry window and follow the treatment label. Canvas must be completely dry before application, and rain during curing can interfere with the result. For seasoning, a suggested start is 7 or 8 AM on a hot, sunny day with a 0% chance of rain. Those conditions are for seasoning, not a universal chemical-treatment rule.
- Use a product whose label says it suits canvas, and apply it according to its coverage directions. The quantity depends on the tent’s fabric area and the product’s stated coverage, so there’s no universal amount. In Australia, cost depends on the treatment and quantity; a price is given after a quote request.
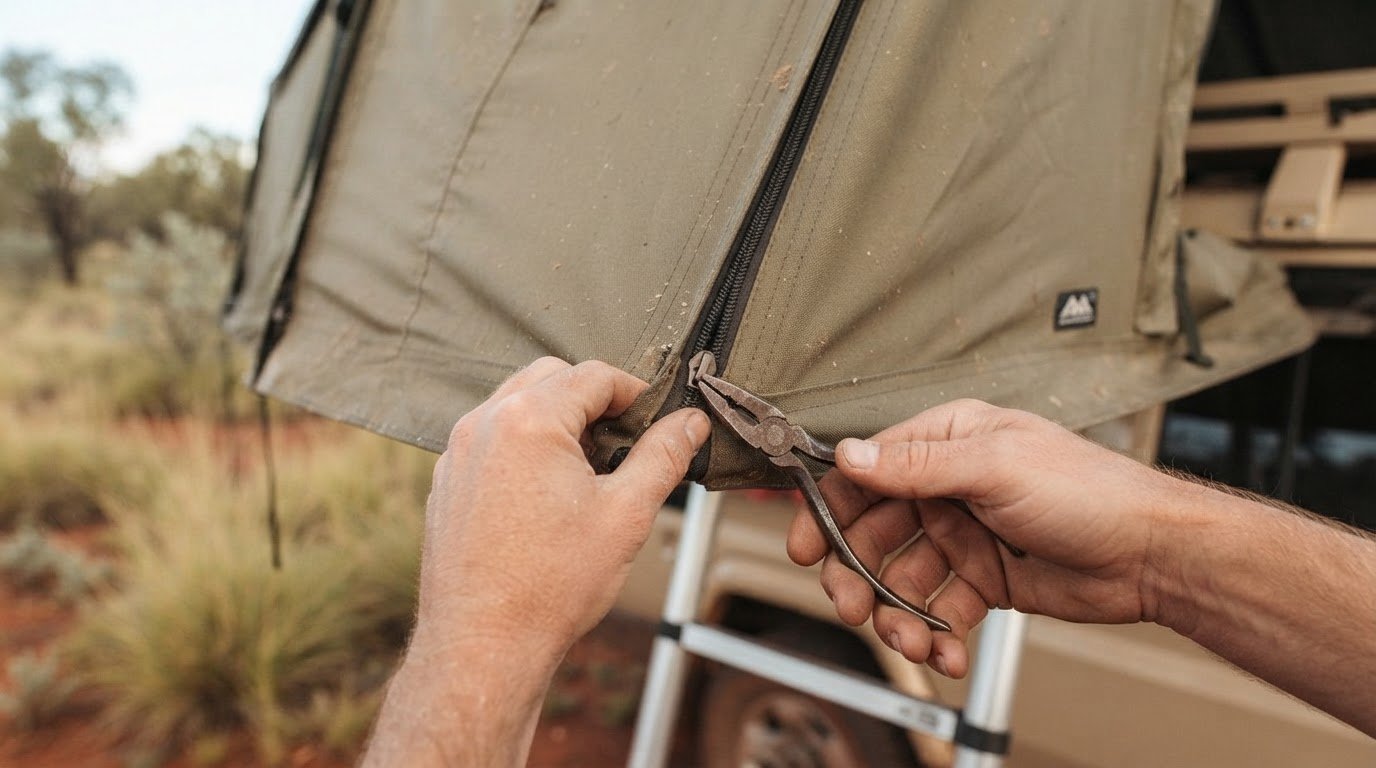
- Pay attention to seams and stitching, where needle holes can let water through. Apply a suitable treatment to these areas as directed on the label. Don’t flood the fabric or assume a general-purpose spray will work. An incompatible product may affect the finish or water repellency, so avoid anything not labelled for canvas.
- Let the treatment dry or cure fully before testing it. Then place a small amount of water on an inconspicuous patch. The water should bead and roll away. If it soaks in, don’t apply another coat to damp fabric. Let the canvas dry and follow the product directions before deciding whether to apply more.
- Plan application around dry conditions that allow the canvas to remain dry throughout curing. Follow the product’s stated drying conditions, and keep the tent pitched while it dries. For treated canvas, allow thorough drying; one recommendation is at least 24 hours. That time is a drying guide, not a substitute for the treatment label.
Canvas protection from UV, moisture and contaminants
Protect tent fabric on every trip, not only when water stops beading. Sun exposure, rain, dirt and regular use can wear away durable water repellent coating, according to Nikwax.
- Choose a sheltered campsite position when possible. Direct sun can contribute to wear, so use natural shade without pitching beneath unstable branches. At exposed camps, keep setup time practical and pack the tent away when it’s no longer needed. A tarp rubbing against canvas can abrade the fabric and eventually contribute to leaks, so leave space between them.
- Keep rain moving off the roof instead of letting it collect. Set up the tent with a taut, even roof and no indentations where water can pool. Check the fabric after adjusting the poles or tension, since a sag can create a low spot. If rain makes the canvas sag, don’t press or lift it with your hand or fingers. Contact can weaken waterproofing and contribute to leaks.
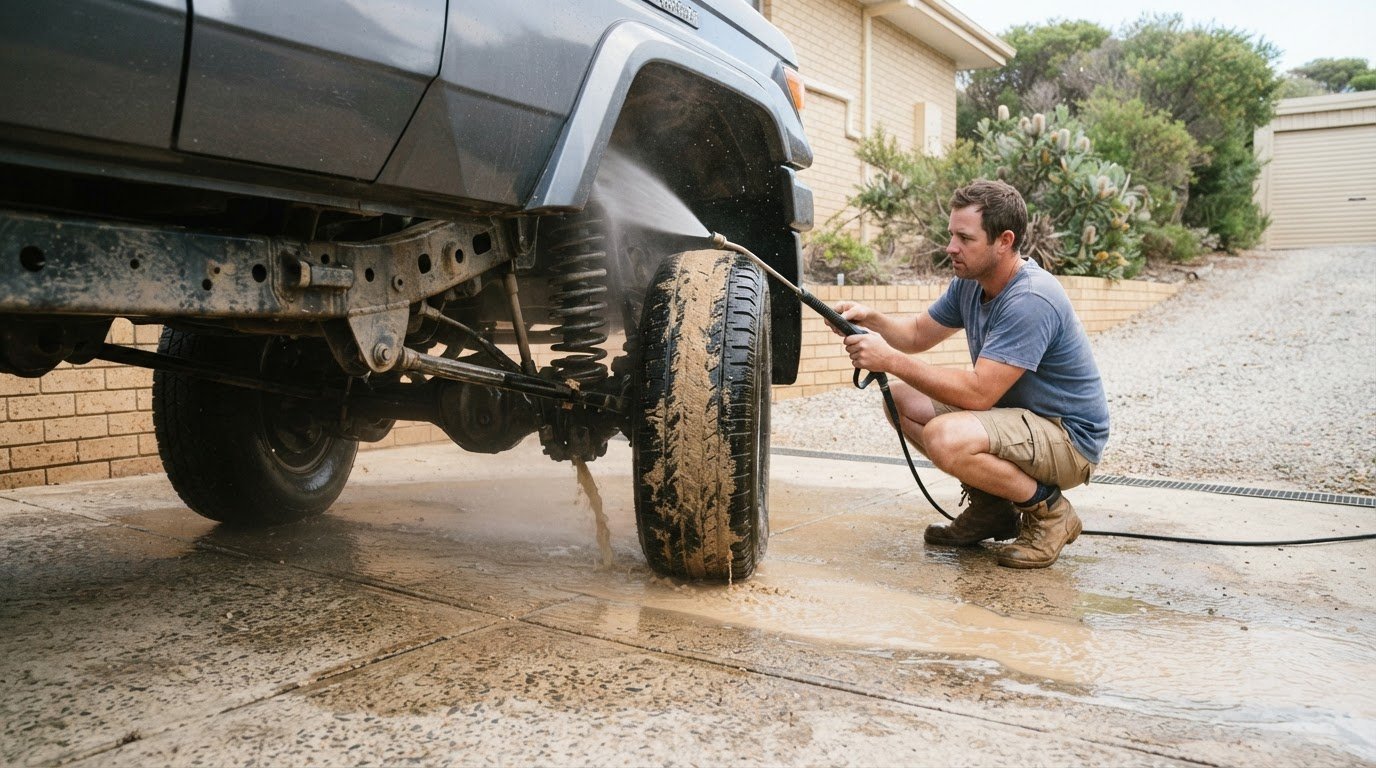
- Remove dirt and other contaminants before they build up. After a dusty track or muddy campsite, gently brush loose debris from dry canvas without grinding grit into the weave. Clean soiled areas using a method suitable for the tent fabric, and avoid harsh products that could affect its finish. Let the canvas dry fully before folding or covering it.
- Inspect areas where friction concentrates. After each outing, check corners, seams, tie-down points and areas near straps, especially if gear or a cover has rubbed against them during travel. Look for scuffing, thinning or persistent damp patches. Reposition straps and nearby equipment to prevent repeated contact; a rubbing tarp or loose item can wear canvas over time.
- Match maintenance to how often the tent sees the track. For an infrequently used canvas tent, reproofing at least once a year is recommended. A continuously used canvas tent may need reproofing three times a year. Treat these as different use patterns, not a reason to coat fabric automatically: inspect the surface and follow the treatment label. For broader setup considerations, explore these roof top tent recommendations.
Dry storage to help prevent mould
Dry every canvas surface after a trip, before folding or storing the tent. Even seasoned or treated fabric shouldn’t be packed damp.
- Open the tent fully after returning from camp, including its doors, windows and any fabric layers. Check sheltered areas such as folds, corners and seams, where moisture can linger after the exposed roof feels dry. Let air reach both the inside and outside surfaces. If rain or dew has dampened the canvas, keep it pitched until those areas are dry to the touch.
- Allow extra time for the tent to dry before packing it away. One recommendation is to hang a canvas tent to dry for at least a week before storage. This is a cautious approach, especially after wet weather or a trip where the canvas stayed folded. Check the fabric again before packing: a dry outer surface doesn’t mean tucked folds are dry.
- Fold the tent only after its final drying stage. One recommendation allows folding at around 6 PM after a day of drying, but use the fabric’s condition as your guide. Check the underside, seams and areas that rested against the vehicle. If any section still feels damp, leave the tent open and continue drying rather than trapping moisture inside.
- Choose a storage spot that stays dry, and keep the packed tent away from damp ground or surfaces. Store it where air can circulate instead of pressing it into a tightly packed, moist corner. Check the cover and attached fabric before storage, too. A dry roof can still be packed beside damp accessories, trapping moisture with the canvas.
- After storage, unpack and inspect the tent before your next trip. Check folds and seams for musty odours, visible mould or dampness. If you find moisture, open the tent and dry it thoroughly before packing it again. Waterproofing treatment doesn’t prevent mould: never pack or store canvas while it’s damp, whether it has been seasoned or proofed.
Treat the suggested week as a practical drying window. Keep the canvas hanging, then check for lingering dampness before putting it away rather than relying on elapsed time alone.
How to identify when canvas needs reproofing
Don’t assume every damp patch means the canvas is leaking. Condensation and water entering through openings can leave moisture inside even when the fabric still repels rain.
- Inspect the tent after rain and note where moisture appears. Check the inside roof, walls, floor edges, doorways and window closures. A small damp area near an open window suggests a different source from water across an exposed canvas panel. Record the location and conditions so you can compare them during the next wet setup.
- Look for a pattern before reaching for treatment. Moisture across a broad section of canvas may indicate weakened water repellency, while a trail beneath a window or doorway points to an opening. Check whether the wet patch is below a seam, fastening or spot where water could collect. Comparing its location with the tent’s construction can help narrow down the cause.
- Check for condensation separately. Moisture on several interior surfaces, especially without a clear entry point, may come from condensation rather than rain passing through the canvas. Look for droplets on the inside roof and nearby fabric, then consider whether ventilation was limited. A chemical coating won’t solve moisture caused by humid air inside the tent.
- Inspect the outside fabric when it’s dry. Look for scuffing, thinning, dirt buildup and areas exposed to repeated rubbing. These signs can help explain uneven water behaviour, but dirt can also interfere with assessment. Clean the affected area using a fabric-safe method, let it dry, then observe how water behaves on that patch.
- Test a small, inconspicuous area with water once the canvas is clean and dry. If water beads and rolls away, the fabric is repelling water there. If it soaks in, consider whether that spot needs proofing, then compare it with nearby canvas. One test can’t explain water entering elsewhere, so inspect seams and openings before treating the whole tent.
- Use your observations to decide what to do next. If water passes through clean, dry canvas, follow the tent’s care instructions and use a treatment suitable for its fabric. If dampness traces back to condensation or an opening, address that source instead. Reproofing canvas won’t close an open window or change airflow inside the tent.
Canvas seasoning versus chemical waterproofing
Seasoning and chemical waterproofing work differently. If choosing a water-based or silicone-based treatment, select only a product labelled suitable for your tent’s canvas and follow its instructions. Compatibility matters more than the product’s base alone.
- Identify the canvas before choosing a maintenance method. New cotton canvas can be seasoned by setting up the tent, thoroughly wetting the outside and letting it dry. As the canvas dries, its stitching constricts and helps limit water entry. Seasoning doesn’t involve a chemical coating, so don’t treat the two methods as interchangeable.
- Use seasoning as an initial process for suitable new canvas. Wet the fabric evenly, then let it dry completely while the tent is pitched. Some canvas may need another seasoning after two or three months. Follow the tent maker’s care instructions, since fabric construction and existing treatments affect the right approach.
- Consider chemical waterproofing only when the canvas needs added water repellency. If clean, dry fabric absorbs water instead of shedding it, a compatible treatment may be appropriate. Seasoning helps the stitching constrict; chemical proofing adds a treatment to the fabric. Neither method repairs worn, torn or damaged canvas.
- Check treatment compatibility before opening or applying a product. Read its label for canvas suitability and directions for preparation, coverage and drying. Don’t assume a spray made for another material will suit cotton canvas. If the tent maker specifies a care method, use that guidance rather than combining products or applying an unlisted coating.
- Keep a simple maintenance record after each treatment. Note whether you seasoned the canvas, applied a proofing product, or did both, then record how water behaved during the next wet-weather setup. Follow the tent’s care instructions to determine whether and when seasoning is needed. Use the tent’s care directions alongside this schedule.
- Test the result before relying on the tent in the field. Once the fabric is dry and any chemical treatment has cured, place water on a small area. Beading and runoff indicate repellency at that spot; soaking suggests the surface needs closer assessment. Check another area, too, because wear can vary across the roof.
- Don’t treat anecdotal longevity as a maintenance schedule. Some canvas tents have reportedly remained waterproof for many years without chemical proofing, but fabric, exposure and use differ. Base your decision on the tent’s care instructions and observed water behaviour, not another owner’s experience alone.
Choose a water-based or silicone-based waterproofing treatment only if its label says it is suitable for your tent’s canvas. Follow the product directions and the tent maker’s care guidance. Don’t assume a spray made for another material is compatible.
Adventurerz: Roof top tents reviews and recommendations
Adventurerz offers roof top tent reviews and recommendations to help you make informed gear decisions for Australian trips. If you’re considering a tent’s canvas care needs alongside its setup and intended use, these resources can help you weigh what matters before choosing your next touring setup.
Good maintenance starts with understanding your fabric and following its care instructions. Pair that know-how with thoughtful gear choices to prepare for changing conditions on the track. Explore Adventurerz’s roof top tent recommendations as you plan your next camp.
Explore Adventurerz’s roof top tent reviews and recommendations to help plan your next outdoor adventure.
Get set for your next camp
Make your next trip a chance to learn how your tent handles the conditions you encounter. Keep a simple care record, note where water appears, and use those observations to guide future maintenance. This can help you avoid unnecessary treatments and make informed gear choices before heading into changing Australian weather.
If you’re weighing up equipment for future trips, Adventurerz offers roof top tent reviews and recommendations, along with reviews and recommendations for 4WD awnings and camping equipment. Use those insights alongside your tent’s care instructions as you plan a setup that suits the way you travel.
For practical guidance on re-waterproofing a canvas roof top tent or choosing gear for your next adventure, contact Adventurerz for tent advice. Keep exploring, care for your equipment thoughtfully, and enjoy the journey ahead.
Frequently Asked Questions
How often should I reproof my canvas tent in order to keep it waterproof?
For a canvas tent used infrequently, reproof it at least once a year; for a tent in continuous use, treatment is recommended three times a year. Use the tent’s condition and care instructions to guide maintenance between those intervals. If a tent spends long periods in storage between trips, inspect its water repellency before setting out rather than applying treatment automatically.
How do you re-waterproof a canvas rooftop tent step by step?
Set up the tent, remove dirt and let the canvas dry fully. Choose a waterproofing product labelled for canvas, then apply it as directed, paying attention to seams and stitching. Allow the treatment to dry or cure according to its instructions. Test a small patch with water before packing the tent: beading and runoff indicate repellency at that spot. Avoid treating wet fabric or mixing products.
How do you clean and prepare canvas before re-waterproofing?
Brush away loose grit and remove dirt using a cleaning method suitable for the tent’s canvas. Focus on dusty folds, seams and areas around straps, where debris can cling. Rinse away residue if the cleaning method calls for it, then leave the tent open until the fabric is completely dry. A clean, dry surface helps the treatment reach the fabric evenly rather than coating dirt.
How often should a canvas rooftop tent be re-waterproofed?
Use the tent’s pattern of use as your guide: reproof a canvas tent used infrequently at least once a year, and treat one in continuous use three times a year. Frequent exposure and use can wear water repellency faster. Track trips and inspect the fabric after heavy use, so maintenance reflects actual exposure rather than a calendar reminder alone.
How can you test whether a rooftop tent is leaking or needs re-waterproofing?
Set up the tent and note where moisture appears during rain. Water inside can come from condensation or openings, not just canvas leaks. Once the fabric is clean and dry, test a small, inconspicuous area with water. Beading and runoff indicate repellency there; soaking suggests that patch needs closer attention. Compare the wet area with nearby seams, windows and doorways to pinpoint the likely entry route.
How long should a rooftop tent dry after cleaning and waterproofing?
After treatment, leave the tent pitched to dry thoroughly for at least 24 hours, then follow the product’s instructions for its full drying or curing time. Cleaning also requires complete drying before treatment begins. Check folded areas, seams and the underside, not just the outer roof. If any canvas remains damp, keep the tent open; packing it wet can trap moisture and encourage mould during storage.
What waterproofing products are suitable for canvas rooftop tents in Australia?
Choose a treatment labelled suitable for canvas and follow its coverage and application directions. Avoid products not labelled for canvas, as they may affect the fabric’s finish or water repellency.