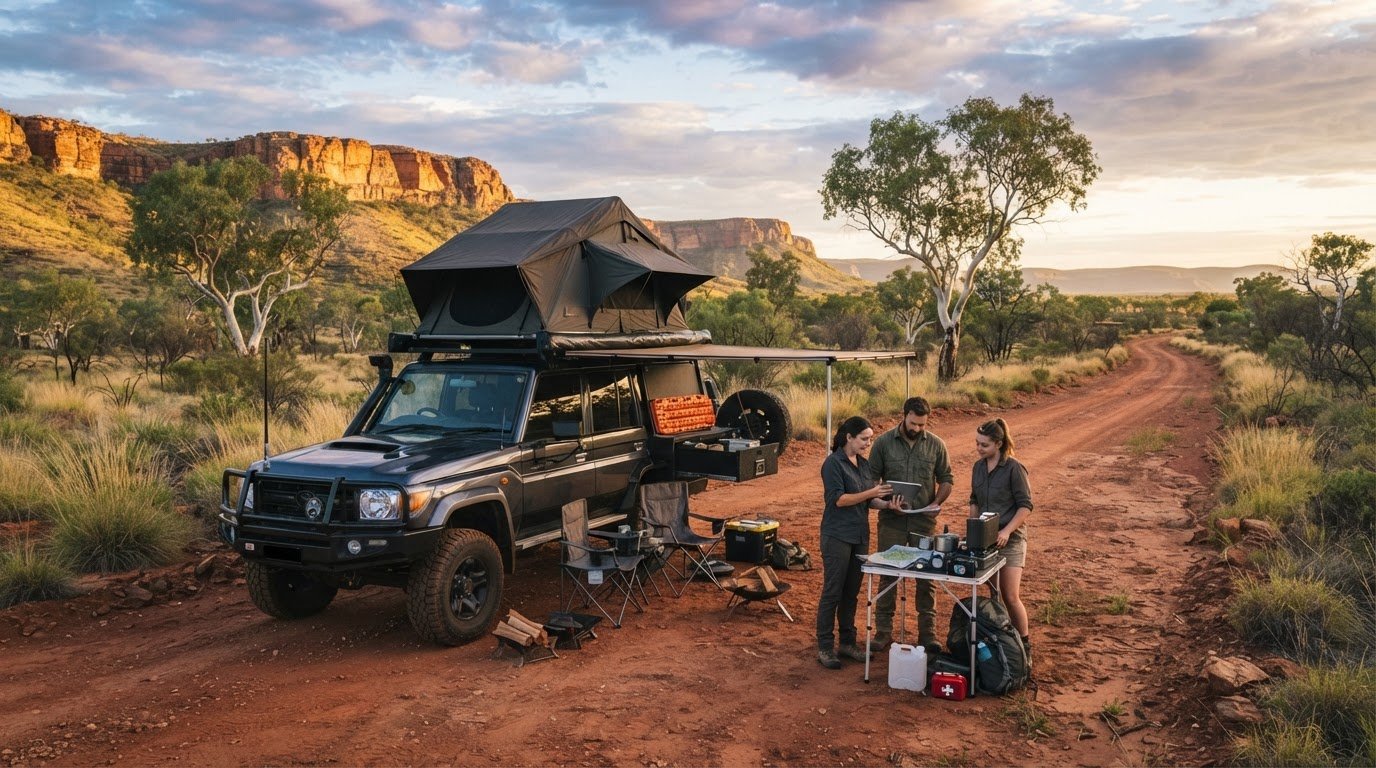
What if that 70kg investment on your roof isn’t just a comfortable bed, but a structural liability waiting for the first gust of highway wind? It’s a question that haunts every member of our community during those initial kilometers of a remote expedition. We understand the gut-wrenching worry of a tent shifting at 110km/h or the fear of permanently buckling your vehicle’s gutters. Mastering your setup is about more than just tightening bolts; it’s about treating your vehicle and gear as a single, aerodynamic system. By identifying the most common DIY roof top tent installation mistakes to avoid, you protect your vehicle’s warranty and ensure your setup remains rattle-free across the toughest Australian terrain.
We’ve compiled this expert checklist to help you navigate the technical hurdles of modern roof load ratings and 2026 ADR compliance. You’ll learn how to achieve a secure, sustainable installation that minimizes fuel consumption and respects our shared natural environments. We’re diving into fifteen critical errors that even experienced overlanders often overlook. From weight distribution secrets to the nuances of mounting hardware, this guide provides the roadmap for a safe and successful build. Let’s get your rig ready for a lifetime of responsible exploration without the stress of mechanical failure.
Key Takeaways
- Understand the vital difference between static and dynamic load ratings to prevent structural failure. We’ll explain why your 2026 manual likely requires an off-road weight reduction factor.
- Protect your rig from coastal corrosion by selecting high-grade mounting hardware. We’ve found that choosing stainless steel is a non-negotiable step for our community’s long-term gear durability.
- Eliminate the “wind sail” effect by mastering precise alignment and clearance. We’ve mapped out the DIY roof top tent installation mistakes to avoid to keep your fuel consumption low and your drive rattle-free.
- Implement the “First 100km” rule and specific torque settings for total peace of mind. Your first drive should be a controlled test of your setup’s integrity rather than a gamble on the highway.
- Ensure your equipment remains an environmental asset rather than a liability. We’ll guide you on preventing mold and fabric rot to extend the life of your gear through responsible maintenance.
Table of Contents
Miscalculating Vehicle Load Ratings: The #1 Safety Error
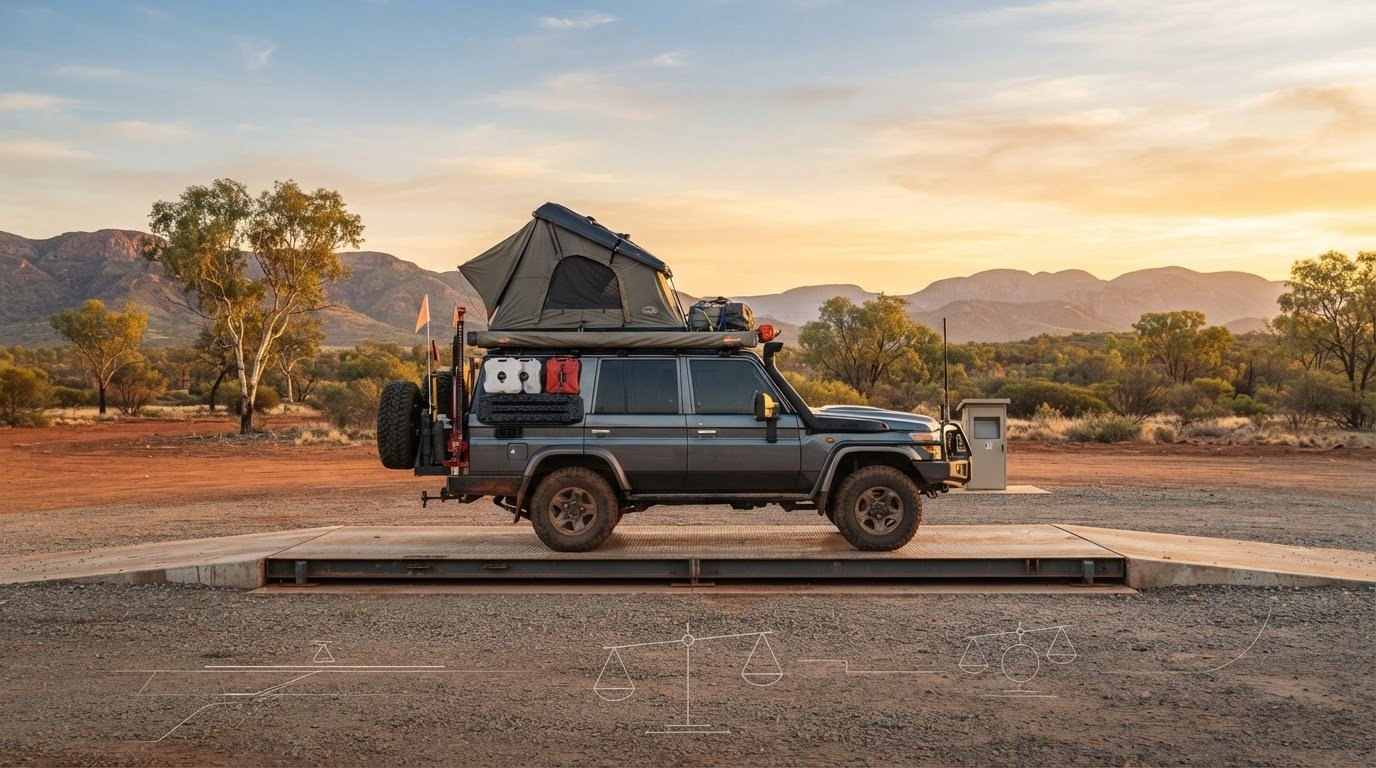
Getting your rig ready for a remote trek is exciting, but the math behind your mounting system is where most DIY roof top tent installation mistakes to avoid begin. We’ve seen too many setups that look great in the driveway but become a safety hazard on the highway. If you overload your roof, you aren’t just risking a fine; you’re fundamentally altering how your vehicle handles during an emergency maneuver. A high center of gravity interferes with your Electronic Stability Control (ESC), making the car prone to tipping or unpredictable sliding. This is why we treat the vehicle and tent as a single aerodynamic system rather than two separate pieces of gear.
Static vs. Dynamic Load Explained
Dynamic load is the maximum weight your roof can safely support while the vehicle is in motion. It’s the number you’ll find in your manual, often around 75kg to 100kg for standard 4WDs. Many beginners see that 75kg figure and panic, thinking they can’t sleep two adults in a tent. However, static load (when the vehicle is parked) is typically three to four times higher because the suspension isn’t dealing with cornering forces or potholes. Before you commit, check our roof top tents reviews to see which models fit your specific vehicle’s dynamic limits without exceeding safety margins.
Accounting for the ‘Off-Road Factor’
In 2026, many vehicle manufacturers have updated their manuals to include a specific off-road weight reduction factor. This is because corrugated tracks and sudden dips effectively double the stress on your roof rack load ratings and mounting systems. If your manual states a 100kg dynamic limit, it might drop to 66kg the moment you leave the bitumen. We recommend a cautious approach to gear distribution. Over-loading leads to pillar deformation or gutter cracks, which are permanent structural failures that often void your warranty. We’ve found that keeping the roof light is the best way to ensure your vehicle remains durable for years of exploration.
Don’t forget that your “net” capacity is what’s left after you subtract the weight of the roof racks themselves. If your racks weigh 15kg and your limit is 75kg, you only have 60kg left for the tent. It’s a tight margin that requires methodical planning. Our community prioritizes safety because a broken roof pillar in a remote location isn’t just a repair bill; it’s a trip-ending disaster. Always calculate your total roof weight including:
- The dry weight of the tent.
- The weight of the mounting rails or crossbars.
- Any awnings or lighting brackets attached to the rack.
Choosing the Wrong Roof Rack or Mounting Hardware
Your roof rack is the literal foundation of your mobile home. Picking the wrong one is among the most expensive DIY roof top tent installation mistakes to avoid because it can lead to permanent vehicle damage. Many beginners opt for “universal” crossbars from big-box retailers; however, these are rarely designed to handle the dynamic stresses of a 70kg tent bouncing on a corrugated track. We’ve seen these bars flex until they dent the roof skin or, worse, snap under tension. We always suggest choosing a rack system with a load rating that exceeds your tent’s weight by at least 30% to account for those unexpected bumps.
Before you swipe your card for a rack, we recommend checking for roof top tents compatibility. Not every tent mounting rail aligns with every rack brand. If the spacing is off, you might end up with excessive overhang that creates a dangerous leverage point. We also see frequent confusion between gutter mounts and track mounts. Using a gutter mount on a vehicle designed for track-based systems can rip the rain gutters right off the body, leading to water leaks and structural rust. It’s vital to match the hardware specifically to your vehicle’s factory mounting points.
Crossbar vs. Backbone Systems
For heavy hard-shell tents, we often steer our community toward backbone systems. These replace traditional feet with long, low-profile rails that distribute weight along the entire length of the vehicle’s structural frame. It’s a more stable approach that minimizes the “sliding nut” error where mounting hardware isn’t fully seated in the channel. If you hear a whistle or a clunk during your first test drive, you’ve likely found a rattle point. These small vibrations eventually become structural issues if they aren’t addressed immediately.
Hardware Integrity and Corrosion
Coastal environments are brutal on gear. Using low-grade steel bolts is a recipe for “tea staining” and seized threads that make removing the tent impossible. We insist on high-grade stainless steel hardware; however, you must use an anti-seize lubricant. Without it, stainless threads can gall and lock permanently before they’re even tight. Always use Nyloc nuts to combat the constant vibration of washboard roads. A standard nut will eventually back off, but a Nyloc stays put, keeping your tent exactly where it belongs. If you are still weighing up your gear options, explore our expert roof top tent recommendations to ensure your hardware and tent work in perfect harmony.
The Physical Mount: Alignment and Clearance Blunders
Positioning your tent on the roof is a delicate balancing act that many rush. We view the placement as a critical step in maintaining your vehicle’s center of gravity. Centering the load perfectly side-to-side prevents lopsided suspension wear and keeps your handling predictable. Front-to-back balance is just as important; a tent sitting too far back can make the front end feel light, while mounting it too far forward creates a massive “wind sail” effect. This is one of the most frequent DIY roof top tent installation mistakes to avoid, as it drastically increases drag and ruins your fuel economy before you even hit the dirt.
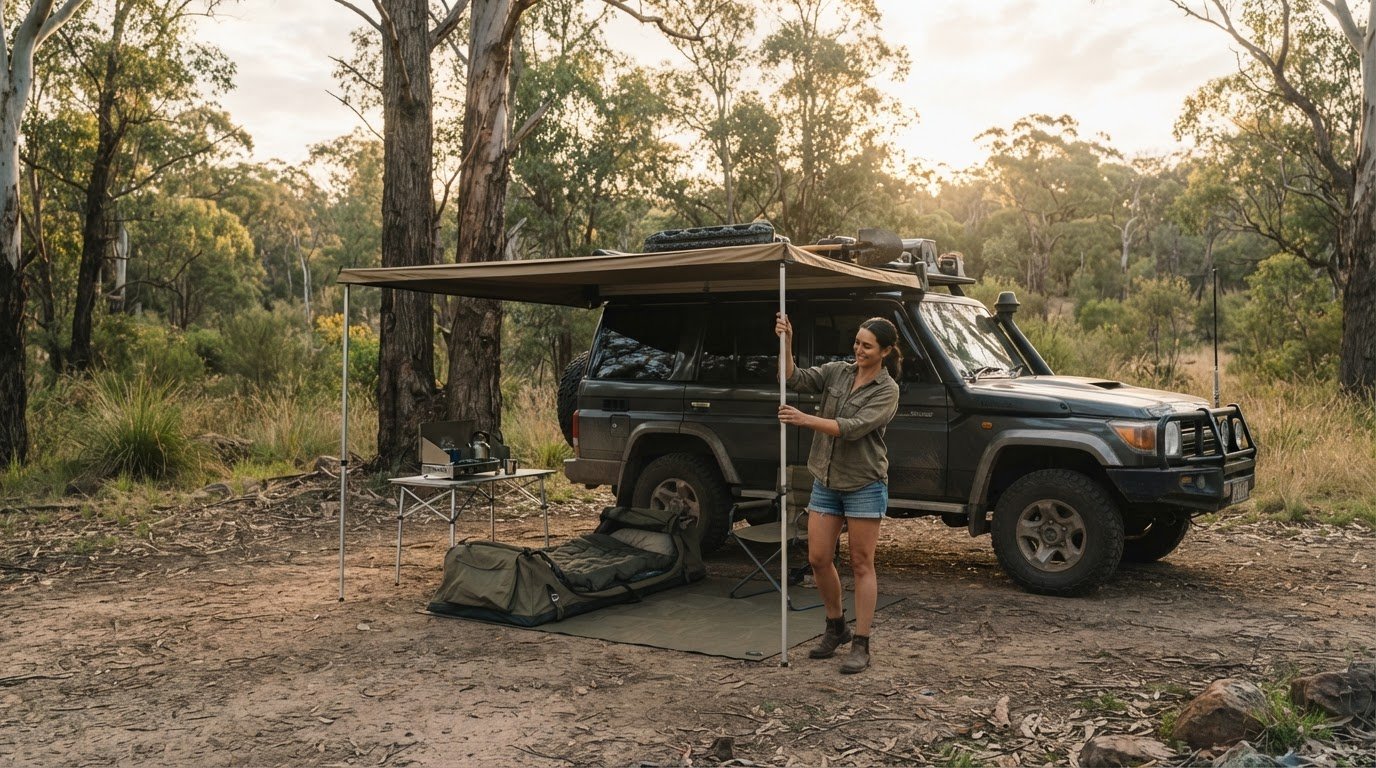
We also need to consider how the tent interacts with your other gear. It’s easy to forget about your 4wd awnings during the initial mount. If the tent is too wide or positioned poorly, it can block the awning’s deployment or prevent the cover from opening fully. We recommend a “dry fit” where you mock up all your accessories together. This ensures your camp setup is a cohesive system rather than a collection of conflicting parts. Taking the time to align everything now saves a lot of frustration when you’re trying to set up camp in the dark.
Aerodynamic Positioning for 2026 Efficiency
Small adjustments lead to big savings at the pump. We’ve found that for our fellow Adventurerz, a mere 5cm shift in placement can save you between 1L and 2L per 100km on long highway hauls. Modern hard-shell tents are designed to be streamlined, so “flush mounting” them as low as possible to the roofline is the goal. If you have a large gap between the roof and the tent, consider adding a wind deflector. This simple addition reduces cabin noise and directs airflow over the tent rather than under it, making your journey much more comfortable and sustainable.
Clearance and Functionality Checks
Always perform the “tailgate test” before final tightening. Open your rear door or hatch fully to ensure it doesn’t strike the tent base; this is a common oversight that leads to scratched paint and dented panels. Check for interference with shark-fin antennas or sunroof operations as well. Finally, verify your ladder angle. A ladder that is too vertical is a fall risk, while one that is too shallow puts immense leverage and stress on the tent’s internal floor. We aim for a 75-degree angle to ensure the weight is distributed safely through the ladder and into the ground.
Post-Installation Oversights and Safety Protocols
Once the last nut is threaded, it’s tempting to pack the bags and leave immediately. Don’t. One of the most dangerous DIY roof top tent installation mistakes to avoid is treating your driveway assembly as a finished product. Mechanical components settle under load, and the vibrations of the road will find any weakness you missed. We recommend treating your first outing as a dedicated equipment trial rather than a full-blown expedition. This proactive approach ensures your gear remains secure when you eventually reach those isolated, corrugated tracks where help is far away.
Safety doesn’t end with a tight bolt; it’s a continuous process of observation and adjustment. We view the first hour of travel as the most critical window for identifying assembly errors. If you ignore the subtle signs of a loose mount now, you risk a catastrophic failure at highway speeds. We’ve seen tents shift several centimeters during heavy braking because the owner relied on a “gut feeling” for tightness rather than technical specifications. Let’s look at how to structure your safety checks for total peace of mind.
The Shakedown Drive Protocol
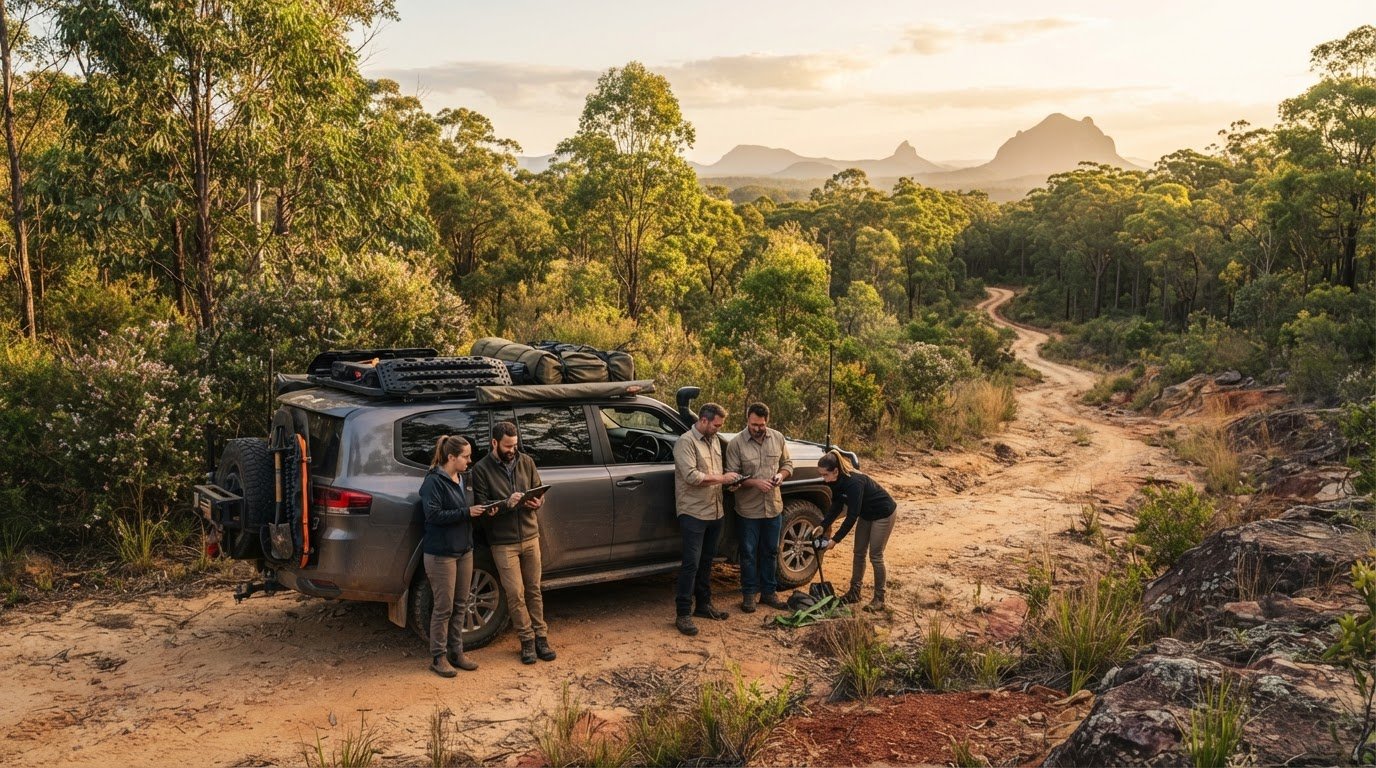
The “First 100km” rule is a standard protocol for our community. During this initial drive, turn off the radio and listen closely. You’re searching for specific acoustic signatures: a high-pitched whistle suggests an aerodynamic gap, while a rhythmic thumping or metallic clicking often indicates loose hardware. Stop after the first 20km and again at the 100km mark to check for “mount migration” along the roof tracks. Use a torque wrench rather than guessing with “hand tight” feel. Most mounting kits specify exact Newton-meters (Nm) for a reason. Over-tightening can crush your roof racks, while under-tightening allows the tent to slide during heavy braking or sudden maneuvers.
Height Awareness and Safety
The “garage door disaster” is a rite of passage we want you to avoid. Your vehicle is now significantly taller, which changes everything from drive-thru clearances to low-hanging branches on bush tracks. We suggest placing a physical height reminder, like a small sticker on your dashboard or a lanyard on the rearview mirror, stating your new total clearance in meters. This awareness is vital for your safety and the longevity of your gear. Remember that this added height also raises your center of gravity. When you’re on off-camber tracks, your rig will lean more aggressively, requiring a more methodical driving style to maintain stability and prevent a rollover.
Finally, don’t forget to update your insurance policy. Most standard plans require you to list permanent accessories to ensure coverage in the event of an accident or theft. Integrating these safety checks into your ultimate adventure travel planner turns a stressful setup into a streamlined part of your preparation. If you’re still finalizing your rig, we invite you to browse our latest roof top tent reviews to ensure your chosen gear meets the highest safety standards for your next remote escape.
Environmental Impact and Long-term Maintenance
We believe that responsible exploration begins in the driveway. A poorly maintained tent isn’t just a personal annoyance; it’s an environmental liability. When a tent rattles or sits unevenly due to DIY roof top tent installation mistakes to avoid, it creates unnecessary wind resistance. This drag forces your engine to work harder, burning more fuel and increasing your carbon footprint on every kilometer of your journey. By ensuring a tight, aerodynamic fit, we respect the landscapes we travel through by minimizing our impact on them. It’s about being a silent, efficient guest in the wild.
The “Clean and Dry” rule is our community’s gold standard for gear longevity. Packing away a damp tent after a rainy weekend is a recipe for mold and fabric rot. This isn’t just about the smell; it’s about preventing high-quality gear from ending up in a landfill prematurely. We always set our tents back up once we return home to let them air out completely. Sustainable travel means making our equipment last for decades rather than seasons. Don’t let your installation leave a footprint before you even depart; remember to recycle the massive cardboard packaging and plastic wrap at specialized centers rather than standard bins.
Sustainable Gear Management
Aerodynamic optimization is the most direct way to reduce your footprint. We’ve found that a well-aligned setup keeps your vehicle efficient and reduces cabin noise. Choosing ethical brands that prioritize repairability is another way we practice environmental mindfulness. When we can fix a zipper or replace a mounting bracket ourselves, we reduce the demand for new manufacturing and shipping. This self-reliance is a core value for those visiting isolated locations where durability is the only currency that matters.
Seasonal Maintenance Checklist
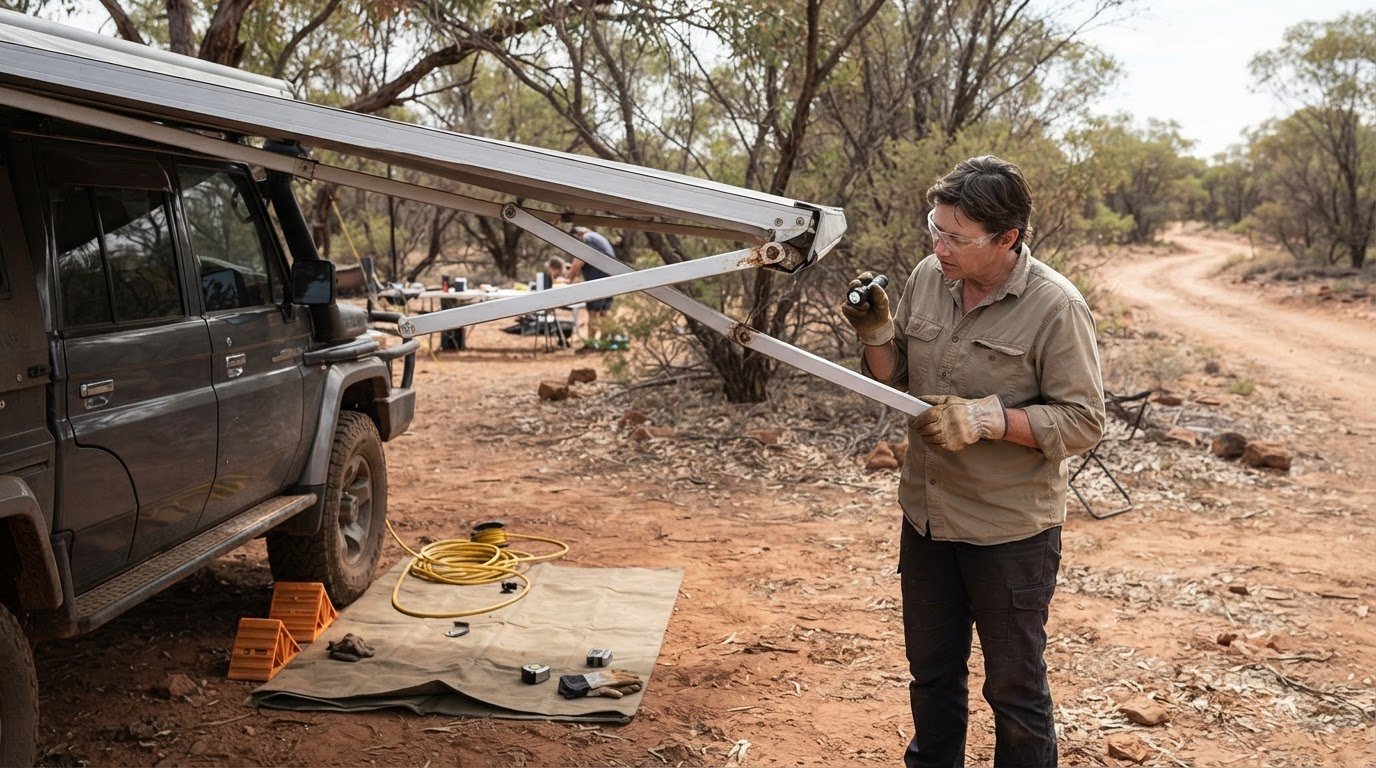
The harsh Australian sun is a constant challenge for outdoor gear. We recommend applying a UV protectant to your tent cover or hard shell at the start of every season to prevent the material from becoming brittle. Our seasonal checklist helps you catch DIY roof top tent installation mistakes to avoid before they turn into trailside disasters. We suggest focusing on these key areas:
- Inspecting mounting points for stress fractures after any trip involving heavy corrugations or washboards.
- Lubricating hinges and zippers with a dry-film lubricant to prevent dust buildup in remote environments.
- Checking the integrity of the baseplate for signs of hardware fatigue or tea staining on stainless steel.
- Re-verifying the torque settings on all mounting bolts to ensure nothing has vibrated loose over time.
Taking these steps ensures your rig is always ready for the next remote escape while upholding our commitment to the Leave No Trace philosophy. Proper maintenance is the final, ongoing step of a successful installation process. It builds the confidence needed for long-term travel and ensures our community remains a group of hardy, responsible explorers.
Ready for Your Next Remote Escape?
Mastering your setup is the first step toward a lifetime of safe and responsible exploration. By prioritizing structural calculations over guesswork and choosing hardware that withstands the harsh Australian sun, we ensure our community remains self-reliant in the most isolated locations. We’ve seen how a few centimeters of alignment can transform your fuel economy and how the right torque settings prevent a highway disaster. Avoiding these common DIY roof top tent installation mistakes to avoid isn’t just about safety; it’s about respecting the environment through efficient travel and durable gear management.
Now that you’ve mastered the technical protocols, it’s time to choose the equipment that matches your ambition. We provide expertly vetted gear for AU conditions and community-tested installation tips to help you build a rig that lasts. Explore our expert Roof Top Tent reviews to find your perfect match and join our shared path toward a sustainable adventure focus. Let’s get out there and explore with confidence. See you on the tracks!
Frequently Asked Questions
Can I install a roof top tent on my factory roof racks?
Most factory roof racks aren’t designed for the concentrated weight of a tent. While they might look sturdy, their dynamic load ratings often cap at 50kg or 60kg. You’ll usually need to upgrade to a heavy-duty aftermarket system to ensure safety. This is one of the most common DIY roof top tent installation mistakes to avoid. Always verify your vehicle’s specific manual before assuming factory rails can handle a 70kg hard-shell tent and off-road vibrations.
How much does a roof top tent affect my fuel consumption?
Expect your fuel consumption to increase by 10% to 20% depending on the tent’s profile and your driving speed. Hard-shell models are more aerodynamic, but they still add weight and drag to your vehicle’s silhouette. We’ve found that keeping your speed under 100km/h and using a wind deflector helps mitigate this impact. Proper alignment is also key to ensuring you aren’t fighting excessive wind resistance during long highway hauls across the Australian landscape.
Do I need to drill into my roof to install a roof top tent?
Drilling is rarely required for modern 4WD setups. Most installations utilize existing factory mounting points, tracks, or gutters. Aftermarket backbone systems or crossbars bolt directly into these reinforced areas without damaging the vehicle’s skin. If a kit requires drilling, it’s often for permanent track installations on vehicles without factory rails. We recommend sticking to non-destructive mounting methods to preserve your vehicle’s structural integrity and resale value while ensuring a secure, rattle-free fit.
What happens if I exceed my vehicle’s dynamic roof load rating?
Exceeding the dynamic load rating can lead to catastrophic structural failure, such as buckled pillars or cracked roof skins. It also severely impacts your vehicle’s stability, making it prone to tipping during emergency maneuvers. From a legal standpoint, overloading your roof can void your insurance coverage and manufacturer warranty. We prioritize staying within these limits to ensure every member of our community remains safe while exploring remote and challenging terrain across the country.
How do I stop my roof top tent from whistling at high speeds?
Whistling is usually caused by air passing through small gaps between the tent and the roof racks. You can often solve this by installing a dedicated wind deflector or adjusting the tent’s fore-aft position to smooth out airflow. Some explorers use rubber “infills” in the mounting tracks to eliminate acoustic gaps. If the noise persists, check for loose straps or exposed mounting hardware that might be vibrating at high speeds during your trip.
Should I remove my roof top tent when I’m not using it?
Removing the tent when it’s not in use for several weeks is a smart move for your vehicle. It reduces wear on your suspension and helps you save on fuel costs during daily commuting. Constant exposure to the harsh Australian sun can also degrade the tent’s cover over time. If you decide to keep it mounted, we suggest using a high-quality UV protectant and performing regular hardware checks to prevent any long-term structural issues.
Can one person install a roof top tent alone?
We strongly advise against a solo installation. Most tents weigh between 60kg and 90kg, making them far too awkward and heavy for one person to lift onto a roof safely. You risk damaging your vehicle’s paintwork or sustaining a serious physical injury. Enlist at least one or two friends to help with the heavy lifting. This ensures the tent is positioned accurately without compromising safety or the integrity of your mounting hardware during the process.
Will a roof top tent void my vehicle’s manufacturer warranty?
A roof top tent won’t automatically void your entire warranty, but manufacturers won’t cover damage directly caused by the installation. For example, if you exceed the dynamic load rating and your roof pillars crack, that repair won’t be covered. This highlights why identifying DIY roof top tent installation mistakes to avoid is so critical. Always follow ADR compliance and stick to your vehicle’s specific weight limits to keep your factory protections and safety standards intact.