Could a suspension lift make your touring 4×4 safer to load without increasing its legal carrying capacity? The distinction matters once accessories, fuel, passengers and camping gear start adding up. A GVM upgrade explained for touring 4x4s starts with the fully loaded vehicle, not the empty figure in the brochure. A lift alone doesn’t raise your rated GVM.
It’s easy to see why the numbers get confusing: GVM, payload, GCM and axle-load limits all affect what your rig can carry or tow, but they measure different things. A rooftop tent, awning and touring essentials all count towards the load, so rough estimates can leave less margin than expected. A GVM upgrade may raise the vehicle’s maximum permitted mass, but it doesn’t automatically increase towing capacity or every other limit.
In this guide, we’ll explain how those ratings fit together, how to assess your 4×4 in its real travel-ready condition, and when an upgrade may be worth considering. We’ll also cover approval questions to resolve before modifying your vehicle, including how pre-registration and post-registration pathways differ across Australia. That way, you can plan capable, compliant trips with less guesswork.
Key Takeaways
- Useful touring accessories add capability, but they also use factory payload. Include every planned item in your load assessment.
- GVM upgrade explained for touring 4x4s: it changes the permitted loaded mass only under the upgrade’s approval conditions, not every vehicle rating.
- Plan for your trip, occupants, accessories and supplies, then weigh the vehicle in a representative touring condition.
- Before modifying your 4×4, understand how the vehicle, upgrade pathway and registration jurisdiction affect approval requirements.
- Review what you need to carry and where it sits, keeping total weight and axle loads within their verified limits.
Table of Contents
- GVM upgrades for touring 4x4s: what changes, and why payload matters
- GVM, GCM and axle loads: what a GVM upgrade does, and does not do
- Does your touring 4×4 need a GVM upgrade? Assess the real load first
- GVM upgrade approvals in Australia: what to verify before modifying a 4×4
- Plan a balanced touring 4×4 setup after checking GVM
GVM upgrades for touring 4x4s: what changes, and why payload matters
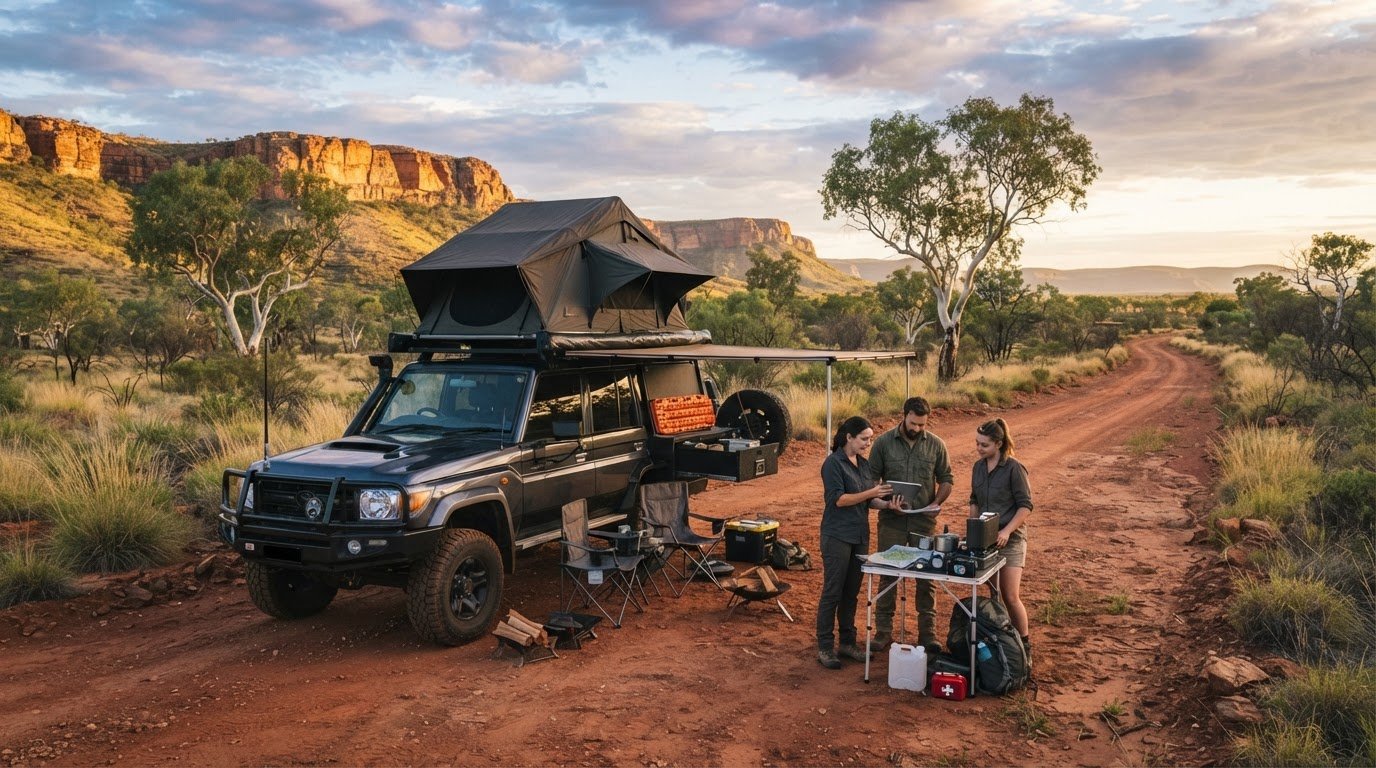
A touring 4×4 is a balancing act. A rooftop tent, awning and recovery gear can make remote travel more comfortable and capable, but every addition uses some of the vehicle’s available carrying capacity. Add occupants, water, food and luggage, and the remaining payload can shrink faster than expected. A practical GVM upgrade explained for touring 4x4s starts with knowing what the vehicle weighs and what you plan to carry.
Gross Vehicle Mass (GVM) is the maximum permitted mass of a vehicle when fully loaded. That includes the vehicle, its occupants, accessories and carried items. For a general overview of the term, see Gross Vehicle Mass (GVM) on Wikipedia. The rating is vehicle-specific, so use the figure for your exact vehicle rather than relying on a broad model range.
GVM, payload and tare: the basic touring-weight terms
Tare is the vehicle’s unladen mass recorded on a particular basis; payload is the carrying capacity between that relevant base mass and the GVM. The measurement basis matters, so check your vehicle’s official figures and how the manufacturer defines them. Once loaded, the vehicle’s mass includes all the people and gear travelling with you.
Hypothetical calculation, for illustration only: if a vehicle’s relevant base mass were 2,400 kg and its GVM were 3,200 kg, the simple difference would be 800 kg of nominal payload. Those figures are not a specification for any vehicle. Use the figures for your own 4×4, then weigh it in its actual setup. Factory accessories or changes made after delivery can affect the starting point.
Think of that payload as a shared allowance, not a separate allowance for each passenger or accessory. If occupants and fitted equipment use part of it, less capacity remains for luggage, supplies and other gear. Keep the calculation consistent with the vehicle’s stated mass basis, and use actual measurements rather than assuming the brochure figure describes your current setup.
Why touring accessories can use payload sooner than expected
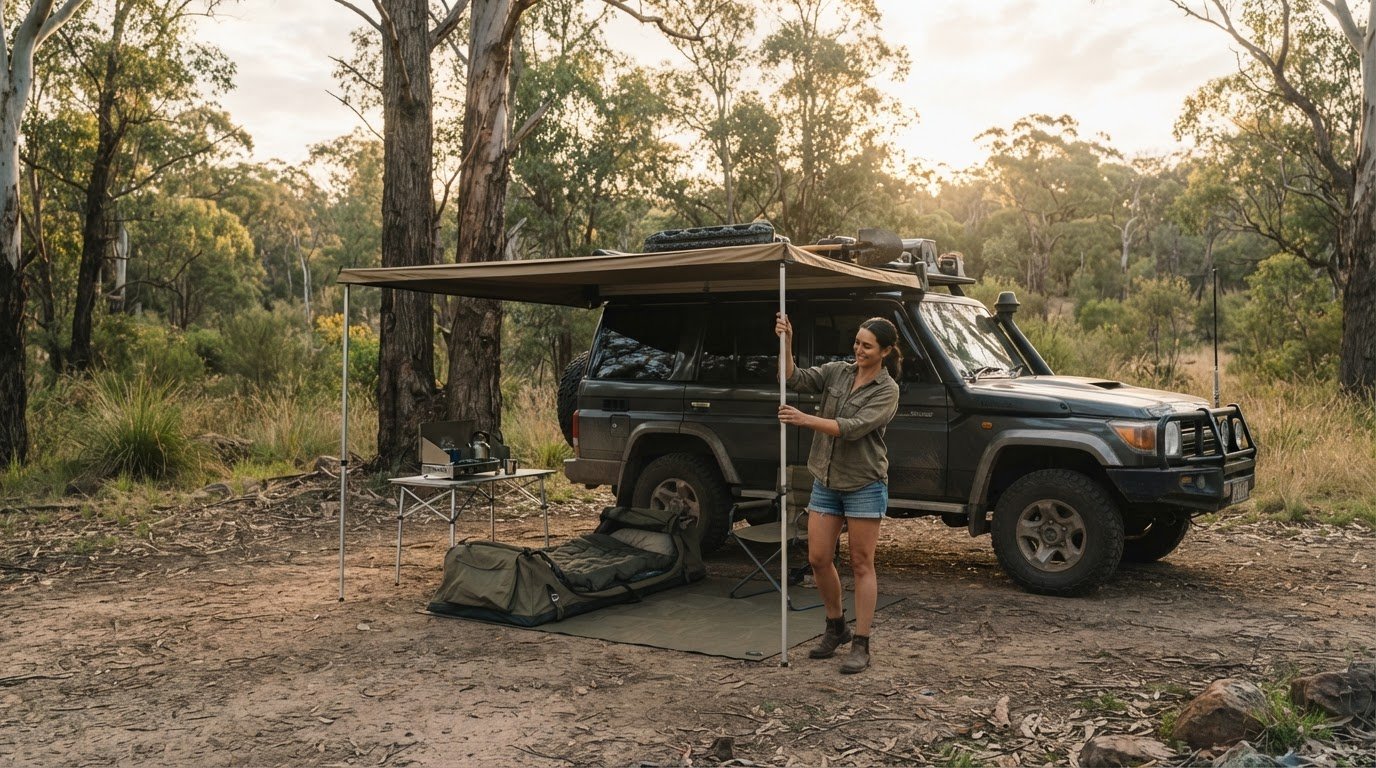
Count the complete setup, not just the headline item. A rooftop tent adds its own mass, and its mounting hardware adds more. Bedding or other items stored inside also belong in the load plan. The same applies to a 4WD awning, its brackets and anything carried with it. Our rooftop tent guide can help you consider this equipment as part of the whole touring fit-out.
Then add the people and trip supplies: occupants, water, food, luggage and equipment all contribute to the loaded vehicle. Water deserves particular attention because the amount carried can change between departure and resupply. Make a list of fitted accessories and packed items, note their measured weights where possible, and include mounting hardware and stored contents rather than counting only the main accessory. This turns a vague estimate into a clearer picture of the load you’ll actually take on the track.
GVM, GCM and axle loads: what a GVM upgrade does, and does not do
Vehicle ratings work as a set of boundaries, not one all-purpose allowance. A GVM upgrade concerns the vehicle’s permitted loaded mass, subject to the conditions of its approval. It doesn’t automatically increase the GCM, towing capacity or every axle limit. Keep those distinctions clear when planning a touring setup, rather than assuming one upgraded figure solves every weight constraint.
| Rating or term | What it measures |
|---|---|
| GVM | The maximum permitted mass of the loaded vehicle. |
| GCM | The maximum permitted combined mass of the vehicle and its trailer. |
| Payload | The carrying capacity available within the vehicle’s applicable GVM. |
| Axle load | The mass carried by an individual axle, which has its own limit. |
How GCM and towing interact with a loaded touring vehicle
GCM, or Gross Combination Mass, is the relevant maximum combined mass of the loaded vehicle and trailer. It’s separate from GVM: the vehicle can be within its own permitted mass while the combined rig exceeds its GCM, or the reverse. The applicable limits depend on the vehicle and its ratings.
Passengers and touring cargo use vehicle capacity, while the trailer adds mass to the combination. Tow-ball load also presses down on the vehicle, contributing to its loaded mass and affecting how weight is distributed across the axles. A GVM upgrade alone is not a basis for claiming extra towing capacity. For a towing setup, consider the vehicle’s GVM, GCM, towing rating and axle limits together, using the official figures for that vehicle.
Why axle loads and upgrade conditions still matter
Total mass doesn’t tell the whole story. A vehicle could be below its GVM yet exceed an axle limit if heavy items or a tow-ball load concentrate weight at one end. Check each measured axle load against its own applicable rating, as well as the vehicle’s total mass.
A suspension lift and a GVM upgrade aren’t interchangeable. A lift changes ride height or suspension setup; by itself, it doesn’t revise the vehicle’s permitted mass. An approved GVM upgrade is an engineered change with specific conditions and ratings. The components included can vary by vehicle and package, so don’t assume every upgrade includes the same springs, shocks or other parts, or that any axle rating has changed.
Before making decisions, verify the current compliance details and approved limits that apply to your vehicle and upgrade. Note the GVM, GCM, towing and axle figures separately, then compare them with measured loads in your intended configuration. If an awning is part of your setup, our 4WD awning guide can help you explore options while keeping the full load plan in view.
Does your touring 4×4 need a GVM upgrade? Assess the real load first
Start with the trip you actually plan to take, not a rough guess based on the vehicle’s empty weight. A weekend away with light luggage can place very different demands on a 4×4 from a longer remote tour with extra water, recovery gear and a trailer. This check helps you see whether the current setup stays within its applicable ratings, or whether a consistently heavy load needs closer attention.
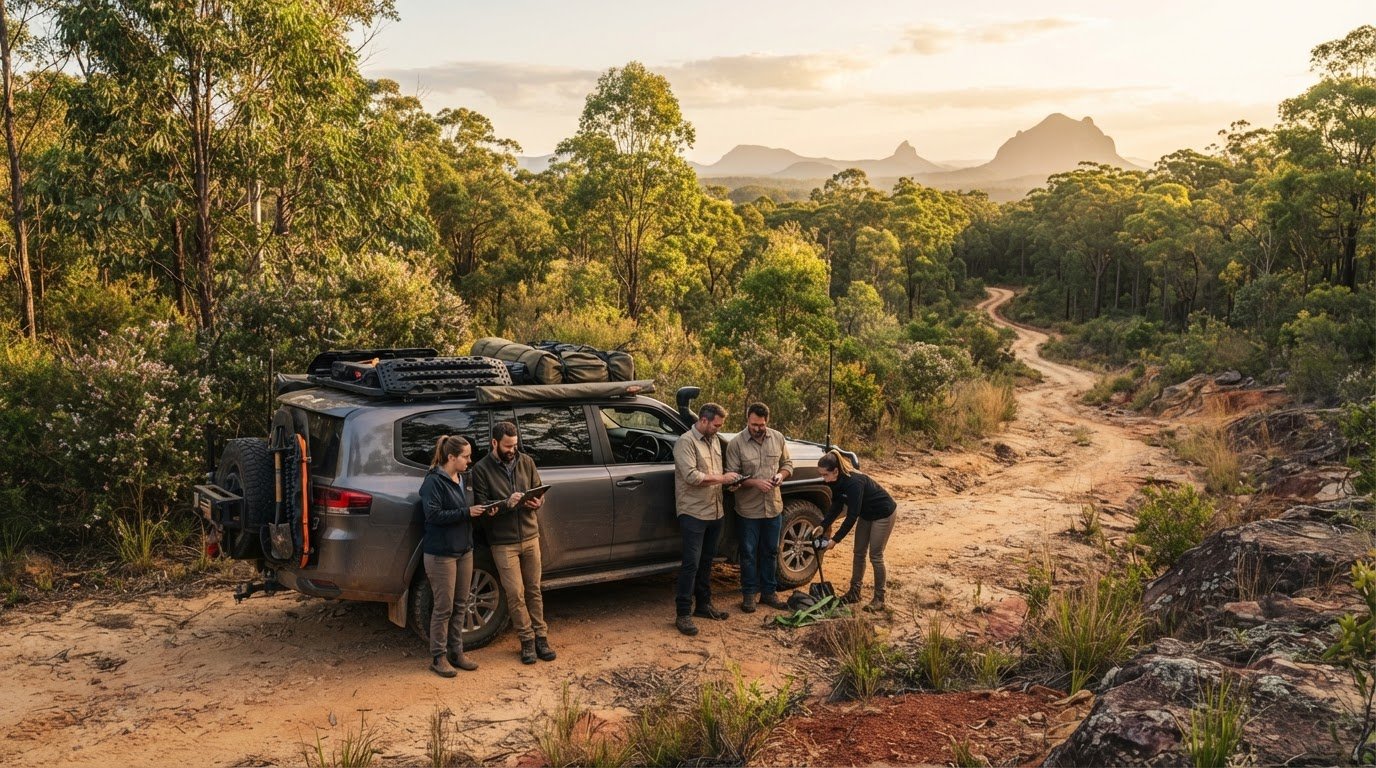
- Map the trip and who’s travelling. Note the journey, occupants and expected supplies. Consider how much water, food and luggage you’ll carry, and whether the load changes between departure and resupply.
- List fitted accessories and carried equipment. Include permanent additions as well as removable gear. A rooftop tent, its mounting hardware, an awning and its accessories all count, along with recovery equipment and stored items.
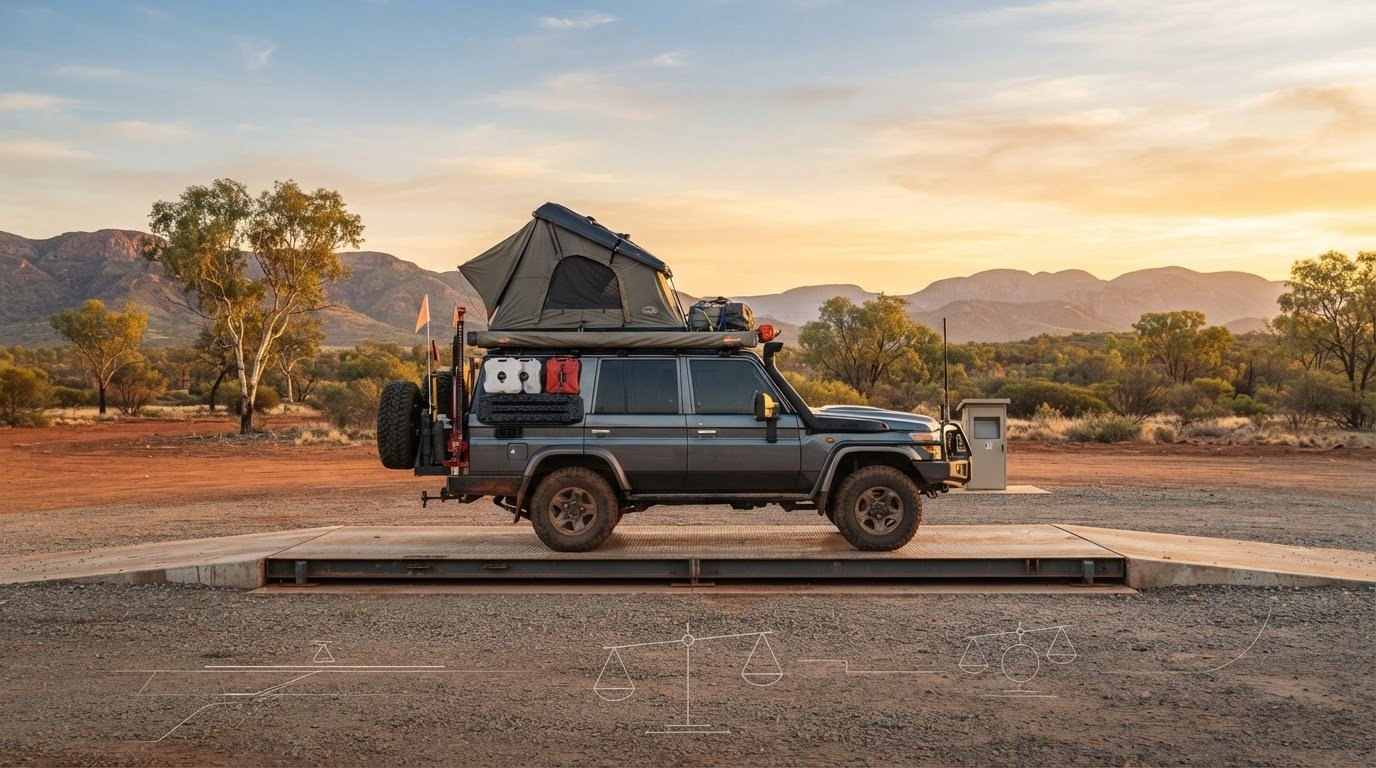
- Weigh the vehicle in travel-ready condition. Load it as you would for the planned trip, including passengers and equipment. A weighbridge measurement of an empty vehicle won’t show the mass of your real touring setup.
- Compare every reading with the applicable ratings. Check the total vehicle mass and individual axle loads against the vehicle’s official information. If it has an upgrade, compare the figures with that upgrade’s approval conditions too.
Create a realistic touring load inventory
Before weighing, make a checklist and gather the items you expect to take. Include people, luggage, water, food, recovery equipment and camping supplies, plus accessories already fitted to the vehicle. For a rooftop tent, count the mounting hardware and anything stored with it; for an awning, include its brackets and related accessories. Our 4WD awning guide can help you consider an awning as part of the overall equipment plan, rather than as an isolated addition.
Where practical, weigh loose items individually or use their reliable stated weights to build an inventory. Keep the list with your trip-planning notes, and update it when the setup changes. It’s a straightforward way to spot overlooked gear before it joins the load.
Use actual weights to identify the limiting rating
Obtain total and individual axle readings with the 4×4 loaded in a representative touring condition. Compare each result with official vehicle information and any applicable upgrade documentation. Don’t assume a GVM figure alone settles the question: a total mass within its limit can still conceal an axle-load issue.
The decision can differ between travellers. If you tour occasionally with a light load and remain within all relevant ratings, an upgrade may not be necessary for that setup. If you regularly travel with a substantial fit-out and your measured load approaches or exceeds an applicable limit, investigate the vehicle-specific options and approval conditions before changing anything. Eligibility depends on the vehicle, actual weights and relevant documentation, so a generic example can’t determine it.
For the bigger picture, explore Australian 4WD and touring gear guides as you refine a considered setup that carries what your journey needs.
GVM upgrade approvals in Australia: what to verify before modifying a 4×4
A GVM upgrade isn’t simply a suspension change. It alters the vehicle’s permitted loaded mass only when the upgrade has the required approval for that vehicle and pathway. In Australia, the steps can depend on the vehicle, whether it’s already registered and the rules that apply in the relevant state or territory. Treat compliance as part of the build plan, not paperwork to chase after the parts are fitted.
For light vehicles, modifications sit within a national framework that includes the Australian Design Rules (ADRs) and the National Code of Practice for Light Vehicle Construction and Modification, known as VSB 14. How approval is handled can still differ between jurisdictions, particularly for a vehicle modified after registration. Check current requirements with the relevant state or territory authority before acting, and verify that the pathway applies to your exact vehicle and proposed upgrade.
Why approval timing and vehicle model can affect the pathway
A new vehicle upgraded before its first registration may follow a pre-registration, or Second Stage of Manufacture, pathway. An upgrade to a vehicle that’s already registered generally follows an in-service pathway with different installation, inspection and certification steps. The model and upgrade configuration matter too: eligibility and permitted ratings aren’t universal. Confirm current terminology and requirements for the vehicle’s registration jurisdiction rather than assuming one process applies nationwide.
Use this sequence to keep the decision grounded:
- Identify the vehicle and timing. Record its exact model and whether it has been registered before.
- Check the relevant approval pathway. Establish which authority and requirements apply to the proposed modification in the current jurisdiction.
- Match the approval to the vehicle. Verify the permitted GVM and any associated limits or conditions for that specific setup.
- Keep a clear record. Retain the approval and installation documents with the vehicle’s existing compliance information.
Documents and conditions to understand after an upgrade
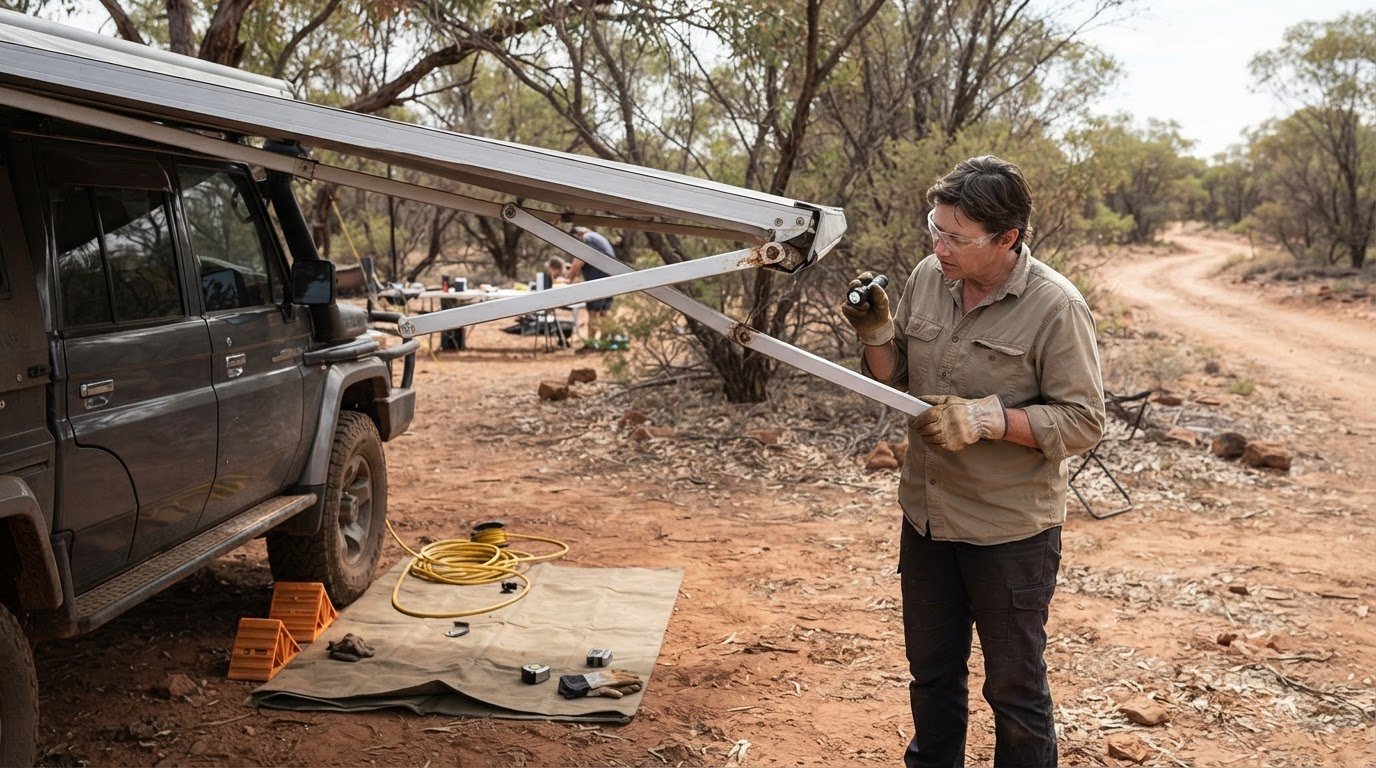
Read the paperwork, not just the new figure. Make sure you understand the approved GVM, any axle limits and conditions attached to the modification. Keep records accessible for future inspections, registration matters or a sale, and disclose the modification to your insurer. A suspension lift or heavy-duty springs on their own don’t establish that a higher GVM has been approved; the upgrade must follow the applicable approval process.
If you move or sell the vehicle across state or territory borders, don’t assume every post-registration approval will be treated identically for future re-registration. Requirements may vary, so check the receiving jurisdiction’s current rules before relying on an existing modification approval. This paperwork trail is a key part of a GVM upgrade explained for touring 4x4s: the rating, vehicle and approval conditions need to line up.
Once the compliance questions are clear, explore Australian 4WD gear guides to help plan a touring setup that suits your trips and carries what you need.
Plan a balanced touring 4×4 setup after checking GVM
A higher carrying limit isn’t the only way to relieve payload pressure. First, shape the setup around the trip: the route, duration, conditions and supplies you genuinely need. Removing duplicate or rarely used gear can improve the load plan, while keeping the vehicle’s total mass and each axle within their verified limits. The goal is a capable rig, not a fully packed one.
Reduce unnecessary load before adding carrying capacity
Review each item on your inventory. Do you need it for this trip, or is it carried out of habit? Look for duplicate tools, spare equipment that doesn’t suit the journey, and non-essential accessories that remain fitted year-round. Prioritise safety and essential supplies, then pack the rest according to the trip. Carry equipment securely and consider its position as well as its mass, so the load plan accounts for axle limits.
Small choices add up across a touring setup. A tent, awning, recovery gear, water and food may each have a purpose, but not every item needs to travel on every outing. Thoughtful packing can reduce the load and help you leave unnecessary gear behind. It may ease payload pressure, but it doesn’t change the vehicle’s official ratings or remove the need to consider a GVM upgrade if the measured load still exceeds an applicable limit.
Prepare for touring with informed gear choices
Make gear decisions against the measured load plan, not a shopping list in isolation. Before adding an accessory, consider its weight alongside mounting hardware, stored contents, occupants and supplies. After fitting or removing equipment, review the setup and compare actual vehicle and axle loads with the relevant ratings. That’s the practical finish to a GVM upgrade explained for touring 4x4s: match the gear to your journeys, then verify the complete setup.
Use this sequence before heading out:
- Plan the trip and the equipment it calls for.
- Load the vehicle as you intend to travel, and secure items thoughtfully.
- Weigh the loaded vehicle, including passengers and equipment.
- Compare total and axle readings with the applicable ratings.
- Verify any upgrade approval and the conditions that apply to your vehicle.
- Prepare responsibly by carrying what you need and leaving unnecessary gear behind.
With the load plan in hand, explore Adventurerz outdoor equipment guides for practical ideas as you prepare for your next Australian adventure.
Build a touring setup ready for the journey ahead
A well-prepared 4×4 isn’t the one carrying the most gear. It’s the one set up thoughtfully for the roads, tracks and conditions ahead, with equipment chosen for a clear purpose. Keep the core idea of GVM upgrade explained for touring 4x4s in mind as your plans change: make each addition count, and keep responsible travel part of your preparation.
Good decisions start well before departure. As your touring experience grows, revisit your setup and consider whether your equipment still suits the way you travel. Adventurerz brings together Australian-focused equipment reviews, rankings and practical outdoor guides to help you make informed choices. That advice sits alongside a commitment to eco-conscious exploration, so you can prepare for adventure while treating the places you visit with care.
Explore Adventurerz outdoor equipment guides and take your next trip planning one thoughtful step further. Pack with purpose, travel responsibly and enjoy the journey ahead!
Frequently Asked Questions
Can a GVM upgrade increase a 4WD’s towing capacity?
No, a GVM upgrade doesn’t automatically increase towing capacity. It changes the vehicle’s permitted loaded mass, while towing and combined vehicle-and-trailer limits are separate ratings. Before towing, consider the fully loaded vehicle, trailer and tow-ball load together, and compare them with the applicable ratings. Only rely on an increase in towing capacity if a separate, vehicle-specific approval explicitly allows it and you understand its conditions.
Does a GVM upgrade affect a vehicle warranty or insurance?
It can affect both, though the details depend on the vehicle, modification and policy. A manufacturer may limit warranty cover for components affected by a modification, so review the warranty terms and keep the upgrade records. Tell your insurer about the change and have it noted on your policy. An undisclosed or non-compliant modification can jeopardise cover or a claim, so don’t assume your existing protection remains unchanged.
Can every touring 4×4 get a GVM upgrade?
No, upgrade eligibility and permitted limits depend on the specific vehicle and approval pathway. Model, build details and registration status can all matter, and an option suitable for one 4×4 may not apply to another. To understand a GVM upgrade for touring 4x4s, start with your exact vehicle details, then compare measured loads with the applicable approval information rather than relying on a general model-family claim.
How much does a GVM upgrade cost?
There’s no single price that applies to every 4WD. Costs can depend on the vehicle, whether the upgrade is arranged before or after first registration, the kit, installation, and engineering or approval requirements. When comparing costs, look at the full scope of the modification and account for any separate certification charges. A generic online estimate may not reflect your model or pathway.
What happens if my touring 4×4 exceeds its factory GVM?
An overloaded vehicle presents a safety risk and may attract fines or a defect notice; insurance can also be affected. Don’t continue a trip with the vehicle above its applicable limit. Remove or redistribute cargo where appropriate, then weigh the setup again and check the relevant ratings. If the load still exceeds a limit, resolve that before travelling rather than assuming stronger suspension makes the vehicle compliant.
Is a suspension lift the same as a GVM upgrade?
No. A suspension lift changes the vehicle’s suspension setup or ride height, but that change alone doesn’t revise its permitted loaded mass. A GVM upgrade requires approval that applies to the vehicle and the specific modification. If you’re considering a lift for clearance or touring needs, don’t treat it as extra legal carrying capacity; check the approved ratings and documentation for any GVM change.
Can I install touring accessories before weighing my 4WD?
Yes, but weigh the vehicle again after fitting them, before relying on your load calculations for a trip. Include the accessory, brackets or mounting hardware, and anything stored with it. For example, a tent or awning’s fitted weight is only part of its contribution if related equipment travels too. Keep a simple inventory as your setup changes, then assess the fully equipped vehicle with passengers and trip supplies aboard.