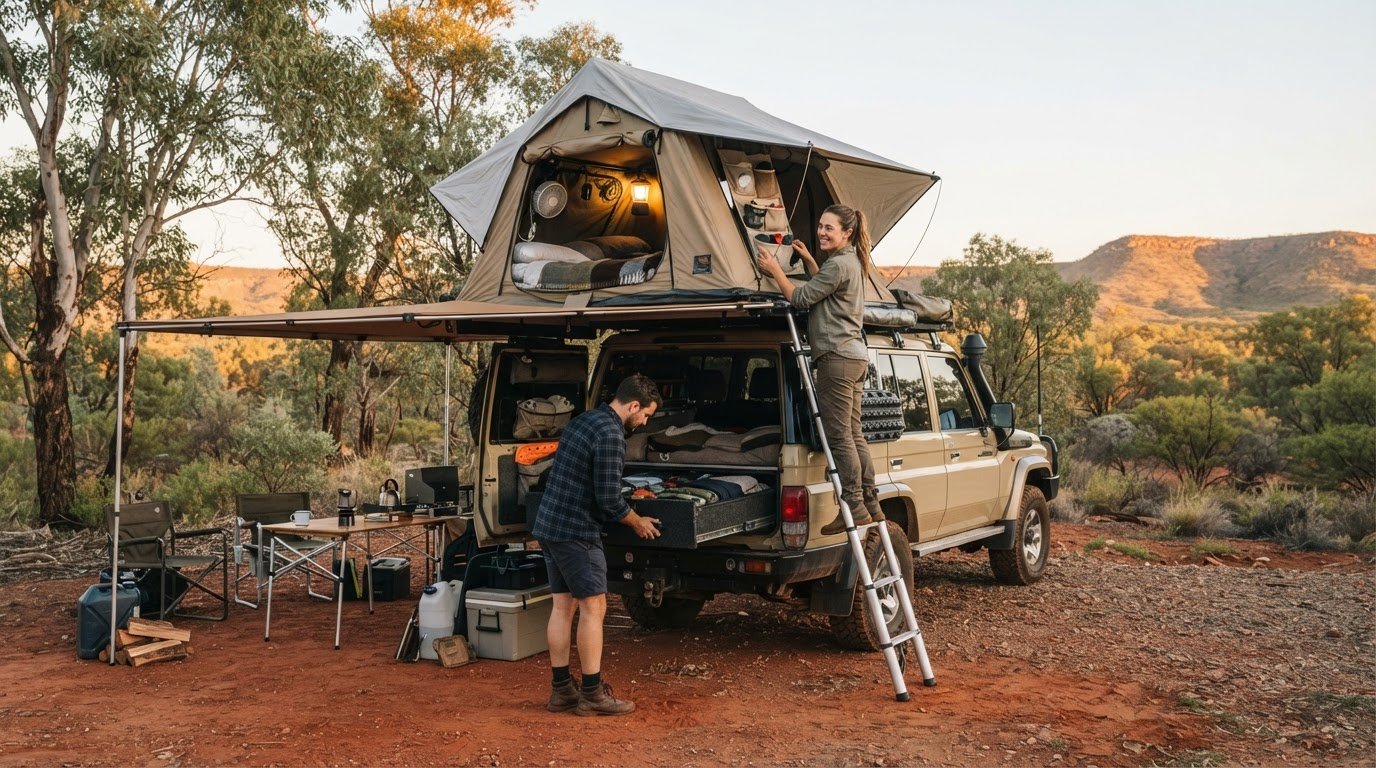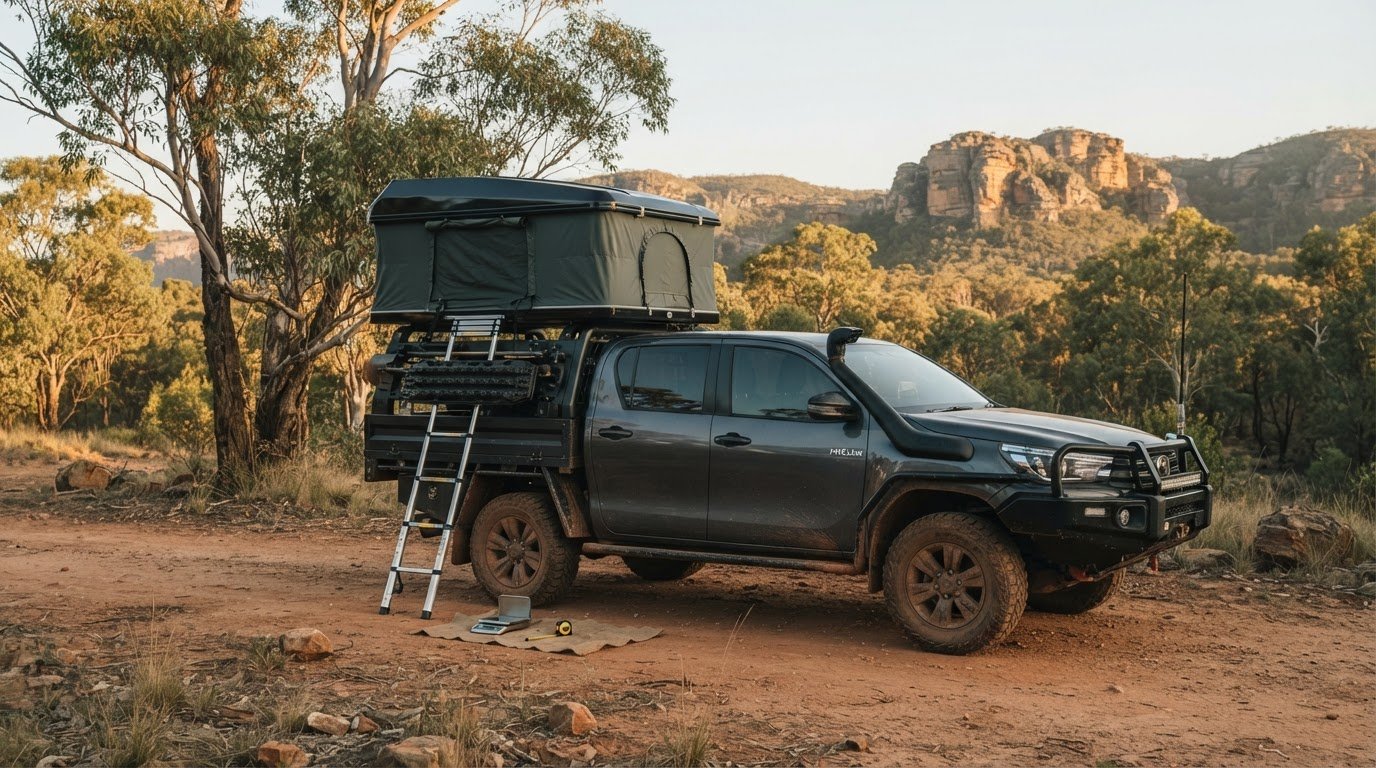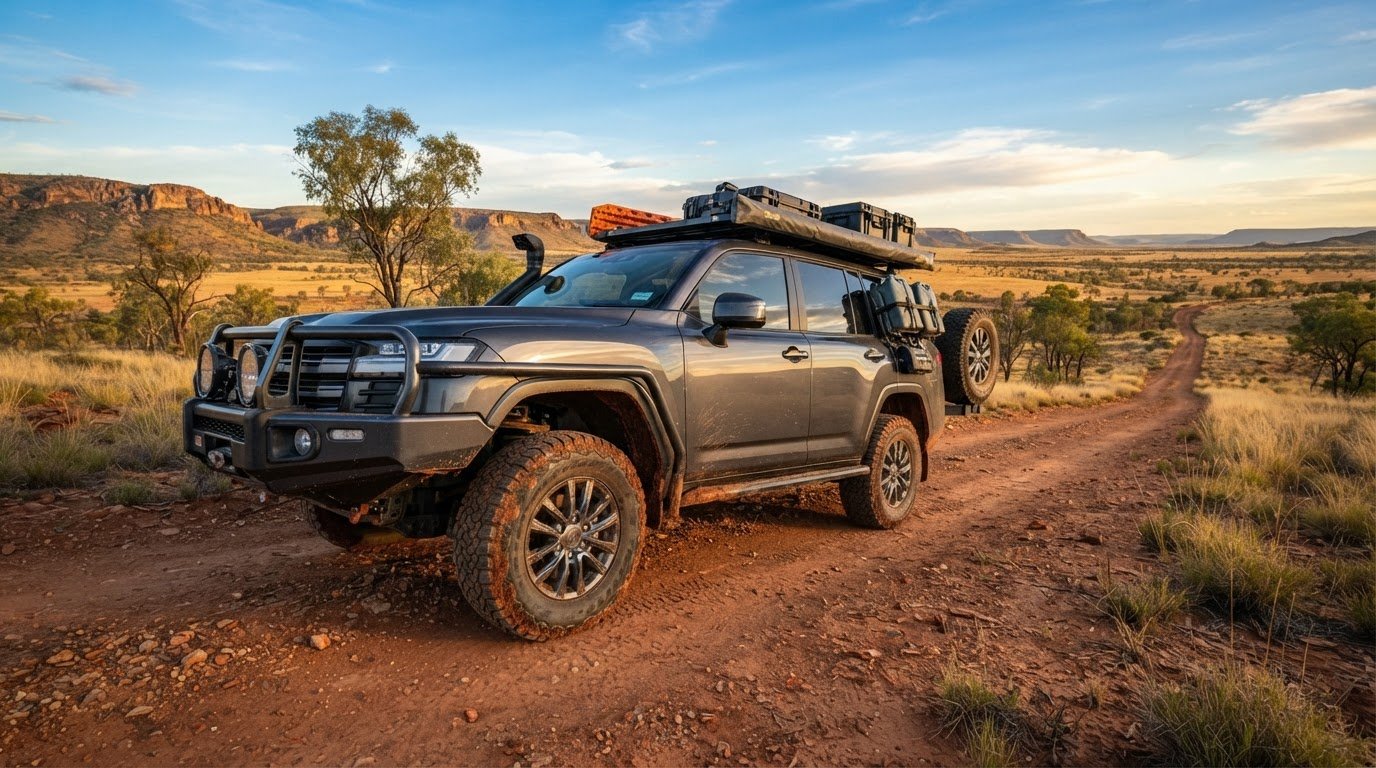
You wake up at 3 AM on your remote adventure, reach for your torch, and realise your pillow is sodden. It hasn’t rained a drop all night, yet the inside of your canvas feels like a sponge. This “indoor rain” is the ultimate buzzkill for any off-road mission. We have all been there, wondering if our expensive setup has a hidden leak or if we are just exhaling too much moisture into the air. Finding effective roof top tent condensation solutions is the key to transitioning from a damp, shivering night to a restorative sleep under the stars.
We at Adventurerz understand the frustration of waking up to a soggy sleeping bag and the genuine fear of long-term mould damage ruining your investment. In this expert guide, we promise to show you exactly how to eliminate that moisture and keep your gear bone-dry using pro-level ventilation and the latest 2026 gear strategies. We will walk you through the three pillars of a dry tent: moisture reduction, thermal breaking, and active vapour expulsion. From A$125 anti-condensation mats to thermal liners that can boost your internal temperature by 10°C, you are about to master the art of the dry camp, Road-Bound Legends.
Key Takeaways
- Master the physics of the dew point to implement effective roof top tent condensation solutions that keep your sleeping gear dry in any climate.
- Learn how to leverage the chimney effect and cross-flow ventilation to expel moisture before it settles on your internal canvas walls.
- Discover why anti-condensation mats are a non-negotiable gear addition for maintaining critical airflow beneath your mattress.
- Follow the “48-hour rule” for drying your setup after a trip to prevent mould growth and protect your investment for years of remote exploration.
- Integrate professional moisture management into your travel planning to ensure every night in the Australian bush is comfortable and restorative.
Table of Contents
The Physics of Roof Top Tent Condensation
To beat the damp, we first need to understand the enemy. The Physics of Condensation is a straightforward but relentless process where warm, moist air meets a cold surface. Inside your tent, your breath and body heat create a pocket of warm air that carries water vapour. When this air touches the cold canvas or hard-shell roof, it loses its ability to hold that moisture, which then transforms into the liquid droplets we find dripping onto our faces at dawn. Implementing effective roof top tent condensation solutions starts with acknowledging that your tent is essentially a micro-climate in a constant battle with the outside world.
The “Dew Point” is the critical temperature where this transition happens. In the Australian bush, temperature drops are often sharp once the sun goes down. Roof top tents sit high off the ground, fully exposed to wind and cold air on all sides, including the floor. This exposure makes them far more prone to hitting the dew point than a ground tent, which benefits from the earth’s thermal mass. Whether you are trekking through the humid Daintree or shivering in the Snowy Mountains, the physics remain the same, though the volume of moisture changes. In the tropics, the high ambient humidity means the air is already near saturation. In the desert, the extreme temperature swing between day and night triggers “internal rain” even when the air feels dry.
Sources of Moisture Inside the Tent
We are the primary culprits. A single person can exhale up to 1 litre of water vapour overnight. If you are sharing the space with a partner and a dog, you are effectively pumping several litres of water into a sealed fabric box. For those times when your pet cannot join you on more extreme adventures, you can explore Dog Walking and Pet Sitting Services to ensure they stay active and happy. Beyond our breath, wet gear is a massive humidity contributor. Stashing damp towels, soggy hiking boots, or a rain-soaked jacket inside the tent creates a localized humidity spike that no amount of basic venting can easily clear. For those of us using soft-shell folding tents, rising damp from the ground can also seep into the base hinges, adding to the internal moisture load before you even climb the ladder.
The Role of Thermal Bridging
Ever noticed how the metal poles are always the wettest part of the tent? This is due to thermal bridging. Aluminium frames and stainless steel bolts are excellent conductors. They pull the cold from the outside directly into the tent’s interior, creating “cold spots” that act as magnets for water vapour. While single-skin tents are lightweight, they offer zero protection against this. Twin-skin designs or insulated liners create a buffer, keeping the inner surface warmer and further from the dew point. A thermal bridge is a highly conductive component that creates a direct path for heat to transfer through an insulated barrier, resulting in localized cold surfaces where condensation forms. Understanding this helps us see why physical barriers are critical when seeking long-term roof top tent condensation solutions. When we review roof top tents, we prioritize designs that minimize these metal-to-moisture contact points to keep our Wild-Hearted Explorers dry and comfortable.
Maximising Airflow: The Front Line of Defence
Airflow is your most powerful weapon against a soggy morning. While it is tempting to batten down the hatches when the temperature drops, sealing your tent is a guaranteed way to wake up in a puddle. Much like the residential ventilation principles discussed by Air Conditioner Lab, effective roof top tent condensation solutions rely on a constant exchange of air to carry water vapour out before it can settle. We always recommend the “two-window rule” to create a cross-flow. By opening windows on opposite sides of the tent, you allow even the slightest breeze to sweep through the sleeping area, pushing out the humid air exhaled by occupants.
Positioning your vehicle is just as important as the tent setup itself. Before you level out your 4WD for the night, check the direction of the prevailing Australian breeze. Aim to park so the wind hits the side of your tent rather than the narrow ends. This maximizes the pressure differential between your windows, forcing air to move. This strategy aligns with REI Expert Advice on Preventing Condensation, which emphasizes that site selection is the first step in moisture management. Even in freezing conditions, keep your vents cracked. A slight chill is far easier to manage with a good sleeping bag than a damp one.
Passive Ventilation Strategies
Most modern tents feature window awnings that allow you to keep the mesh open even during a downpour. Use these to their full potential. The goal is to encourage the “chimney effect,” where warm air rises and escapes through the highest possible point. Ensure there is a clear gap between your tent body and the rainfly. This space acts as a thermal buffer and a dedicated channel for air to move. If your tent has internal partitions, keep them unzipped to avoid creating stagnant pockets of air where moisture loves to hide.
Active Ventilation with 12V Solutions
When the air is dead still, passive vents might not be enough. This is where active ventilation becomes a game-changer. While some premium brands offer built-in solar fans, these can be expensive and difficult to repair. A better, more flexible approach for our community is using portable 12V or rechargeable fans. Placing a fan at floor level to pull in fresh air, or near a ceiling vent to exhaust moist air, creates a forced draft that works regardless of the weather. You can easily integrate these fans into your existing roof top tents setup using simple Velcro straps or magnetic mounts. If you are looking for a new rig that prioritises these airflow features, check out our latest gear recommendations to see which models lead the pack in ventilation design.
Essential Gear: Mats, Liners, and Thermal Barriers
While we have already established that airflow is king, high-quality gear acts as your secondary line of defence. Relying solely on a cracked window might not be enough when the temperature drops to zero in the Flinders Ranges. Integrating specific roof top tent condensation solutions into your kit allows you to manage moisture at the source. This gear focuses on two goals: creating thermal breaks and actively drying the air. We have tested various setups, and the right combination can be the difference between a dry morning and a mouldy mattress.
Anti-condensation mats are non-negotiable for any serious tourer. These mats sit under your mattress to create a 10mm to 15mm air gap. Without this gap, your body heat warms the mattress while the tent floor remains freezing, leading to a damp “sweat” layer that ruins your bedding. Prices for quality mats like the Doghouse or Tuff Stuff models usually range from A$125 to A$165. Understanding The Physics of Condensation shows us that by separating these temperature zones, we prevent water vapour from reaching its dew point on the floor surface. While desiccant bags are useful for storage, they won’t stop “indoor rain” while you sleep.
Choosing an Anti-Condensation Mat
We prefer 3D mesh spacers over solid foam barriers. The mesh allows air to circulate freely in all directions, whereas foam can still trap small pockets of dampness. Most mats come in universal sizes, but you can easily trim them with heavy-duty shears for a custom fit. Maintenance is simple. Every few trips, pull the mat out and hose it down to remove dust and salt. Ensure it is bone-dry before putting it back under your mattress to maintain peak performance.
Thermal Liners and Winter Kits
Quilted inner liners are excellent for extreme cold. They can improve internal temperatures by up to 10°C, making winter camping much more viable. However, they come with a catch. If you don’t maintain airflow, moisture can get trapped between the liner and the outer canvas, leading to hidden mould. To combat this, many of our community members use 12V-powered diesel heaters. These units draw fresh air from outside, heat it, and pump it into the tent, creating a positive pressure environment that forces damp air out. Always ensure you have a reliable battery setup and a carbon monoxide alarm for safety. When you browse our latest roof top tents reviews, look for models with pre-installed matting and liner attachment points to save yourself the hassle of a DIY retrofit.
Step-by-Step: Drying and Preventing Mould
Even the most effective roof top tent condensation solutions cannot stop 100% of moisture 100% of the time. Sometimes the Australian weather simply wins. When you fold your tent down on a rainy Sunday morning, you are trapping water in a dark, airtight sandwich. This is a recipe for disaster. We live by a strict Golden Rule: never leave your tent stowed wet for more than 48 hours. If you cannot dry it at your campsite, you must open it the moment you pull into your driveway at home. Failing to do this can lead to permanent fabric staining and health-hazardous spore growth within days.
Preparation starts before you even climb down the ladder. Use a high-quality microfibre towel to wipe down the internal walls and the underside of the roof while the tent is still open. Microfibre is superior to standard cotton because it traps moisture within its fibres rather than just pushing it around. To keep the interior as dry as possible, we recommend using 4wd awnings to create a sheltered “mud room” outside your tent. This allows you to strip off wet raincoats and muddy boots before you enter the sleeping quarters, preventing external humidity from hitching a ride inside.
Post-Trip Maintenance Protocol
Once you are home, park your rig in a spot that gets full morning sun. Open every window and door to let the UV rays do their work. Sunlight is a natural disinfectant that helps kill lingering spores. Do not just look at the walls; you must remove the mattress entirely. Inspect the baseplate for hidden dampness that may have seeped through the anti-condensation mat. Check the tight corners and seams where the fabric meets the frame, as these stagnant areas are where mildew usually gets its first foothold. If everything feels bone-dry to the touch, leave it open for another hour just to be sure.
Safe Mould Removal for Canvas and Poly-Cotton
If you find grey or black spots, do not reach for the bleach. Many online forums suggest heavy chemicals, but bleach will strip the UV inhibitors and waterproofing treatments right off your expensive canvas. Instead, we use a solution of distilled white vinegar and water. Vinegar is an acetic acid that kills mould at the root without destroying the fabric’s integrity. Use a soft-bristled brush to gently scrub the affected area in a circular motion. Once the spot is gone, rinse with fresh water and let it dry completely in the sun. If you have done a deep clean, you will likely need to re-apply a specialized waterproofing spray to maintain the tent’s weather seal. Protect your investment by following this protocol, and if your current setup is showing its age, explore our latest roof top tents recommendations to find a rig built for the long haul.
Optimising Your Off-Grid Setup with Adventurerz
A dry tent is the foundation of a successful expedition. When you aren’t fighting damp pillows or the smell of mildew, you sleep deeper and wake up ready for the tracks ahead. For our community of Road-Bound Legends, mastering roof top tent condensation solutions is about more than just comfort; it is about self-reliance in the most isolated corners of Australia. A well-maintained setup ensures your gear lasts for years of rugged travel, reducing waste and honoring our collective commitment to environmental ethics. By keeping your canvas pristine, you are choosing durability over the “throwaway” culture that plagues lower-quality outdoor equipment.
Preparation is where the battle against moisture is won. We suggest integrating specific weather checks into your travel planner before you even load the 4WD. If you know you are heading into a high-humidity zone like the Daintree, you can pack extra microfibre cloths or ensure your 12V fan batteries are fully topped up. This methodical approach to exploration is what separates a seasoned trekker from a cold, damp novice. Before you zip up for the night, run through this final checklist to guarantee a condensation-free sleep:
- Verify Cross-Flow: Are at least two windows or vents cracked open on opposite sides?
- Check the Gap: Is there clear space between your mattress and the tent floor?
- Audit Wet Gear: Have all damp towels and jackets been moved to the vehicle or awning?
- Wipe Down: Did you do a quick pass with a towel to remove any evening humidity from the walls?
Community-Tested Gear Recommendations
Our gear reviews prioritize breathability and real-world performance in Australian conditions. We believe the best roof top tent condensation solutions are those that balance heavy-duty waterproofing with smart ventilation ports. Our members often share vehicle-specific hacks in our forums, such as the best way to mount a fan in a hardshell vs. a soft-shell tent. We value equipment that uses high-GSM poly-cotton canvas, as it naturally breathes better than cheaper, fully synthetic alternatives. When you choose gear through our guides, you are tapping into thousands of hours of collective field testing.
Join the Conversation
The Adventurerz community thrives on shared knowledge. Have you built a custom 12V ventilation system for your rig? Or perhaps you found a specific campsite in the Red Centre that stayed remarkably dry? We want to hear about it. Sharing your DIY builds and wet-weather tips helps the entire community camp more responsibly and comfortably. If you are ready to upgrade your setup to a rig designed for the elements, browse our expert-reviewed Roof Top Tents today! Together, we can push the boundaries of remote travel while leaving nothing but footprints behind.
Master Your Next Remote Escape
Waking up to a dry, comfortable interior isn’t just a luxury; it’s a vital part of maintaining your gear and your health while exploring our rugged backyard. By mastering the chimney effect, installing high-quality 3D mesh mats, and sticking to the 48-hour drying rule, you now have the ultimate toolkit for moisture-free camping. These roof top tent condensation solutions are the result of years spent testing gear against the harsh realities of the Australian Outback. We’ve seen what works and what fails when the dew point hits, and we’re proud to share that expertise with our fellow Road-Bound Legends.
Our community thrives on self-reliance and a deep respect for the environments we visit. Whether you’re heading to the humid coast or the freezing desert, choosing the right setup makes all the difference. At Adventurerz, we provide expert gear reviews and community-driven advice to ensure your adventures are both sustainable and restorative. Ready to find a rig that actually breathes? Explore our top-rated Roof Top Tents for your next trip and join a movement of responsible, well-prepared explorers. We’ll see you out on the tracks!
Frequently Asked Questions
Is condensation in a roof top tent a sign of a leak?
Not necessarily. If the moisture is evenly distributed across the ceiling or walls, it is almost certainly condensation. A leak usually presents as a localized stream or a specific wet patch near a seam. Understanding the difference is vital for applying the right roof top tent condensation solutions. If you aren’t sure, dry the tent completely and test it with a garden hose to identify if water is actually penetrating the fabric.
Will an anti-condensation mat actually make a difference?
Absolutely. These mats create a 10mm to 15mm air gap that prevents your body heat from warming the mattress against a freezing tent floor. This thermal break stops moisture from pooling under your bedding. We consider them a non-negotiable addition for any tourer heading into the cooler southern states or high-altitude regions where temperature drops are more extreme. It is a simple fix for a common problem.
Can I use a dehumidifier inside my roof top tent?
While possible, most dehumidifiers are too bulky and power-hungry for a standard 12V off-grid setup. They also require a sealed environment to work effectively, which contradicts the need for airflow. We find that active ventilation with 12V fans is a much more efficient use of your battery capacity. Focus on moving moist air out rather than trying to dry it in place while you are sleeping.
How do I stop my mattress from getting wet in a roof top tent?
Use a combination of a 3D mesh mat and a moisture-wicking mattress protector. The mat ensures airflow underneath, while the protector prevents sweat from soaking into the foam. Always wipe down the internal walls with a microfibre towel before you fold the tent to ensure no droplets fall onto the bedding during transit. This dual-layer approach keeps your sleeping environment crisp and dry throughout your trip.
What is the best way to clean mould off a roof top tent?
Use a solution of distilled white vinegar and water to kill spores at the root. Avoid bleach, as it destroys the canvas weave and strips away the UV-protective coatings. Gently scrub with a soft brush, rinse with fresh water, and let the tent bake in the sun for several hours. This method is effective and keeps your gear environmentally friendly by avoiding harsh chemical runoff into our pristine camping spots.
Do hard-shell tents have less condensation than soft-shell tents?
Hard-shell models often perform better because their roofs are typically insulated or made of thicker materials that don’t reach the dew point as quickly. However, they still require proper venting. Soft-shell tents have more fabric surface area exposed to the cold, which can lead to higher moisture levels if you don’t manage your cross-flow ventilation carefully. Both designs benefit from the same fundamental airflow principles to stay dry.
Is it safe to run a diesel heater in a roof top tent all night?
It is safe as long as the heater unit stays outside and only the hot air duct enters the tent. You must have a functioning carbon monoxide alarm inside your sleeping area at all times. Diesel heaters provide dry heat, which is fantastic for reducing humidity. Just ensure the intake and exhaust pipes are clear and far away from any flammable materials or tent fabric to maintain a safe camp.
How long can I leave my roof top tent closed if it is damp?
You should never leave a damp tent closed for more than 48 hours. This is our “Golden Rule” for preventing permanent damage. Within two days, mould and mildew can begin to take hold, especially in the warm, dark environment of a folded tent. If you’ve packed up in the rain, open it up the moment you get home to let it air out completely. This protects your investment for the long term.