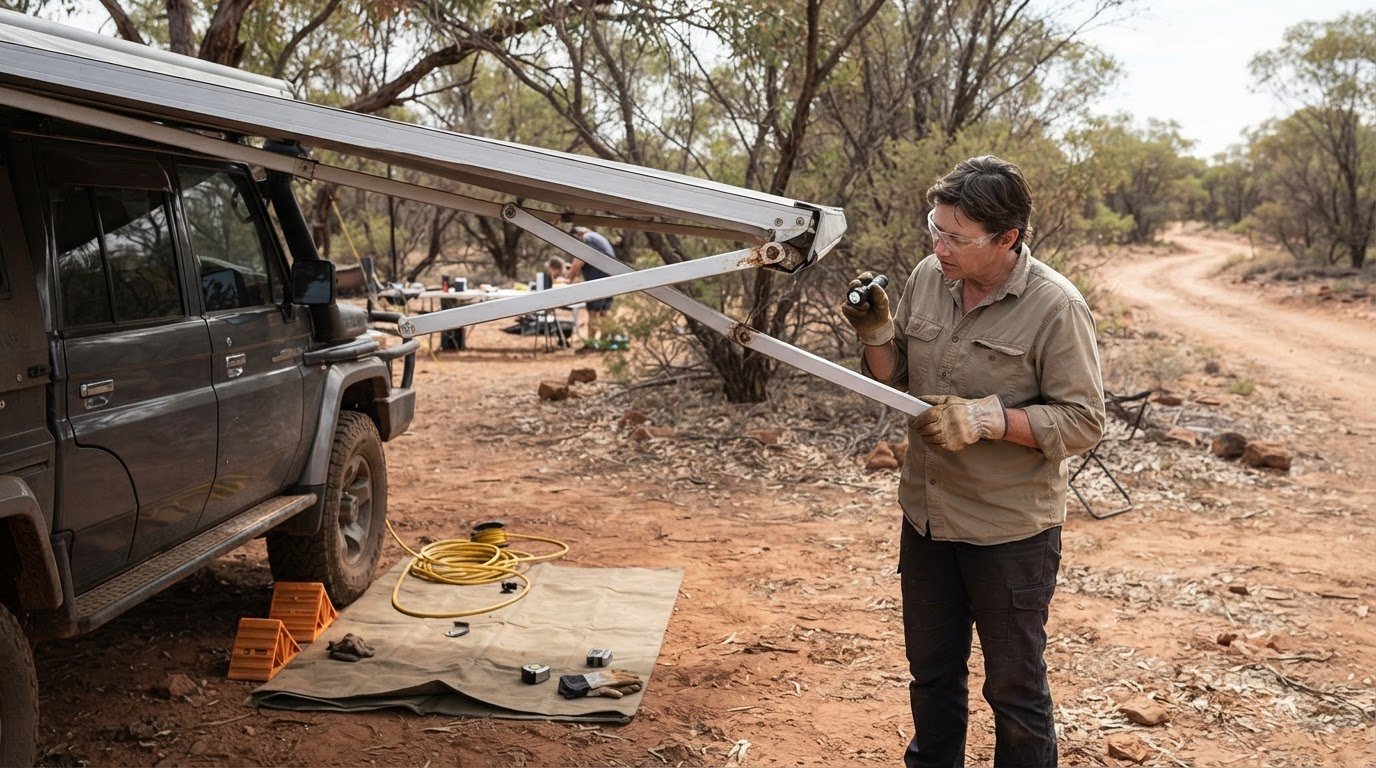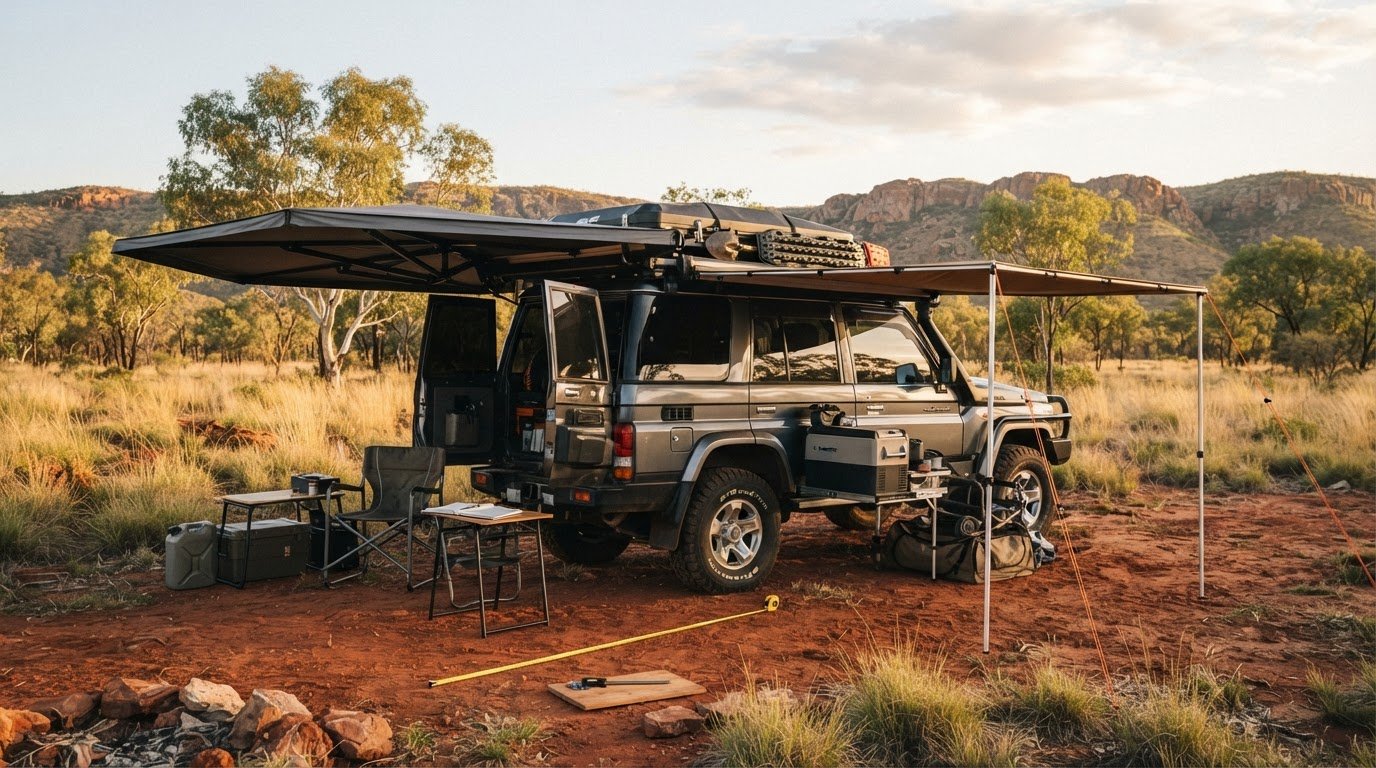
A bent awning arm isn’t always a DIY fix, and forcing it straight can turn visible damage into a hidden safety risk. If your 4WD awning has taken a knock or been exposed to strong winds, it’s understandable to want a quick repair. This DIY repair guide for a bent awning arm starts with a safer step: assess the damage before touching the mechanism.
Look for warning signs such as creases, cracks, corrosion, or arms that no longer align. This guide explains which visual checks may be useful, when a manufacturer-approved adjustment might apply, and when to stop, secure the awning, and consider replacement assessment instead. Electric awnings need extra care: disconnect power as the manufacturer instructs before inspection. Don’t remove an arm unless the roller tube is securely supported. Gas struts and other tensioned components can also move suddenly.
Identify your awning model before considering a replacement part, and keep the manufacturer’s instructions at the centre of any model-specific work. A methodical assessment helps protect your crew and gear, and makes it easier to decide whether the awning is safe to use.
Key Takeaways
- Wind, impacts, uneven deployment, and unsecured travel can all contribute to a bent arm, but the awning’s design affects which checks are safe.
- This DIY repair guide for a bent awning arm sets out a cautious inspection sequence, starting with clearing people, pets, and loose gear from the work area.
- Check for cracks, deformation, joint damage, and unreliable locks. Use the manufacturer’s instructions to decide whether a specific adjustment is permitted or the damage needs replacement assessment.
- Use the awning’s model instructions to guide safe handling and identify the correct replacement part if damage appears structural.
- Only attempt a cautious, unloaded function check when the arm appears intact and the instructions permit it. Stop if movement is uneven, noisy, loose, or difficult.
Table of Contents
- Bent awning arm? Identify the damage before attempting a DIY repair
- How 4WD awning arms bend, and why the design matters
- DIY Bent Awning Arm Repair: Safe Checks in Order
- Repair or replace a bent awning arm? Use these decision checks
- After a bent awning arm repair: test cautiously and prevent repeat damage
Bent awning arm? Identify the damage before attempting a DIY repair
After a gusty night, a low branch brushing the vehicle, or an awkward setup, you might notice one 4WD awning arm sitting out of line. Don’t operate the awning to see whether it still works. Keep people clear and assess its stability from a safe position before deciding what to do next.
A slight visual mismatch doesn’t automatically mean the arm has failed. A mounting point or joint may look out of line even when the arm itself is not bent. By contrast, a crease, twist, or damaged locking point can affect how the awning is supported. Designs and materials vary, so use your model’s current manual to identify its parts and understand their intended position. This general overview of awning types and materials provides background, but it can’t replace model-specific instructions.
What should you inspect on a bent awning arm?
Start with a visual check only. Don’t stand beneath an awning that looks unstable, climb on the vehicle, or put your hands near a loaded joint. Where possible, compare the affected side with the undamaged side, keeping in mind that some designs aren’t perfectly symmetrical.
- Arm material: Look for cracks, sharp creases, obvious bends, or twisting. A surface scuff may be cosmetic, but a change in the arm’s shape could affect its strength.
- Connections: Look at visible fasteners and pivot points for looseness, damage, or parts that appear displaced. Don’t tighten or dismantle anything during this initial assessment.
- Locks and seating: Note whether the arm appears to sit in its usual position and whether its lock looks engaged or damaged. Don’t force it to seat.
- Alignment: From outside the awning’s potential fall or movement area, observe whether the arms and canopy appear uneven. Don’t move the awning just to improve your view.
If the awning is already safely stowed, check whether it retracts and locks as the manual describes only if there’s no sign of structural damage and the instructions allow it. Don’t use movement as a test when the arm looks compromised.
When should you stop using the awning?
Visible cracking, severe deformation, a slipping joint, or a lock that won’t engage are stop-use signs. A stuck arm is another reason to pause, not apply more force. Don’t load the awning with accessories, lean on it, or test it in wind. Keep others clear and follow the manufacturer’s instructions for securing it. If it can’t be secured safely, don’t improvise.
Structural damage can compromise an awning arm’s support. Stop using the awning until you’ve assessed the damage against the manufacturer’s instructions.
This first check helps distinguish a possible minor alignment issue from damage that may need replacement assessment. A careful DIY repair guide for a bent awning arm starts with recognising that difference, not trying to straighten metal or force a mechanism back into place.
How 4WD awning arms bend, and why the design matters
A bent-looking arm can follow a branch strike, a gusty camp setup, or an awning that was extended unevenly. The event offers clues, but it doesn’t establish which part has failed. Depending on the model, the arm may work with different joints, brackets, locks, and support systems. Damage at one connection can change how force travels through the assembly, even if the arm itself looks mostly straight.
That’s why appearance alone can’t tell you whether an adjustment is safe or what a repair should involve. Use the circumstances around the damage as context, then let the model’s instructions guide your next step.
Common causes of a bent awning arm
Think back to what happened before the arm looked out of line. A knock from a tree branch, forceful handling, uneven extension, or strain in strong conditions could each affect the assembly differently. An awning left unsecured during travel may also be exposed to movement it wasn’t designed to withstand.
Stress can concentrate around pivots, brackets, and locking points, where connected parts transfer or resist movement. For example, if one side extends ahead of the other, the arms may not share the load evenly. Don’t diagnose from the shape alone. Note whether there was an impact, difficult operation, wind exposure, or movement during travel. That history can help you describe the issue accurately without guessing at a repair.
Why awning models need different repair checks
Some awnings use arms that fold in sections; others use different support, joint, or locking arrangements. Materials and mechanisms also vary, so a check that’s suitable for one design may be unsafe on another. Find the model label and the manufacturer’s current instructions before attempting any adjustment. The model-specific manual should guide repair decisions because it identifies the intended operating sequence, locking points, and components that must remain supported.
Look for the make and model on the awning or in its documentation, then use that information to find the relevant instructions. Don’t assume parts are interchangeable just because two arms look similar. If you can’t identify the model, avoid dismantling components or trying a repair based on another awning’s procedure.
Take particular care around spring-loaded, tensioned, or pressurised components. These can move suddenly if released, so don’t improvise by removing pins, opening housings, or separating a joint. If the instructions don’t explicitly cover the adjustment you’re considering, leave the mechanism assembled and treat the arm as needing further assessment.
Understanding how different 4WD awning designs and support features vary can also help you make informed gear choices for future trips. For now, match the damage to your own awning’s instructions rather than forcing a familiar-looking fix.
DIY Bent Awning Arm Repair: Safe Checks in Order
Take this sequence slowly. A bent arm can shift or release unexpectedly, so start with observation, not tools. Before considering any adjustment, stop if you see a crack, sharp crease, severe twist, loose or slipping joint, damaged bracket, or failed lock. Stop as well if the awning is unstable, can’t be secured as the manual directs, or the instructions don’t clearly allow the work. Don’t try to straighten structural damage yourself.
- Clear the work area. Move people, pets, and loose gear away from the awning and its potential movement or fall zone. Keep everyone clear while you inspect. Don’t work beneath unsupported fabric or an unstable arm.
- Identify the awning and read its instructions. Find the model label and the manufacturer’s current manual. Read its safety warnings and check the specified method for securing the awning before inspection. If you can’t identify the model or find instructions for the adjustment you’re considering, limit your work to visual observation.
- Secure it only as directed. Follow the manual’s steps for securing or positioning the awning. Don’t improvise supports or rely on another person holding an arm in place. For an electric awning, disconnect power as the manufacturer instructs before inspection.
- Record what you can see. From a safe position, take clear photos of the affected arm and its visible connections. Note whether the arm, joints, brackets, or locks appear shifted, and record what happened before the damage appeared. Don’t move the arm to get a better angle.
- Check for permitted user adjustments. Compare the observed position with the manual’s instructions. Only use a manufacturer-approved adjustment if the manual expressly permits it and the arm, joints, brackets, and locks appear intact. Follow the stated method exactly. Don’t add force or substitute a different procedure.
- Stop at any change in resistance or condition. If alignment doesn’t return easily, or any part binds, slips, cracks, loosens, or moves unevenly, stop immediately. Don’t continue testing or try another adjustment.
Don’t hammer, heat, clamp, or force the arm back into shape. An arm can look straighter after force is applied while still being weakened, and improvised methods may damage a joint or lock. This DIY repair guide for a bent awning arm is about safe checks, not reshaping load-bearing parts.
Keep your photos and notes with the awning’s model details. They can help you compare the damage with the manufacturer’s instructions and identify the correct next step without dismantling the assembly. For future trips, comparing 4WD awning designs can help you understand how models differ in their support and operating systems.
Repair or replace a bent awning arm? Use these decision checks
The decision isn’t simply whether you can make the arm look straight again. Compare what you can see with the manufacturer’s maintenance instructions, and treat structural damage as a reason to stop using the awning while you assess the next step. Use these checks to distinguish a limited, permitted adjustment from warning signs that call for replacement assessment.
Manufacturer-approved adjustment may be appropriate
- Cracks and deformation: No visible cracks, sharp bends, creases, or twisted sections.
- Joints and mounts: Joints move as described in the manual, and visible mounting points appear secure and intact.
- Locking function: Locks engage as the instructions describe, without slipping or sticking.
- Instructions: The manual identifies the specific issue as user-adjustable and gives a procedure for your model.
Structural damage needs replacement assessment
- Cracks and deformation: Cracked, sharply bent, creased, or twisted material may have lost strength.
- Joints and mounts: A damaged bracket, loose mounting point, or slipping joint can affect support.
- Locking function: A lock that won’t engage or hold reliably makes continued use unsafe.
- Instructions: The manual gives no user adjustment for the damage, or directs you to stop using the awning.
Signs a limited adjustment may be appropriate
Consider an adjustment only if the manufacturer describes it as routine user maintenance for your model. The arm material must appear intact, joints must function as specified, and mounting points must be secure. Follow the exact method in the instructions. Don’t infer that a part is adjustable because it has a bolt or looks similar to one in another design.
Even if the arm appears aligned afterwards, that doesn’t prove it’s safe to use. Follow the manufacturer’s permitted function-check procedure and stop if the awning moves unevenly, binds, or the lock doesn’t hold. A good-looking result is one observation, not confirmation that a damaged component has recovered its strength.
Signs replacement assessment is the safer path
Cracks, sharp bends, twisted sections, damaged mounts, or unreliable locks are serious warning signs. Repeatedly bending a deformed arm can weaken it further, even if each attempt makes the shape look closer to normal. Don’t keep reshaping it or rely on the awning for shade or shelter while its support is uncertain.
Before identifying a replacement, note the awning’s make, model, and any part information shown in its documentation. Arms that look alike may differ in length, joint layout, mounting points, or locking mechanism. Don’t assume a replacement will fit based on appearance alone. Use model-specific manufacturer information to establish compatibility.
For broader design context as you compare awning layouts and support systems, explore our 4WD awning reviews and recommendations. Matching the decision to the actual awning design helps you choose a safer next step instead of relying on guesswork.
After a bent awning arm repair: test cautiously and prevent repeat damage
A permitted adjustment isn’t the finish line. Before relying on the awning again, confirm that its manufacturer allows a function check and that the arm, joints, mounts, and locks appear intact. If you still see a crack, deformation, looseness, or other structural concern, don’t test it. Keep the awning secured as directed and leave it out of use until the damage has been assessed.
How to check the awning after an approved adjustment
Use only the test procedure in the model manual. Keep people, pets, and gear clear of the moving arms, and don’t stand beneath the canopy while it operates. If the instructions allow an unloaded check, follow their deployment sequence without hanging gear or leaning on the awning.
- Watch the movement. Observe from a safe position as the awning moves through the permitted check. Look for both sides moving as intended, without binding or an obvious change in alignment.
- Check the locks. Confirm they engage and hold as the manual describes. Don’t put your hands near a moving joint or try to force a lock into place.
- Stop at any irregularity. Uneven movement, unusual noise, looseness, difficulty operating, or fresh damage means the awning shouldn’t be used. Don’t repeat the test to see if the problem clears.
A smooth check is useful, but it isn’t proof that an arm with structural damage is safe. If anything feels or looks different from the manual’s description, stop using it rather than adding load or extending the test.
Preventing another bent awning arm
Good habits help protect the awning and its mounting points on future trips. Follow the manufacturer’s sequence every time you deploy or pack it away. Don’t pull one side ahead of the other, force a resistant mechanism, or leave loose gear where it can catch an arm. If conditions make controlled deployment difficult, pause rather than wrestling with the setup.
- Before travel: Stow and secure the awning using the model’s specified travel procedure. Check that its restraints and locks are in their intended positions before driving.
- After an impact: Inspect visible arms and mounts after a branch strike, awkward setup, or other knock. Don’t wait for a problem to appear during the next deployment.
- During routine checks: Look for changes in alignment, fasteners, joints, and locks as part of caring for your camping gear. Follow the manual for any maintenance beyond visual inspection.
Responsible awning care helps keep gear dependable and camps set up thoughtfully. For more ideas on choosing and using equipment for Australian adventures, explore our outdoor adventure guides. Keep the model manual close and let it guide future checks. A careful DIY repair guide for a bent awning arm ends with the same principle it starts with: if safe operation isn’t clear, don’t use the awning.
Carry safer gear habits into your next trip
Keep the awning’s model details and manufacturer instructions with your vehicle records. That gives you a reliable reference if something shifts on the road or a future setup doesn’t feel right. Add a quick visual check to your pre-trip routine, too. Noticing changes before you rely on the awning can help you make a more considered call at camp.
Self-reliance isn’t about forcing every fix. It’s knowing where a safe check ends and protecting your crew and equipment matters more. Use this DIY repair guide for a bent awning arm as a reminder to base decisions on the manual and the condition of the actual awning, not guesswork.
Planning more time outdoors? Adventurerz shares practical guidance and reviews to help you choose gear for Australian adventures. Explore our outdoor adventure guides for ideas and recommendations for your next trip.
Frequently Asked Questions
Can I bend an awning arm straight again?
Don’t try to straighten a visibly deformed arm by force. Hammering, heating, or clamping can further weaken the metal, even if the arm looks straighter afterwards. The safe distinction is between a manufacturer-approved adjustment and reshaping a damaged support component. If the manual doesn’t describe the adjustment for your model, leave the arm untouched and keep the awning out of use.
Is it safe to use an awning with a slightly bent arm?
Not necessarily. A small-looking bend can affect how the arm carries the canopy’s load or engages with a lock, and appearance alone can’t establish that it’s safe. Don’t leave the awning open overnight or rely on it for shelter until you’ve checked its condition against the manufacturer’s instructions. If you can’t tell whether the arm is distorted or simply misaligned, don’t use it.
How do I identify the make and model of my 4WD awning?
Look for a label or identification plate on the awning housing, mounting area, or supplied documentation. Check your original purchase records and any manuals kept with your vehicle gear as well. Record the brand, model name or number, and any serial or part number shown. If a label is damaged or missing, avoid guessing from the awning’s colour or shape. Those details don’t reliably identify compatible components.
What should I do if an awning arm is stuck or will not lock?
Stop operating it and don’t force the arm or lock into position. A jam can indicate misalignment, a damaged joint, or another fault, and added pressure may worsen the problem. Keep the area clear and follow the manual’s directions for leaving the awning in a safe position. If it can’t be secured using the stated method, don’t improvise a fix or travel with it unsecured.
Can I replace just one bent awning arm?
Possibly, but it depends on the awning’s design and the manufacturer’s parts guidance. Some systems may specify an individual arm, while others may require related components to be assessed together. Use the model and part information to establish compatibility, including the side and connection details. Don’t choose a replacement solely because it looks similar. A mismatch in fittings or locking arrangement can prevent correct installation.
Do awning arms contain springs or stored tension?
Some awning designs use tensioned mechanisms, gas struts, or other components that may move suddenly if dismantled. Others may use a different arrangement, so don’t assume your arm is tension-free. Check the manual’s warnings before touching pins, joints, or housings. If the instructions don’t clearly explain a component’s safe handling, leave it assembled. Releasing stored force without the correct procedure can cause injury or damage.
What should I check after an awning arm has been repaired?
Only test the awning if the manufacturer permits it and the arm appears structurally intact. Follow the manual’s test sequence without attaching gear, and watch for changes in alignment, movement, or locking. Note any fresh marks or looseness around the connections after the check. If the test feels different from normal operation, stop using the awning instead of repeating the movement and hoping it settles.