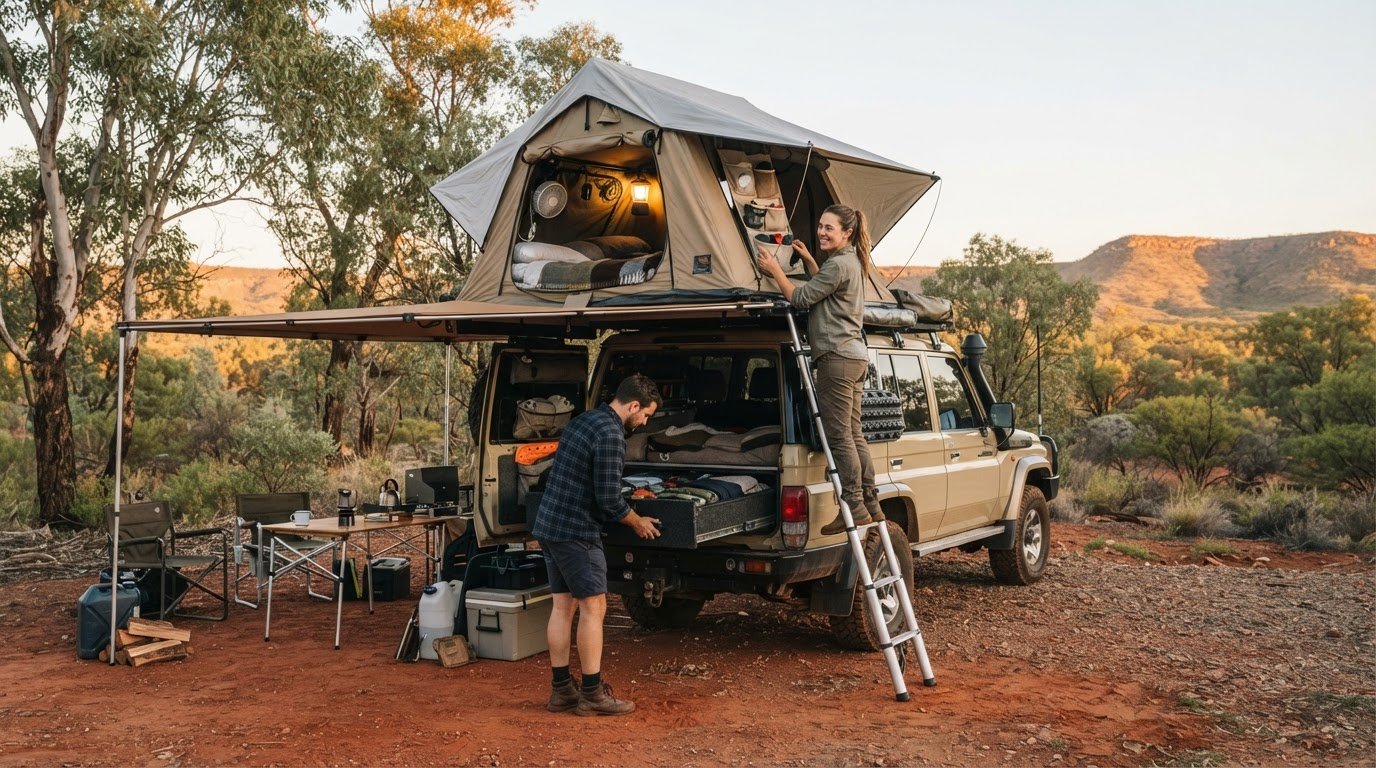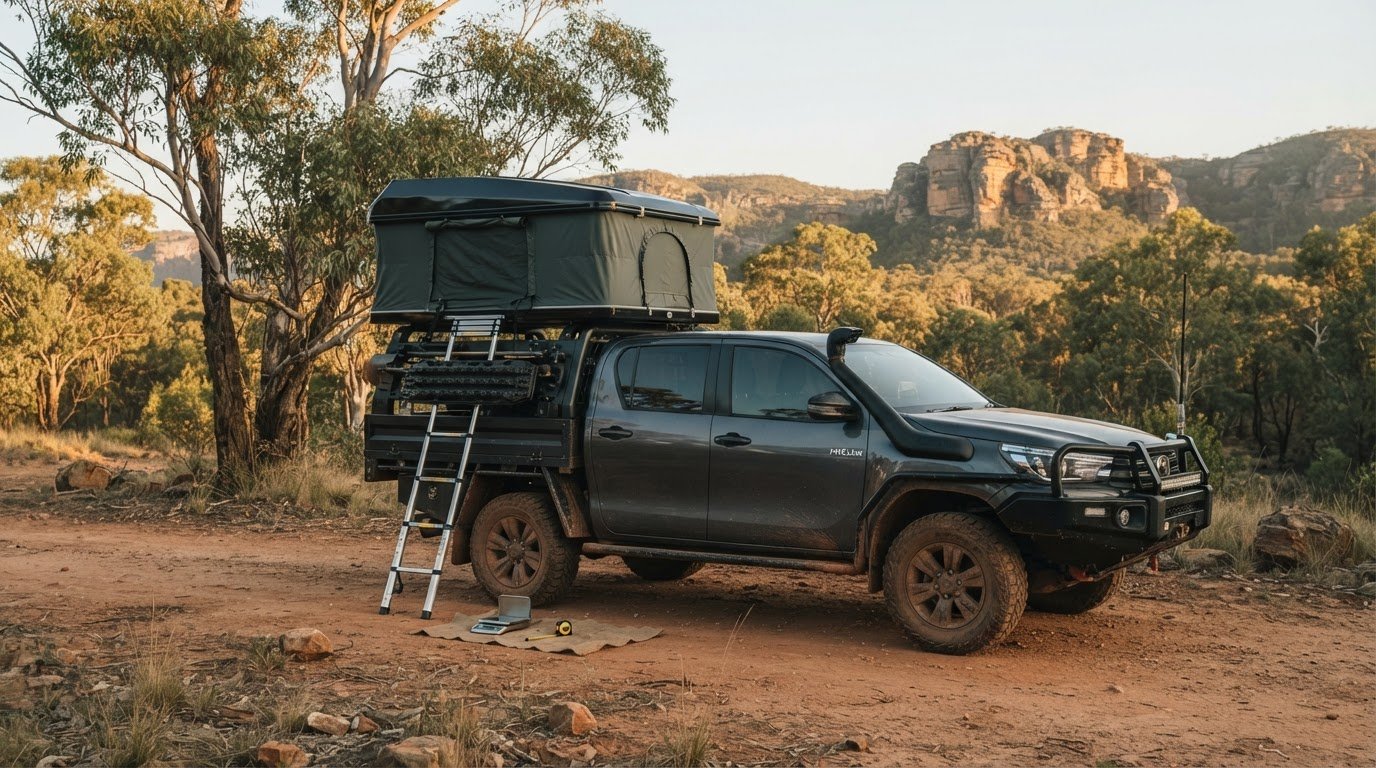
What if the best roof top tent upgrade is the one you can undo in minutes? If your tent feels cramped, clutter builds up, or pack-down turns into a tangle of straps and gear, DIY roof top tent modifications and hacks can make camp more comfortable without creating a structural or safety problem.
Customising a setup to suit the way you travel is appealing, but drilling into a shell, adding wiring or changing load-bearing parts can affect waterproofing, durability and safe use. Start with simple, reversible ideas, and check your tent and vehicle manufacturer’s guidance before making changes.
This guide covers practical upgrades for storage, sleep comfort, lighting and easier setup, along with risks to consider before reaching for tools. You’ll come away with ideas to match your tent and camping habits, plus a clearer sense of which modifications are best left alone. Thoughtful preparation means less time wrestling with gear and more time enjoying Australia’s outdoors responsibly.
Key Takeaways
- Use DIY roof top tent modifications and hacks to solve specific comfort or organisation problems, starting with lightweight, removable changes.
- Choose soft storage, bedding restraints and compact organisers that keep essentials handy without adding permanent fixtures.
- Manage condensation with sensible ventilation habits, and weigh removable storage against the risks of drilling or cutting.
- Match lighting and power options to your setup, keeping batteries and cables secure and protected from weather.
- Before travelling, check your tent instructions, assess each change, test it at home and inspect it again before heading off.
Table of Contents
- Why Make DIY Roof Top Tent Modifications and Hacks?
- Easy, Reversible Roof Top Tent Hacks for Everyday Comfort
- Storage, Ventilation, and Weather Hacks Without Risky Structural Changes
- Power, Lighting, and Awning Add-Ons: Match the Hack to Your Setup
- How to Test DIY Roof Top Tent Hacks Before Your Next Trip
Why Make DIY Roof Top Tent Modifications and Hacks?
A useful tent hack solves a problem you encounter regularly, not one you might have someday. Bedding that shifts during pack-down, essentials you can’t reach from your sleeping area, or dim interior lighting are practical reasons to make a change. The best DIY roof top tent modifications and hacks make camp life smoother without adding bulky gear you rarely use.
A roof-top tent is part of a larger vehicle setup, so even a small addition can affect how the tent packs, opens or travels. Lightweight, reversible ideas are a sensible starting point: they’re easy to remove if they prove inconvenient and less likely to interfere with the tent than permanent alterations.
For a visual look at upgrade ideas, watch this roof top tent tips video:
Which roof top tent frustrations are worth fixing?
Identify one repeated annoyance before choosing an accessory. A removable bedding strap could stop blankets bunching up; a small organiser near the entry could keep a head torch or phone within reach. Portable lighting can make it easier to find what you need after dark. Each addition should earn its space. If it creates more clutter than it removes, leave it behind.
A good tent hack is useful often, easy to reverse and safe for the tent and vehicle. That’s a more reliable test than whether an idea looks clever online.
Start with your tent, vehicle, and camping routine
Removable accessories, such as soft storage or a hook clipped to an existing attachment point, are different from drilling the shell, cutting fabric, altering the frame or mounts, or changing the electrical system. Those changes can affect structural integrity, weather protection or safe operation. Don’t assume a modification is suitable just because it fits.
Read the tent manufacturer’s instructions before changing materials or attachment points. Consider the packed height and added weight, as well as access to the vehicle. Think about your routine, too: a setup for quick overnight stops may benefit from different tweaks than one used for longer camp stays. For context on tent styles and features, explore our roof top tent reviews and guidance before settling on modifications.
Easy, Reversible Roof Top Tent Hacks for Everyday Comfort
Small, removable changes can make a roof top tent more comfortable without altering its shell or frame. Fix a specific annoyance with an addition that stays secure in use, comes away cleanly and doesn’t get in the way when you open or pack the tent. These DIY roof top tent modifications and hacks are most useful when they reduce fuss without adding unnecessary bulk.
Organisation hacks for small tent interiors
Soft fabric organisers can hold lightweight essentials and stop hard objects rolling around. Attach one to an existing point only if the tent instructions allow it, and position it clear of the entry, zips, hinges and other moving parts. Avoid drilling new holes or placing adhesive where it could damage a surface or fabric.
- Give small items a home: Keep a headlamp, glasses and phone in separate pockets so they’re easy to find in the dark.
- Use simple removable hooks: Hang light items from suitable existing loops, not from fabric or components that aren’t designed to bear a load.
- Contain loose gear: Before closing the tent, return small items to a pouch or organiser and check that nothing can become trapped in the fold.
A compact bedside organiser works best when it holds only what you reach for overnight. If it blocks access or crowds the sleeping area, remove items until it fits comfortably, or take it out.
Bedding, lighting, and small comfort upgrades
If bedding shifts during pack-down, a removable strap or dedicated bedding bag may help keep it together. Keep restraints loose enough not to compress or pull on tent fabric, and make sure no strap or buckle sits where the tent closes.
For interior lighting, try a rechargeable lantern or battery-powered LED light that can be removed before travel. Avoid improvising wiring or attaching lights where cables could snag, pinch or interfere with opening and closing. Keep the light accessible at camp, then secure it for travel.
Reversible upgrades are a prudent first step: they’re easy to adjust, simple to remove and less likely to interfere with the tent’s intended design.
Test each change at home. Set up and pack down the tent, then check for loose fittings, awkward reach or trapped material. A short trial can show whether an idea genuinely makes camp easier. For help matching a tent to your setup, explore our roof top tent reviews and recommendations.
Storage, Ventilation, and Weather Hacks Without Risky Structural Changes
More storage can seem like an easy win, but a permanent fitting may create new problems. Drilling can penetrate the tent shell, while cuts or untested adhesives may affect materials and waterproofing. Start with removable options you can take down, clean and inspect. The safest DIY roof top tent modifications and hacks preserve the tent’s original structure and keep essential openings clear.
Add storage without drilling into the tent
Try a soft pocket or fabric bag attached only to a suitable existing point, following the tent manufacturer’s instructions. Keep it clear of zips, seams, vents and the entry. If the tent has no appropriate attachment point, store overflow securely in the vehicle or awning area rather than creating one.
Keep heavy or sharp items away from tent fabric and occupants. Store them securely in the vehicle, where they’re less likely to press against the sleeping area or snag material. Removable bags are easy to empty and check for dampness; permanent fittings can be harder to inspect and may collect moisture or dirt. Remove and dry storage items as needed, especially after wet-weather trips.
Manage condensation and weather with low-impact habits
Condensation can build up as moisture from breathing and damp gear meets cooler tent surfaces. Use the ventilation provided by the manufacturer, keeping vents open as directed and unobstructed. Don’t cover vent openings with storage or bedding. If conditions allow, air damp bedding before packing it away, and dry the tent when you can after a wet trip.
Tent waterproofing depends on preserving the fabric, seams and their intended treatments, not adding untested sealants or making cuts. Don’t modify vents, apply improvised coatings or use adhesive repairs without guidance from the manufacturer. These changes can affect weather protection and complicate future care.
An awning can provide shade or a sheltered spot to sort damp gear outside the sleeping area. Explore our 4WD awning guidance to compare considerations for adding one to your vehicle.
Before each trip, check that storage is secure and no accessory blocks safe entry or exit, drainage paths, zips, vents or seams. A tidy setup should make the tent easier to use without changing how it sheds water or breathes.
Power, Lighting, and Awning Add-Ons: Match the Hack to Your Setup
Lighting and power can make camp more comfortable, but a neat-looking installation isn’t automatically safe. Start with portable gear you can remove and store securely. Fixed electrical additions need more planning and should be assessed by a suitably qualified auto-electrical professional before installation. These DIY roof top tent modifications and hacks work best when they suit your vehicle setup and don’t interfere with how the tent opens, closes or travels.
Choose between portable and fixed lighting
A rechargeable lantern or battery-powered light is easy to position for reading, cooking or finding gear, then remove before pack-down. Fixed lighting may create a more integrated setup, but wiring brings extra considerations. Keep cables clear of moving parts, pinch points, water exposure and walkways. Protect batteries and accessories from weather, and secure them so they can’t shift while driving or handling camp gear.
| Option | Effort | Reversibility | Likely benefit | Key caution |
|---|---|---|---|---|
| Portable battery light | Low | High | Quick light where it’s needed | Secure it for travel; protect it from weather |
| Rechargeable light | Low | High | Convenient, removable illumination | Plan charging and keep it dry |
| Fixed lighting | Higher | Lower | A more integrated setup | Get the electrical addition assessed; route cables safely |
| Awning-side light or organiser | Low | High | Useful light or storage in sheltered camp space | Keep accessories clear of moving parts and secure for pack-down |
Use an awning to improve the camp setup
An awning can create a sheltered area beside the vehicle for sorting gear, preparing for the night or placing a portable light. It adds useful camp space without modifying the tent itself. Check that the awning is compatible with your vehicle’s existing rack setup; this is separate from changing roof top tent mounting hardware. Follow the awning manufacturer’s instructions for setup, securing and pack-down, and stow lights and organisers before driving.
For help comparing options for a sheltered camp area, explore our 4WD awning guidance. Useful add-ons should make your setup simpler, not create extra wiring, clutter or loose gear. Explore more camping and 4WD guidance as you plan a practical, well-prepared setup.
How to Test DIY Roof Top Tent Hacks Before Your Next Trip
A modification can seem convenient at camp and still be unsuitable for travel. Check the tent instructions, consider how the change could affect the tent and vehicle, then test it at home before relying on it outdoors. This helps catch problems while there’s time to remove or adjust the addition.
A practical pre-trip test for each modification
- Check the instructions: Look for guidance on attachment points, materials, operation and care. Don’t assume a feature or accessory is compatible just because it appears to fit.
- Assess the change: Consider its added weight, how it’s secured, whether it blocks entry or exit, and whether it clears all moving parts when the tent opens and folds. Include the tent, rack and accessories in your vehicle-loading checks, and compare the setup with the relevant limits in your vehicle, rack and tent documentation.
- Test at home: Set up and pack down the tent with the modification in place. Check that nothing rubs, snags, shifts or catches in the fabric, zips or hinges. Try accessing the tent as you would at camp.
- Inspect again: Look for loose fittings, wear, trapped material or signs of water entry. Remove or revise anything that moves, leaks, complicates access or interferes with the tent’s operation.
Test electrical additions only if you have the skills and equipment to assess them safely. Otherwise, pause rather than improvising wiring. A convenient placement doesn’t prove that a cable route or power setup is suitable.
Know when to stop or choose a simpler solution
Keep DIY roof top tent modifications and hacks away from structural components, mounting points, seams and waterproof layers. Drilling, cutting or changing these areas can affect how the tent performs and withstands weather. If the instructions don’t support a change, choose a removable alternative or leave the tent as designed.
A proper test includes normal setup and pack-down, not just a quick check with the tent open. The vehicle’s movement, folding process and packed configuration all matter. If an accessory shifts, adds unaccounted-for load, blocks safe access or makes the tent harder to secure, resolve the issue before taking it on the road.
Thoughtful trip preparation starts with gear that suits how and where you camp. If you’re comparing tent styles or planning a setup from scratch, explore our roof top tent reviews for guidance.
Make Your Next Camp Setup Work Better
The most useful DIY roof top tent modifications and hacks solve a real, recurring problem without compromising the tent’s structure or your vehicle setup. Start with lightweight, reversible additions, and check your tent’s instructions before changing attachment points, materials or electrical components.
Keep storage tidy, preserve clear ventilation and safe access, and test every change through a full setup and pack-down at home. If a modification shifts, snags, leaks or adds uncertainty, simplify it. A small improvement that works reliably is better than extra gear that complicates camp.
Good preparation starts with choosing a tent and setup that fit the way you travel. Explore practical roof top tent advice, including roof top tent reviews and recommendations, alongside camping and 4WD guidance for Australian adventurers. Browse Adventurerz’s roof top tent reviews and recommendations to plan a setup that suits your next trip.
Frequently Asked Questions
Can I drill holes in a roof top tent to add accessories?
Usually, avoid drilling into a roof top tent unless its manufacturer’s instructions explicitly permit the change and explain how to protect the structure and weatherproofing. Holes can compromise the shell, fabric, seams or waterproof layers, and may let water in. Try a removable organiser or use an existing attachment point if the instructions allow it. Don’t rely on improvised sealant to make an unauthorised hole safe.
How can I reduce condensation in a roof top tent?
Use the tent’s manufacturer-provided ventilation as directed, and keep vents clear of bedding and stored gear. Moisture from breathing and damp clothing can collect on cooler surfaces, so avoid bringing wet items into the sleeping area where possible. Air damp bedding when conditions allow, and dry the tent after a wet trip before packing it away. Don’t cut new vents or alter the fabric or waterproof treatments.
Are roof top tent modifications safe for my vehicle?
They can be, but a convenient modification isn’t automatically safe for your vehicle. Check the vehicle, roof rack and tent instructions, then account for the tent and every added accessory when assessing weight and attachment. Consider whether anything could shift, affect access or interfere with opening and folding the tent. Keep DIY roof top tent modifications and hacks removable where possible, and resolve uncertainty before travelling.
What are the easiest DIY roof top tent hacks for beginners?
Start with lightweight, reversible additions that solve a repeated annoyance. A soft organiser can keep a headlamp, glasses and phone within reach; a bedding strap or bag can help keep bedding together during pack-down. A removable hook may hold a light item if the tent has a suitable attachment point. Check that each addition stays secure and doesn’t block entry, vents, zips or moving parts.
Can I install LED lights inside a roof top tent?
Yes, portable battery-powered or rechargeable LED lights are a simple option for tent interiors. Secure the light for travel, keep it protected from weather and position it clear of zips, hinges and other moving parts. Fixed lighting involves wiring and needs appropriate technical assessment. Don’t route cables where they could be pinched, snagged, exposed to water or create a trip hazard around the tent or vehicle.
Will DIY modifications affect my roof top tent warranty?
They might, depending on the tent, the modification and the manufacturer’s warranty terms. Read the warranty and care instructions before changing materials, attachment points, electrical components or the shell. Don’t assume a removable accessory has no warranty implications if it affects how the tent operates or causes damage. Keep the tent’s original documents handy, and follow the manufacturer’s guidance for any change you’re considering.
How do I keep roof top tent accessories from adding too much weight?
Choose only accessories that solve a real need, and remove items you don’t use regularly. Weigh or check the stated weight of additions, then consider them alongside the tent, roof rack and other roof cargo. Compare the complete setup with the limits in your vehicle and rack documentation, including any conditions specified for travel. Secure accessories so they can’t shift, and reassess the load whenever your setup changes.