The brightest awning light isn’t automatically the best campsite choice. The best LED lighting kits for 4WD awnings suit your 12V power setup, mount securely and direct light where you need it. A plug-and-play connection can keep setup straightforward, while thoughtful positioning helps light your camp without shining straight into everyone’s eyes.
It’s easy to focus on brightness when you’re choosing camp lighting, but fit and function matter just as much. A light that clashes with your power connection or gets in the way when you pack down can make camp less comfortable, not more.
We’ll walk through how to compare LED light options, connect them to 12V power and choose a mounting position for practical campsite coverage. You’ll also learn what to consider when deciding between a flexible strip and a rigid light bar, so you can set up confidently and keep your campsite lighting useful and considerate of the outdoors.
Key Takeaways
- Match a light’s stated voltage range to your 12V setup, then choose a connection style that suits how you camp.
- Use the awning’s sail track or arms to position lights securely without obstructing setup or pack-down.
- Mount lights above eye level and aim them down and outward for useful coverage with less glare.
- Weigh the flexible, low-profile convenience of strip lights against the sturdiness and pack-down needs of rigid bars.
- Explore Adventurerz’s 4WD awning reviews and recommendations to help narrow down options for your Australian camping setup.
Table of Contents
12V power and plug-and-play connections
To install LED lights on a 4WD awning, match the kit’s voltage range to its 12V supply, mount it securely, then connect it as instructed. Before wiring, switch off the power and keep connectors and cable runs clear of moving awning parts. For a plug-and-play kit, use its supplied connection rather than improvising a different wiring arrangement.
Check the light’s input voltage before choosing a power source. Awning and canopy lights are listed with ranges of 9-32V DC or 12-28 V DC, depending on the kit. These ranges are not interchangeable product specifications: use the range printed for the light you’re considering. A 12V vehicle supply is a common connection for plug-and-play awning lighting.
Work through the setup in a steady order:
- Read the kit instructions and identify its input-voltage range and connector type.
- Choose a 12V connection that suits your setup, such as a direct power connection or a lighter socket when the light supports it.
- Route the lead so it won’t snag on the awning’s arms, hinge points or fabric.
- Secure the light, connect it as directed, then test it before relying on it at camp.
Common problems include a connector that does not match the power source, a cable that catches as the awning moves, or a loose connection that stops the light working. Never force mismatched plugs together or leave exposed wiring where it could be pulled or damaged. Protect connections from moisture and dirt, and follow the kit’s wiring and care instructions.
Some flexible LED strips plug into a vehicle’s lighter socket, which can be convenient for a temporary setup. However, a work light powered this way and attached to the awning could get knocked down. Keep the lead controlled and position the lamp away from places where people might brush against it. Do not hang a gas lantern directly beneath a canvas awning.
Brightness and colour help narrow the choice, but don’t treat one specification as a measure of suitability. Awning and canopy lights come in different brightness and colour options, so choose one suited to your tasks. Consider whether that light suits your cooking, packing or shared campsite tasks. The best LED lighting kits for 4WD awnings are the ones that fit your power source, mounting arrangement and intended use.
For a complete setup, consider how the awning’s mounting points and power access work together. The 4WD awning reviews and recommendations can help you assess the awning alongside its lighting needs, before settling on a connection and cable route.
Attaching lights to awning sail tracks and arms
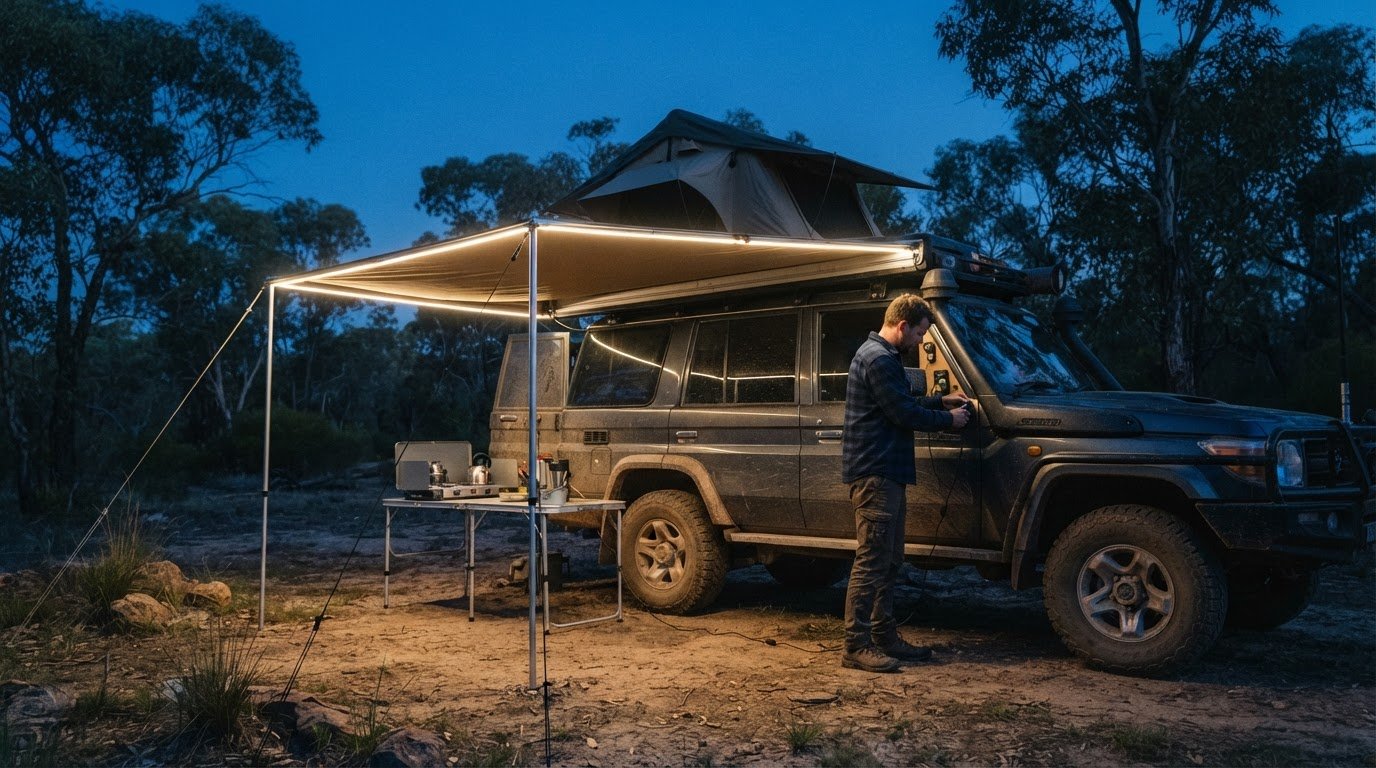
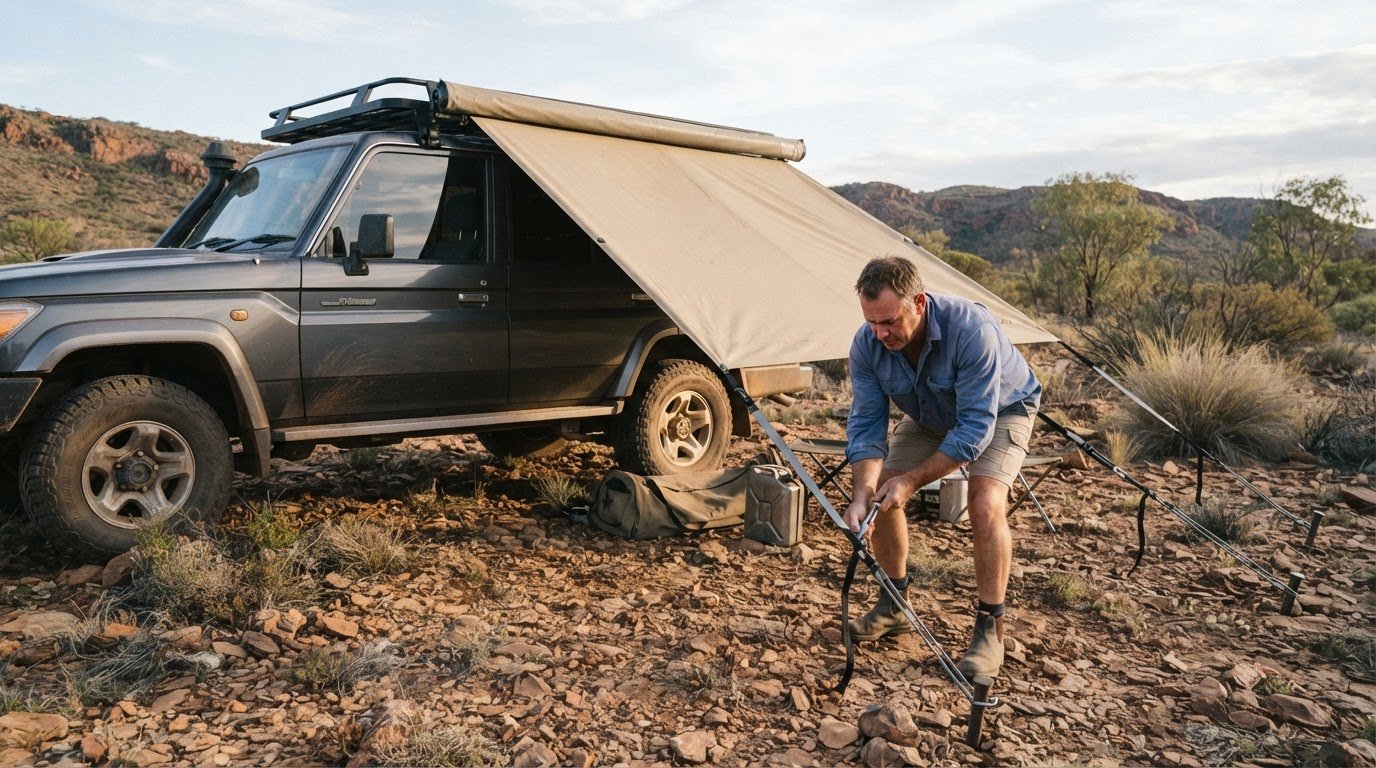
A sail track gives a light strip a defined position along the awning edge, while the arms provide another mounting line. Choose a location that keeps the fabric, hinges and moving joints clear. Before attaching anything, extend the awning fully and check that the light and cable will not obstruct its movement. A strip beneath the end bar can illuminate the area along the awning without taking up space on the fabric.
Adhesive backing can attach a flexible LED strip to a clean, suitable surface, while a compatible sail-track fitting can secure a light along the track. Follow the mounting instructions, and avoid stretching or sharply bending a flexible strip around an arm. Keep wiring close to the mounting line but clear of joints that fold as the awning opens and closes. A loose cable can snag, pull the light free or interfere with the fabric.
Test the mounting position before packing down. Extend and retract the awning while watching the light, wiring and connectors throughout the movement. For an arm-mounted light, make sure the fitting remains secure as the arm changes angle. For a sail-track strip, check that the track holds it in place and that the lead reaches the power source without crossing a pinch point.
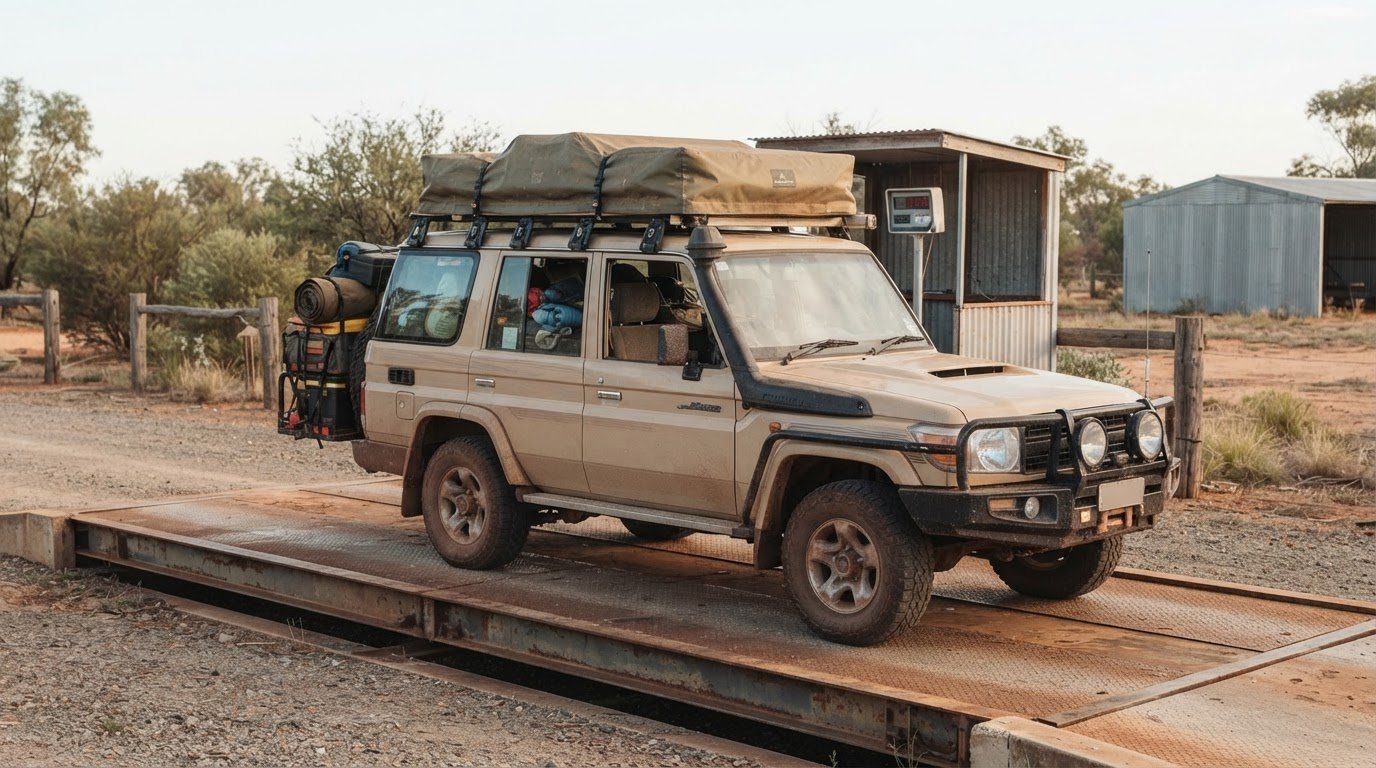
Whether lights can stay attached when you roll up an awning depends on their profile and construction. A low-profile LED strip may remain mounted if its position and installation let the fabric fold without catching. Remove rigid LED bars and thicker wiring looms before rolling the awning away. Bulky components left in place can obstruct the roll or strain their mounts and cables.
For a safe pack-down, disconnect power first, then remove any rigid bar and thick wiring loom. Check the strip and its lead for snags as the awning rolls. If the fabric bunches or the light shifts, stop and reposition the setup instead of forcing it closed. This simple sequence helps protect the fabric and keeps wiring clear of moving parts.
What IP water-resistance rating should 4WD awning lights have? Choose a rating suited to the light’s exposure to rain and dust, using the manufacturer’s stated limits for that model. No single IP rating suits every mounting position, and a water-resistance rating doesn’t mean connectors can be left exposed or the light submerged.
After fitting the light, inspect its mounting and cable route with the awning both open and packed away. Adhesive strips, sail-track fittings and arm mounts suit different setups. Choose according to the available mounting surfaces and how the awning folds. Keep the light stable, control the wiring and leave a clear path for pack-down, so the campsite setup is ready for the next stop.
Awning light placement and direction
Mount awning lights along the rail or beneath the arms, above eye level, and aim them down and outward. This directs light onto the camp area instead of across the awning at people sitting nearby. The best position depends on where you cook, eat and move around after dark, so consider those tasks before choosing a mounting point.
Start with the main work area. If your camp table sits beneath the awning, position the light to illuminate the tabletop without creating a hard shadow from the vehicle or an awning arm. If you cook near one end, angle the light towards that area while keeping the beam clear of anyone seated opposite. Aiming down and outward spreads light across the ground and makes the awning edge easier to see.
Height matters. A light mounted below eye level can shine directly into someone’s face as they stand, sit or walk beneath the awning. Mounting it above eye level helps keep the bright source out of their direct line of sight. If an area remains dim, adjust the angle rather than simply increasing brightness.
Check the beam from several spots around camp before calling the setup finished:
- Stand at the table and see whether the surface is evenly lit.
- Sit in the usual chairs and check for direct glare.
- Walk between the vehicle and awning to spot dark patches or trip hazards.
- Look from outside the camp area to see whether the beam spills beyond your space.
A white LED option rated at 5700 K produces a cool, daylight-like appearance. That can suit tasks such as sorting gear or preparing food, though the beam’s direction still determines where the light falls. Aimed towards the ground, it serves the work area; tilted horizontally, it can reach people’s faces or neighbouring campsites. Make the angle serve the task.
Consider the awning’s shape and how its arms sit when fully extended. A light along the rail can provide an even line across the awning edge, while a fitting beneath one arm may concentrate light over a smaller area. Check both positions with the awning open, since its fabric and frame can block part of the beam.
Before settling in, switch on the lights and check their direction from the table, chairs and entry path. Adjust the angle to illuminate useful surfaces while limiting glare and unnecessary spill into the surrounding bush or other campsites. A thoughtful setup helps everyone share the space comfortably and leave the campsite as they found it.
Complete kits versus individual bars and tape lights
A complete kit, an individual LED bar and a flexible tape light suit different awning setups. Compare their format, mounting needs, light coverage and pack-down requirements before choosing.
Complete Kit Options
A complete kit can simplify awning lighting when its components are designed to work together. Read the listed contents rather than assuming every kit includes the same parts. Check the light type, power connection, mounting method and cable arrangement, then compare them with your awning and campsite routine.
Think through the whole installation. A kit with a mounting approach suited to your awning may be easier to plan than sourcing a light and separate fittings. Even so, the components must suit your power source and pack-down method. Make sure the lighting position covers your table or cooking area without obstructing the awning’s moving parts.
Compare practical details across options:
- Light format: identify whether the kit uses a flexible strip or a rigid bar.
- Mounting: match its fitting method to the awning’s rail, arms or other suitable surface.
- Power: check the stated connection and voltage range for the light.
- Pack-down: consider whether the light can stay attached or needs removal before rolling up.
This comparison helps you identify a kit that fits your actual awning routine, rather than one that only looks convenient on paper. A complete kit is most useful when its components work together in your setup.
Individual Bars and Tape Lights
Individual bars and tape lights let you choose a light separately instead of selecting a complete kit. A rigid bar provides a defined light unit, while a flexible strip can follow a longer mounting line. LED strips consist of a flexible plastic strip with control circuitry and small, high-power LEDs embedded in it.
Awning light strips can be made in lengths to suit popular awning sizes. This lets you consider coverage along an edge rather than relying on a single concentrated light point. Adhesive can attach flexible lighting, and a low-profile strip may stay mounted when the awning is rolled up. Check how its position interacts with the fabric and roll.
With individual components, the mounting decision is clear from the start. A rigid bar may need to come off before pack-down, while a flexible strip offers a lower-profile option. Consider whether the awning has a suitable surface or track, whether the cable can reach the power source neatly, and whether the light’s direction suits your campsite tasks.
Choose for fit, not format alone. A strip may suit an awning edge that needs broad coverage, while a bar may work better in a specific mounting position. The right choice is the one that works with your awning, power connection and pack-down routine as a complete setup.
Mounting options for flexible strips and rigid bars
Choose a mounting method that suits the light’s shape, the awning’s surfaces and your pack-down routine. Flexible strips and rigid bars behave differently when fitted beneath an end bar or along the base of a roof-rack-mounted awning.
A flexible LED strip can attach with adhesive along a suitable surface. Its low profile may let it stay in place when the awning is rolled up, provided it does not catch on the fabric or interfere with the fold. Before fixing it permanently, position the strip along the intended line and check the cable route. Keep the lead clear of hinges and areas where the awning compresses.
Another option is to mount a strip beneath the awning’s end bar. This can provide a continuous line of light along the awning edge, while a strip along the base of a roof-rack-mounted awning places the light closer to the vehicle. Choose according to where you need illumination, then check that the bar, rack or awning fabric does not block the beam.
Rigid LED bars need a clear pack-down plan. Their shape and thicker wiring loom can obstruct a rolling awning, so remove both before packing it away. If the bar sits on an awning arm, consider how the arm folds and where the wiring runs. A mounting position that works when the awning is open must also allow for safe removal.
Use this sequence to assess a mounting position:
- Hold the light against the proposed surface and check its coverage.
- Trace the cable route from the light to its power connection.
- Open and close the awning to identify catching, pinching or obstruction.
- Decide whether the light can stay mounted or needs removal before pack-down.
Use adhesive mounting for a flexible strip only when the surface and product instructions support it. A rigid bar may need a fitting that holds it steady while the awning is open but still lets you remove it before rolling. Do not rely on cable tension to support the light or pull against its connection. Route the wire so it cannot snag on a moving arm or flap against the canvas.
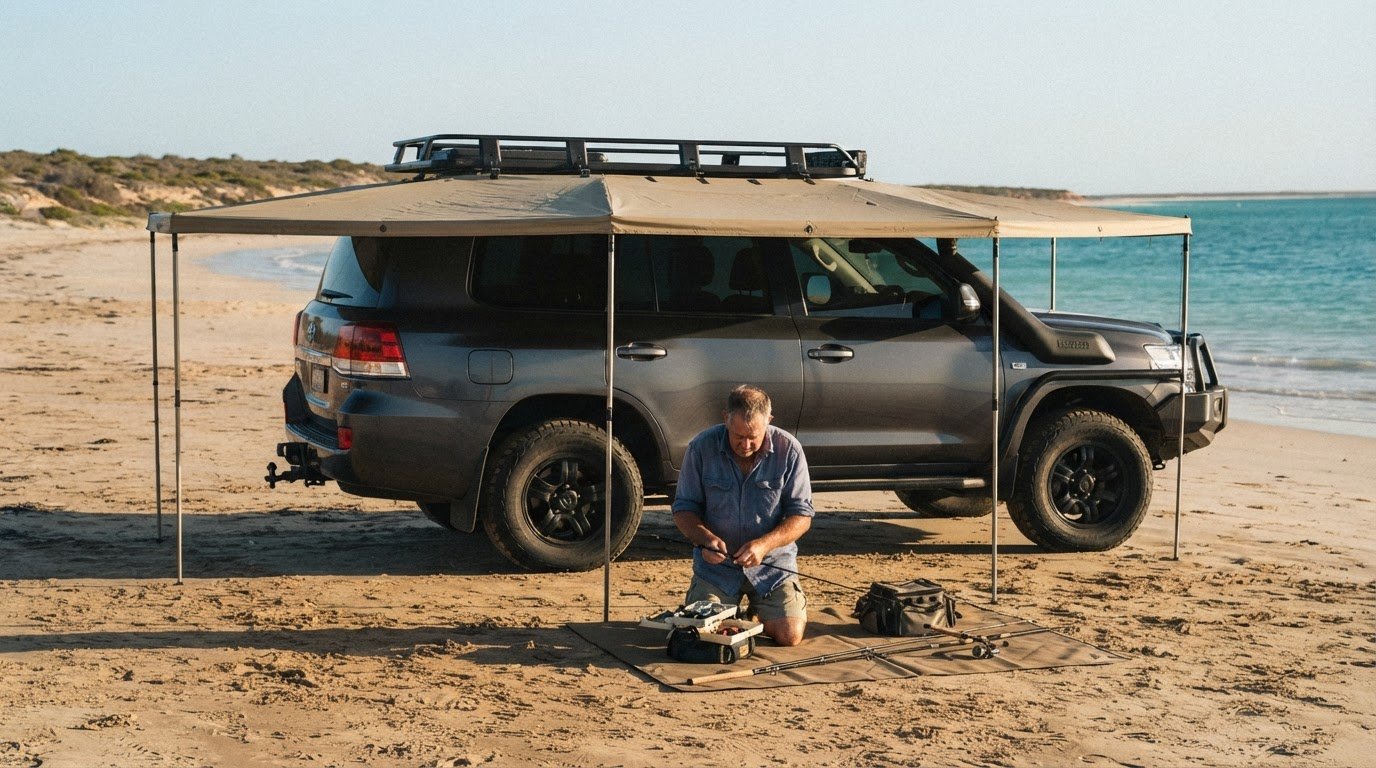
For a roof-rack-mounted awning, consider whether the light should sit beneath the end bar or along the rack base. Each position changes the direction of the beam and the space available for the cable. Test the setup with the awning extended, then check it again during pack-down. Explore awning setup guides to help plan a lighting arrangement around your broader 4WD camping setup.
Adventurerz: 4wd awnings reviews and recommendations
Adventurerz offers 4WD awning reviews and recommendations to help you weigh up how an awning fits your camping setup. Turn to these guides when you’re comparing awning styles, considering where lighting could mount, or planning how your gear will work together on Australian trips.
Adventurerz also reviews and recommends rooftop tents and camping equipment. These resources can help you consider more than the light itself, including how shelter, storage and campsite tasks shape your choices. Use them to make informed decisions that suit your travel plans and support considerate time outdoors.
For guidance on awning options and campsite gear, contact Adventurerz.
Make your next campsite setup your own
Let your lighting plan support the way you travel, rather than dictate it. Think about the camp tasks you want to make easier, from preparing dinner to packing away gear, and choose a setup that fits your routine. Practical lighting should help you use your space comfortably while respecting the quiet and shared nature of the outdoors.
As you narrow down the best LED lighting kits for 4WD awnings, keep your own awning and travel habits in view. The most suitable choice is the one that works with your setup and feels straightforward to use on the trips you actually take. That personal fit matters more than choosing a light simply because it appears impressive.
If you’d like guidance as you consider your options, contact Adventurerz about awning lighting. Then get out there, make camp your own and enjoy the evening under a well-planned glow.
Frequently Asked Questions
What are the best LED lighting kits for 4WD awnings in Australia?
The best option is a kit that suits your awning, power connection and campsite tasks. For a touring setup, consider whether you need broad light over a table or focused illumination near a cooking area. Check the supplied mounting approach and how the light fits your pack-down routine. Adventurerz’s awning reviews and recommendations can help you compare awning choices alongside your lighting plans.
Are magnetic, clamp-on, or sewn-in LED lights best for 4WD awnings?
Choose an attachment that suits the awning surface and whether you want a removable or more permanent fit. Magnetic lights need a compatible metal surface, while clamp-on lights need an edge that holds the clamp securely. Sewn-in mounting alters the awning fabric, making it a more permanent option. A removable light, for example, may suit travellers who move lighting between setups.
How much power do 12V awning LED lights use, and how long will a battery run them?
Power use depends on the light’s wattage, while battery runtime depends on its current draw and the battery capacity available for that load. Use the stated wattage to estimate current: amps equal watts divided by volts. Then estimate runtime by dividing available amp-hours by the light’s current draw. Other connected equipment also uses battery power, so include those loads in your campsite plan.
Which 12V LED awning lights are brightest and what are their lumen ratings?
Awning and canopy lights are listed with outputs up to 800 lumens; the material does not identify a specific brightest kit.
Which awning LED lights have warm, cool, or adjustable colour temperatures?
White LED options rated at 5700 K are described as cool and daylight-like. No warm or adjustable colour-temperature options are listed.
How do popular 4WD awning light kits compare for price, brightness, and features in Australia?
Awning and canopy lights are listed with outputs up to 800 lumens and white light rated at 5700K. Features include plug-and-play 12V connections, flexible strips and rigid bars; prices are not provided.